
 Pin it
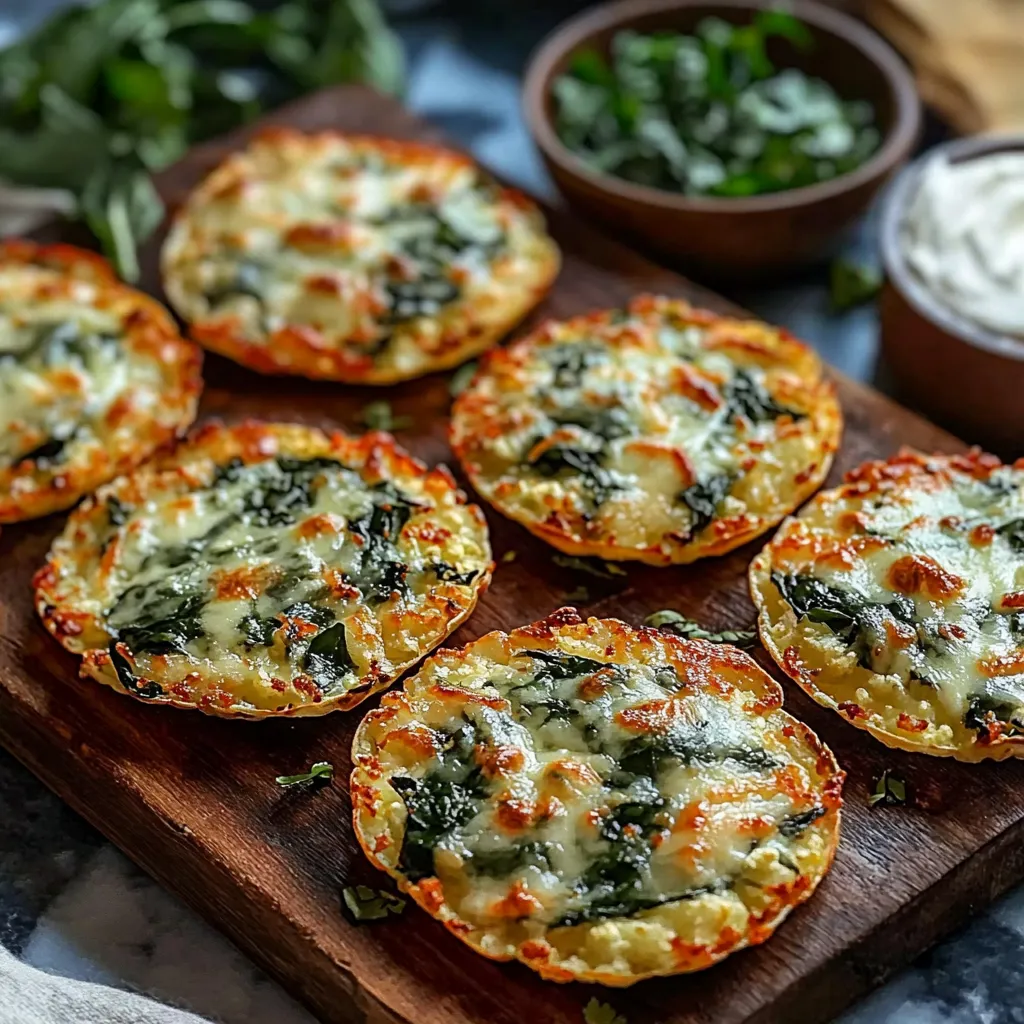
Green taco shells made from cauliflower and spinach turn an ordinary meal into a nutrient-packed feast that keeps all the taste and excitement intact. These bright shells combine cauliflower's subtle flavor with spinach's goodness, giving you a no-gluten, carb-light way to wrap up your taco fillings. They're great for health-minded folks or anyone wanting to eat more veggies at dinner time.
I whipped up these shells while hunting for clever ways to get more veggies onto my family's plates. What started as just playing around in the kitchen quickly became a regular part of our meals. When my kids spotted the bright green wraps, they got curious instead of worried—and after trying them stuffed with their favorite toppings, they couldn't get enough of this veggie-rich alternative.
Essential Components
- Cauliflower: Forms a mild foundation that stays together nicely
- Fresh spinach: Gives amazing color, health benefits, and light taste that works well with the cauliflower
- Eggs: Work as the glue that keeps everything from falling apart
- Mozzarella cheese: Makes the shells stretchy and bendable when they're warm
- Garlic powder: Boosts the taste without drowning out the veggies
Cooking Steps
- Get Your Veggies Ready:
- Start by warming your oven to 375°F and putting parchment on a baking tray. Chop up a medium cauliflower in your food processor till it looks like rice. Put this cauliflower rice in a bowl you can microwave and heat it for about 5 minutes to make it soft. This cooking bit really matters for getting shells that work right.
- Squeeze Out Water:
- Let the cauliflower cool enough to touch, then dump it on a clean dish towel. This part can't be skipped: grab the towel corners and squeeze hard to push out all the water you can. The drier your cauliflower gets, the better your shells will stick together. You'll be shocked at how wet it is—keep squeezing until almost no water comes out.
- Mix Everything Up:
- In a big bowl, throw together your dried cauliflower with chopped fresh spinach, two eggs you've beaten up, shredded mozzarella, salt, pepper, and garlic powder. Stir it all really well until everything's mixed evenly and the stuff sticks together when you press it. It should feel a bit sticky but you should be able to shape it.
- Shape And Cook:
- Scoop about 1/4 cup of your mix onto the parchment paper. Use your hands or a flat spatula to flatten it into a thin circle around 5-6 inches across and 1/4 inch thick. Do this with all your mix, leaving room between each shell. Cook them for 15-20 minutes until the edges turn golden and the middle feels firm when you touch it.
My grandma always told me good cooking needs patience, and that's so true with these taco shells. The first batch I made, I rushed through squeezing the cauliflower and ended up with shells that just fell apart. Taking those few extra minutes to really wring out all the water turned what could've been a cooking disaster into something my family now asks for regularly.
Filling Ideas
- They work great with spiced ground beef or turkey if you want a classic taco feel.
- Try a meat-free version using black beans, sweet corn, and colorful peppers with some cumin and chili powder.
- For something different, fill them with grilled fish marinated in citrus, topped with mango salsa and avocado chunks.
 Pin it
Perfect Side Dishes
- Add some cilantro lime rice on the side to make your low-carb shells part of a filling meal.
- A basic green salad dressed with cumin and lime goes really well with the Mexican flavors.
- Chunks of roasted sweet potato with matching spices tie the whole plate together nicely.
Keeping Leftovers
- Put cooled shells in a container with a tight lid in your fridge, with parchment between each layer so they don't stick. They'll stay good for three days tops.
- To make them crispy again, warm them in a 350°F oven for 3-5 minutes before adding fillings.
- You can freeze them too—just stack them with parchment paper between layers in a freezer container and they'll last up to a month.
Fun Twists
- Throw in a spoonful of nutritional yeast to get a cheesy flavor in versions without dairy.
- Mix in finely cut fresh herbs like cilantro or parsley for extra color and taste.
- Want them spicier? Add a teaspoon of taco seasoning or a bit of cayenne pepper to the mix.
 Pin it
I've made these cauliflower spinach shells for guests who usually roll their eyes at "veggie versions" of foods, only to watch them go back for more. What started as just a way to sneak more veggies into our meals has turned into something everyone looks forward to eating. The bright color, good texture, and health perks make these shells stand out as something truly tasty on their own—not just a stand-in for the regular kind.
Frequently Asked Questions
- → Can I swap fresh cauliflower with frozen rice?
- Sure, frozen cauliflower rice works. Just defrost it fully and squeeze out all the water before mixing it with the other ingredients.
- → How do I know the moisture's all gone?
- Feel the cauliflower—if it’s dry without dripping when you squeeze it, it’s good to go. Less moisture means crispier shells every time.
- → Is there a dairy-free alternative?
- Totally. Use dairy-free cheese, or toss in an extra egg and a couple of spoonfuls of nutritional yeast for that cheesy taste.
- → What fillings go best in these?
- Anything you like! From grilled chicken or seasoned beef to vegetarian combos like black beans and corn. Top with fresh salsa, avocado, or lime.
- → Can I make these shells beforehand?
- Yep, make them up to 3 days ahead and keep them in the fridge. Heat in a 350°F oven for 5 minutes to bring back that crispy goodness.