
 Pin it
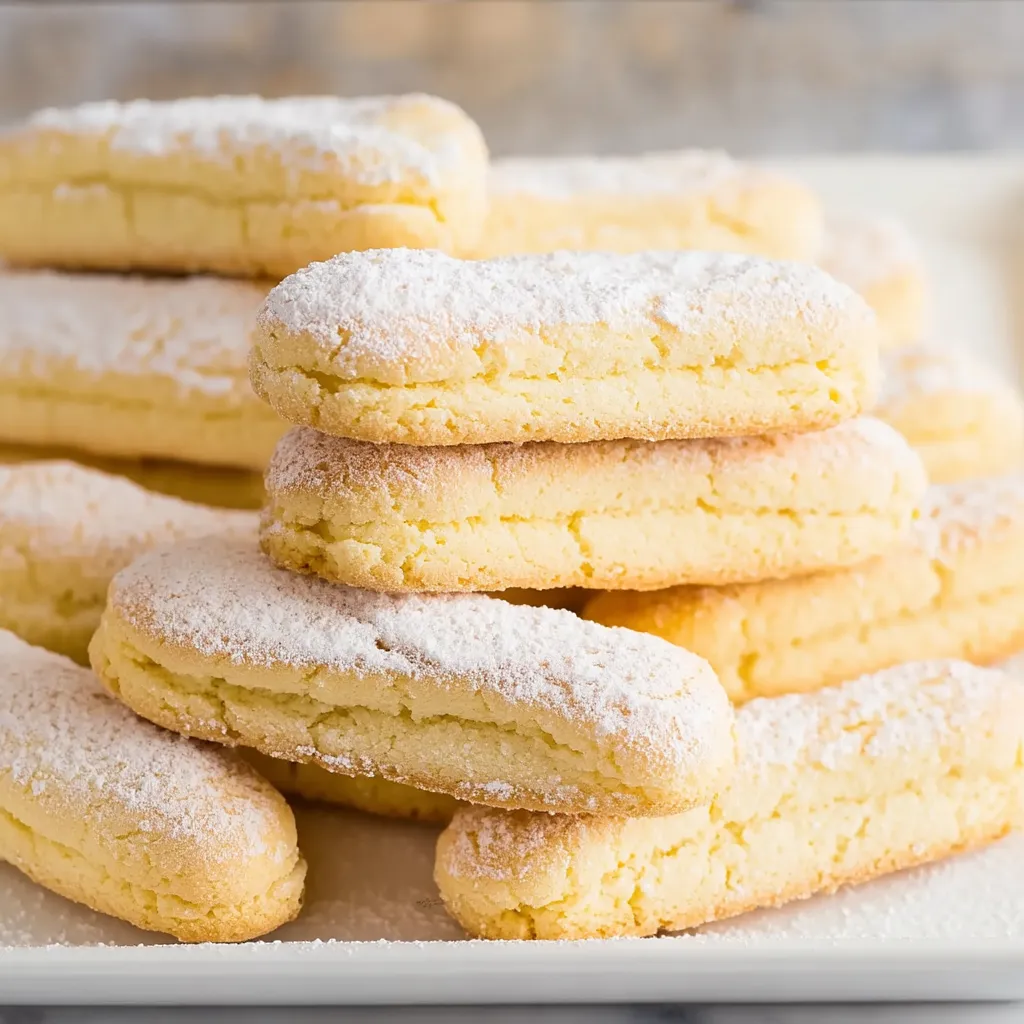
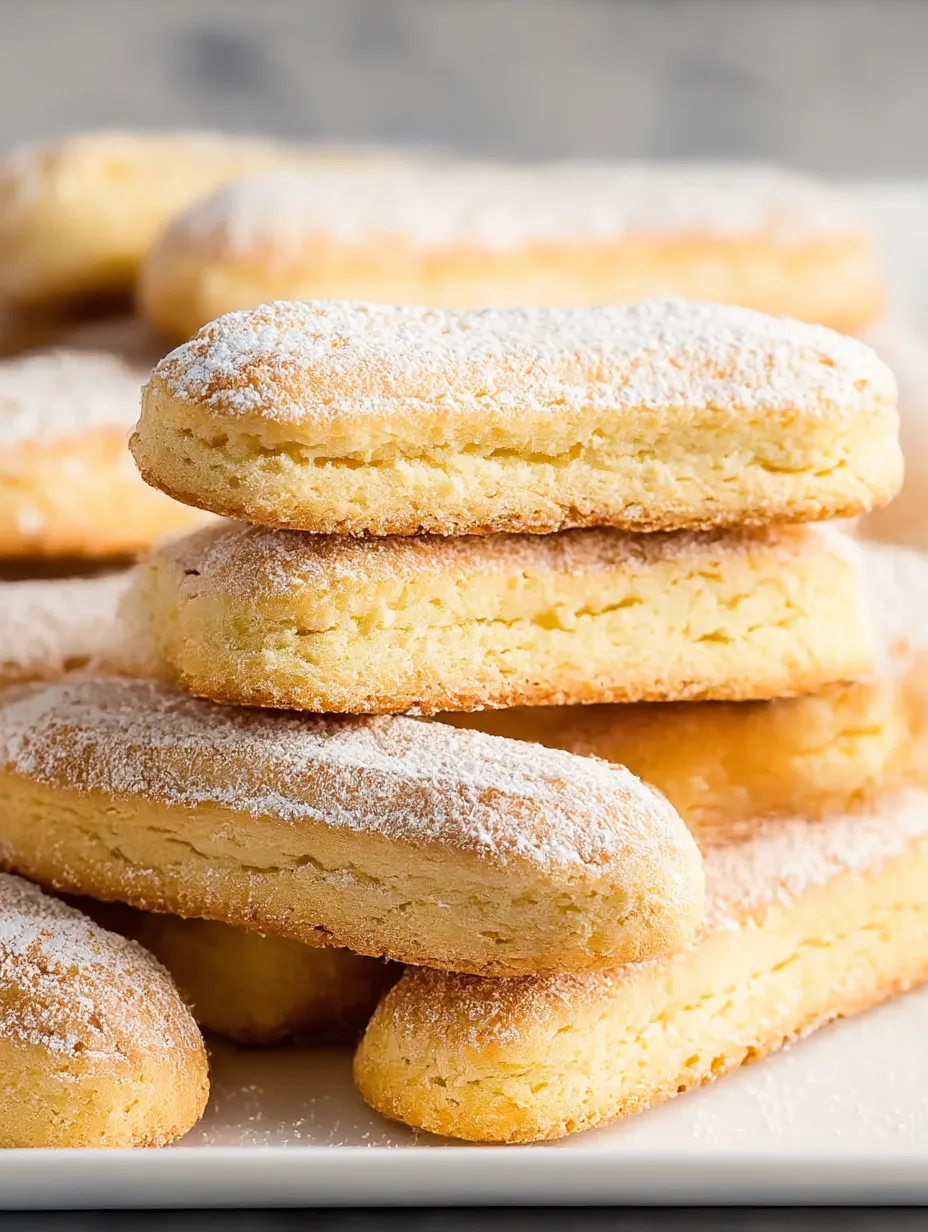
These light and fluffy homemade ladyfingers will absolutely melt away in your mouth and take any dessert they're used in to the next level. I'd been buying them from stores for years until I tried making them myself - trust me, nothing beats the freshness and texture of these homemade treats, especially when you're putting together a tiramisu or trifle.
The first time I whipped up these ladyfingers was for my parents' anniversary when I made them a special tiramisu. The difference was so huge that I've completely ditched store-bought versions. Seeing how happy they were when they tasted that dessert makes this recipe really meaningful to me.
Ingredients
- 4 large eggs: Make sure they're room temp and separated for the best volume
- ⅔ cup granulated sugar: Brings just the right amount of sweetness
- ½ teaspoon vanilla extract: Adds that subtle but lovely flavor
- 1 cup all purpose flour: Gives these cookies their perfect body
- ½ teaspoon baking powder: Provides a bit of rise without ruining the texture
- 2 tablespoons cornstarch: This is why they dissolve so beautifully in your mouth
- Powdered sugar: Dusting the top stops spreading and makes that nice crust
Step-by-Step Instructions
- Prepare Your Setup:
- Put a rack in the middle of your oven and heat it to 350°F. Put parchment on two baking sheets and get a big pastry bag ready with a plain ½-inch round tip. Setting everything up right helps you get even baking and pretty cookies.
- Whip Egg Whites:
- Beat your egg whites in a big bowl on high until you see soft peaks forming. Slowly add 2 tablespoons of sugar while beating until the whites get shiny and stiff. This is what makes ladyfingers so light and airy.
- Create Yolk Mixture:
- In another bowl, beat the egg yolks with the rest of your sugar and vanilla for about 2 minutes on medium-high speed until they're thick and light yellow. This makes a rich base that works with the fluffy whites.
- Combine Mixtures:
- Carefully fold half the egg whites into your yolk mixture with a rubber spatula. Sift the dry stuff in and fold just enough to mix it. Add the rest of the whites and fold gently so you don't lose all that air.
- Pipe And Dust:
- Put your batter in the pastry bag and pipe 3-inch fingers about 1 inch wide, leaving 2 inches between them. Don't forget to dust them really well with powdered sugar before they go in the oven. This step gives them that special crust.
- Bake To Perfection:
- Bake until they feel firm when you touch them and look slightly golden, around 12-15 minutes. Let them cool completely on the baking sheet before moving them to a wire rack. Being patient here helps them get the right texture.
 Pin it
I really can't say enough about the cornstarch in this recipe. I figured out how important it was through lots of trial and error when my first attempts came out too heavy. That tiny addition is what creates the delicate texture that makes these cookies so wonderful, particularly when I'm serving them with afternoon tea to friends who stop by.
Perfect Storage Solutions
Keep your homemade ladyfingers in an airtight container at room temp to maintain their texture. They can last up to two weeks, but they're really best in the first three days. If your kitchen gets humid, try putting a bit of parchment between layers to keep them crisp. The slight staleness that happens after a few days actually makes them work even better in tiramisu since they soak up the coffee mixture without turning to mush.
Troubleshooting Common Issues
Your ladyfingers might end up flat if you don't whip the egg whites properly or if your oven isn't at the right temperature. Always use eggs that have been sitting out for a while to get the most volume. You might want to grab an oven thermometer for better accuracy. If your piped fingers spread out too much before baking, your batter might be too runny. This usually happens when your egg whites aren't mixed enough or when you overdo the folding. The powdered sugar on top also helps stop spreading by creating a quick-setting outer layer in the hot oven.
 Pin it
Classic Dessert Applications
While they taste great on their own, ladyfingers really come into their own when used in classic desserts. For a real tiramisu, quickly dip them in espresso mixed with marsala wine before layering with mascarpone cream. For a summer berry trifle, arrange them around a glass bowl and layer with vanilla custard and fresh berries. During the holidays, I love making a charlotte royale by lining a bowl with ladyfingers and filling it with bavarian cream. I use them so often because they're so versatile.
The History Behind Ladyfingers
These light sponge cookies go all the way back to the 15th century courts of Savoy where they were first made to welcome a visiting French royal. They were originally called "Savoiardi" in Italian and have been a big part of European baking for hundreds of years. They've stayed popular because of both their subtle flavor and how they help structure classic desserts. Learning about their history makes me appreciate these simple-looking cookies that have been around for so long.
Frequently Asked Questions
- → How do I keep lady fingers fresh?
To keep them fresh, put them in an airtight container at room temperature. They’ll last about two weeks. For longer storage, freeze them in layers separated by parchment paper in a freezer-safe bag or box for about a month.
- → What can I use if I don’t have a piping bag?
If a piping bag isn’t handy, grab a large plastic bag and trim off one of the corners to use as a substitute.
- → Why don’t my lady fingers get crispy?
A too-heavy folding technique or skipping the powdered sugar step might leave your lady fingers softer than you’d like. Be gentle with your mix and follow all key steps for a crisp result.
- → Is it possible to add extra flavors?
For sure! Adding some almond extract, citrus zest, or other fun flavors can give your lady fingers an exciting twist.
- → What’s the trick to knowing they’re done?
The best sign is when they’re golden and feel firm but not hard to the touch. Keep an eye on the time so you don’t overbake them.