
 Pin it
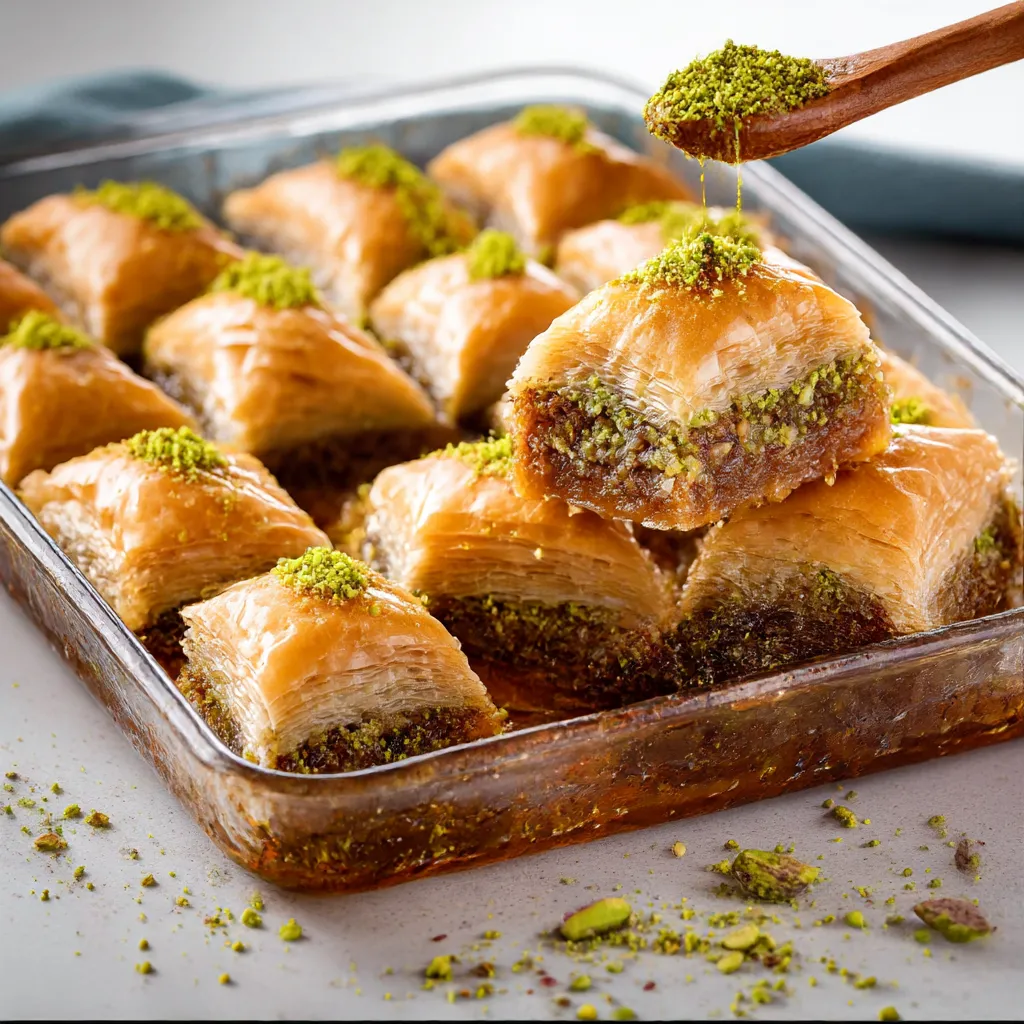
This DIY gluten-free baklava delivers all the flaky, paper-thin layers and sweet nutty goodness of classic baklava without any gluten. By whipping up your own gluten-free phyllo pastry, you'll turn this beloved Mediterranean sweet into something everyone at the table can dig into.
I first tried making gluten-free baklava when my friend with celiac disease had a birthday coming up. When she tasted it, she got teary seeing a treat she thought was off-limits forever. I've been bringing it to every holiday gathering since then—it's become my signature.
What You'll Need
- DIY gluten-free phyllo sheets: creates those must-have thin layers that make real baklava so special
- Unsalted butter: adds moisture between phyllo layers and helps them turn perfectly golden
- Walnuts, pistachios, or almonds: form the heart of the filling—mix them all for more interesting flavor
- Cinnamon and cloves (ground): bring warm spicy notes that cut through the sweetness
- Honey: makes that trademark sticky-sweet sauce with much more character than plain sugar
- Lemon juice: cuts the sweetness and keeps the syrup from getting grainy
- Cinnamon stick and whole cloves: pack the syrup with deep spice flavors without adding gritty texture
Making It Happen
- Get Your Phyllo Ready:
- Make the gluten-free phyllo using the linked instructions, rolling each piece super thin for the right texture. Always keep unused sheets under a damp towel so they won't dry out and crack while you're working.
- Create Your Foundation:
- Put five phyllo sheets in your buttered pan one after another, brushing each one completely with melted butter before adding the next one. Make sure the butter gets right to the edges—this is what makes it flaky and keeps it from sticking. You need this bottom section to be strong enough to hold everything.
- Layer In Some Nuts:
- Scatter a thin, even amount of your spiced nut mix over the base and lightly press it down. Chop the nuts fine but not into powder—you want some bite between soft and crunchy.
- Build Up The Layers:
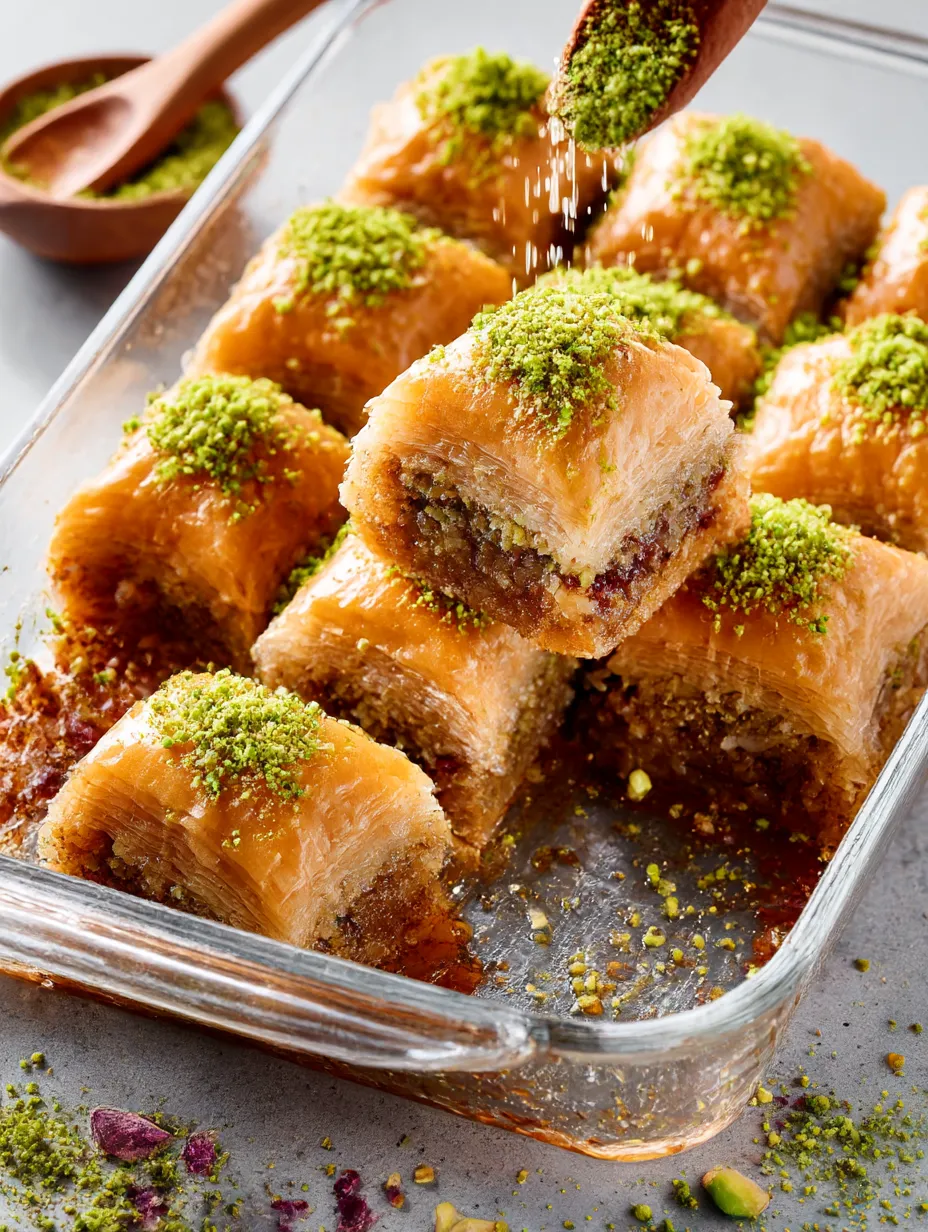
- Keep going with two buttered phyllo sheets followed by a thin nut layer, over and over until you run out of nuts. These alternating layers are what gives baklava its signature look. Don't skimp on butter for any sheet.
- Top It Off:
- Finish with your last five phyllo sheets, buttering each one carefully, including the very top. This final section will turn golden while baking and keeps everything secure.
- Slice It First:
- With a really sharp knife, cut all the way down to the pan bottom to make your pieces. Diamonds look fancy but squares are simpler. Wipe your knife between cuts for cleaner lines.
- Bake Until Golden:
- Pop it in your hot oven and watch closely near the end since gluten-free phyllo can burn quickly. Look for a nice gold color and slightly crisp edges.
- Mix Up Your Syrup:
- While it's baking, cook all your syrup stuff together, letting the spices steep and the mix thicken a bit. It should lightly coat a spoon but still pour easily.
- Add The Sweet Stuff:
- Pour your room-temp syrup over the baklava right when it comes out hot from the oven. This temperature difference helps it soak in just right. You'll hear it sizzle when you pour—that's a good sign!
- Let It Soak:
- Leave your baklava alone for a few hours so the syrup can work its way through every layer and the flavors can mingle. This waiting time turns good baklava into amazing baklava.
 Pin it
In my version, pistachios really shine brightest. I found out their bright green color and unique taste makes this dessert a real attention-grabber that reminds me of what my Greek grandma baked every Christmas. They've got just the right natural sweetness that works so well with the honey syrup.
Keeping It Fresh
Baklava actually gets better after a day or two as all the flavors blend together. Keep your finished treats at room temp with a loose paper towel on top for up to a week for the best taste and texture. The paper towel stops moisture from making the top soggy while keeping the syrup from drying out. If you need to store it longer, stick it in the fridge for up to three weeks, though it might get a bit firmer. Just let cold baklava warm up to room temperature before serving to bring back its delicate texture.
Fixing Common Phyllo Problems
Gluten-free phyllo needs a slightly different touch than regular wheat-based stuff. The dough might tear more easily but don't stress about small rips since they'll vanish once everything's layered up. If your dough sticks too much, add just a tiny bit of gluten-free flour to your work surface. Too much flour will make your dough tough. For dough that's too dry, lightly spray it with water from a spray bottle. Watch your butter temperature too—keep it warm but not hot since gluten-free dough soaks up butter differently than wheat dough does.
 Pin it
Ways To Serve It
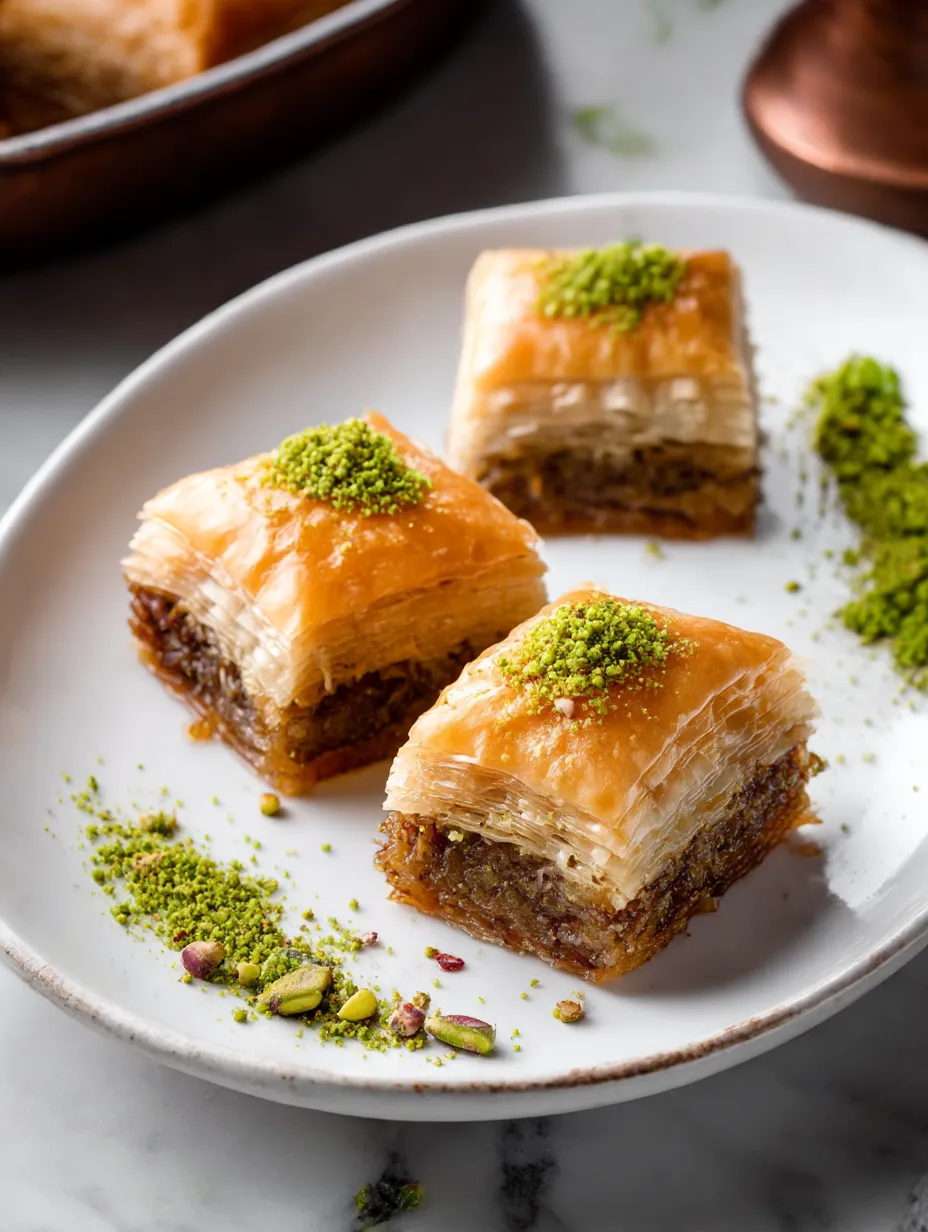
Gluten-free baklava deserves to look as good as it tastes. Set out individual pieces on small dessert plates with a sprinkle of crushed pistachios for a pop of color. A small scoop of vanilla ice cream or a bit of cardamom-flavored whipped cream makes it even better. For a more traditional experience, serve it with strong Greek or Turkish coffee to balance out the sweetness. When it's part of a bigger dessert spread, put some fresh berries and citrus slices nearby to give folks a refreshing break from all that richness.
Frequently Asked Questions
- → What nut options are best for this dessert?
Go for pistachios, almonds, walnuts, or a mix of these. You can adjust based on what you have or your favorite flavor.
- → How do I prepare gluten-free phyllo layers?
Use a gluten-free dough recipe and roll it super thin. Keep unused dough covered to stop it from drying out while you work.
- → Is it okay to make the syrup ahead?
Sure, you can whip up the syrup earlier. Let it cool completely and stash it in a sealed container until you're ready to use it.
- → How long should the syrup set on the baklava?
Let the sweet syrup sit on the baklava for about 3 to 4 hours. This helps the pastry soak it up properly.
- → What's the best way to store this treat?
Keep it at room temp in an airtight container for up to 3 days. For longer storage, refrigerate it, knowing the texture might change a bit.
- → Can I warm up the baklava before serving?
Yep, a couple of minutes in a low oven will do the trick. It freshens it up beautifully.