
 Pin it
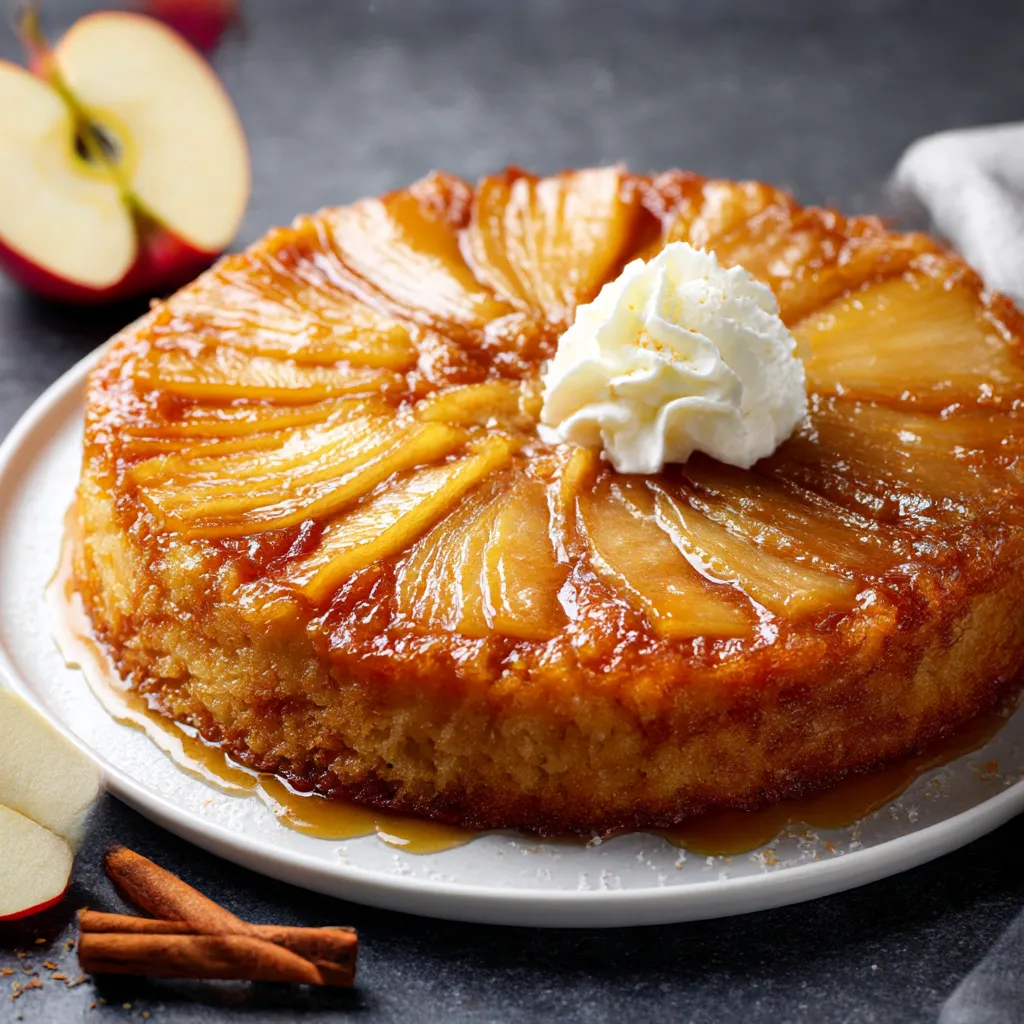
If you want something cozy and a bit nostalgic, this apple upside down cake totally delivers. Picture a fluffy buttery cake sitting under a sticky layer of shiny caramel apples, then turned over so the fruit steals the show. It’s got that warming cinnamon scent with a nice crisp crust—perfect for a chilly fall day, a last-minute dessert on a weeknight, or to wow folks during the holidays.
The very first time I baked this, all I could smell was caramelizing apples and butter bubbling away—and that’s when this became the top pick for our family’s game nights. Everyone’s fast calling dibs on the most caramel-packed corner piece.
Tasty Ingredients
- Honeycrisp apples: Pick ones that are firm and feel a little heavy. They keep their shape and taste sweet after baking, especially if their skins look clean and unbruised.
- Light brown sugar: Fresh, slightly squishy brown sugar melts best, turning into a gooey caramel under your apples.
- Unsalted butter: Go for the good stuff! Butter gives the cake richness and really helps caramelize your fruit for top-notch flavor.
- All purpose flour: This is what holds everything together. Measure it out right for a soft, tender bite.
- Granulated sugar: Classic fine white sugar sweetens the cake base, and stirs in super easily.
- Baking powder: This makes the cake nice and fluffy by helping it puff up. Make sure yours is still fresh so it works right.
- Ground cinnamon: Adds that warm deep flavor—use a nice, strong cinnamon to really make it pop.
- Salt: Just a sprinkle makes everything taste brighter. Sea salt works great if you’ve got it.
- Milk: You can use whole milk for a richer batter or stick to your fave plant-based choice.
- Vanilla extract: Pure vanilla is worth it for extra flavor, but whatever you’ve got will tie everything together nicely.
- Egg: Binds it all and brings richness. Go for a nice fresh large egg for extra fluffiness.
Simple Instructions
- Let It Cool Then Flip:
- After it bakes, run a thin knife around the sides. Wait until it’s totally cool, then turn the pan upside down onto a plate. That way your apple topping shows off and doesn’t slide everywhere!
- Bake:
- Slide the pan on the middle rack and set your timer for 30 to 35 minutes. You’ll know it's done when it’s golden and a toothpick comes out clean.
- Pour Batter Over Apples:
- Carefully pour your mix over the apples and spread everything out with a spatula so the apples stay covered.
- Combine Wet Ingredients:
- Whisk the milk, melted butter, vanilla, and egg right into the flour mix. Don’t overdo it—just mix until it barely comes together.
- Mix Dry Ingredients:
- In a large bowl, stir together your flour, granulated sugar, baking powder, cinnamon, and salt until it looks blended.
- Arrange Apples:
- Cut apples into thin moon-shaped slices. Press them into the brown sugar in overlapping circles until the whole bottom is covered.
- Add Brown Sugar:
- Sprinkle the brown sugar right over that melted butter so you’ve got a nice, even sweet base for the fruit.
- Melt Butter in Pan:
- Pop the butter straight into your 9-inch pan, toss it in the oven, and take it out once it’s melted and smooth—not sizzling or brown.
- Preheat Oven:
- Crank your oven up to 350 F and let it get fully hot before you start. This helps your cake bake evenly and get that lovely color.
 Pin it
Every autumn, we drag everyone to the orchard for Honeycrisps just for this dessert. That very first bite takes me right back to cold days, comfy sweaters, and my sister always asking for extra cinnamon on top.
Keeping It Fresh
Once the cake is cool, wrap it up tight in plastic or pop it in a sealed container. It’ll be fine on your counter for two days. For longer, chill it in your fridge and it’ll last up to five days. If you want to stretch it even more, wrap slices and freeze—just thaw and warm for a cozy treat whenever you want.
Swaps & Switches
Don’t have Honeycrisp apples? Anything good for baking works—Granny Smith brings some tartness and Pink Lady is nice and sweet. If all you have is salted butter, skip the pinch of salt. Out of cinnamon? Try some apple pie spice or even a dash of nutmeg. You can go almond or oat milk for dairy free, and a gluten free flour mix if you can’t do wheat.
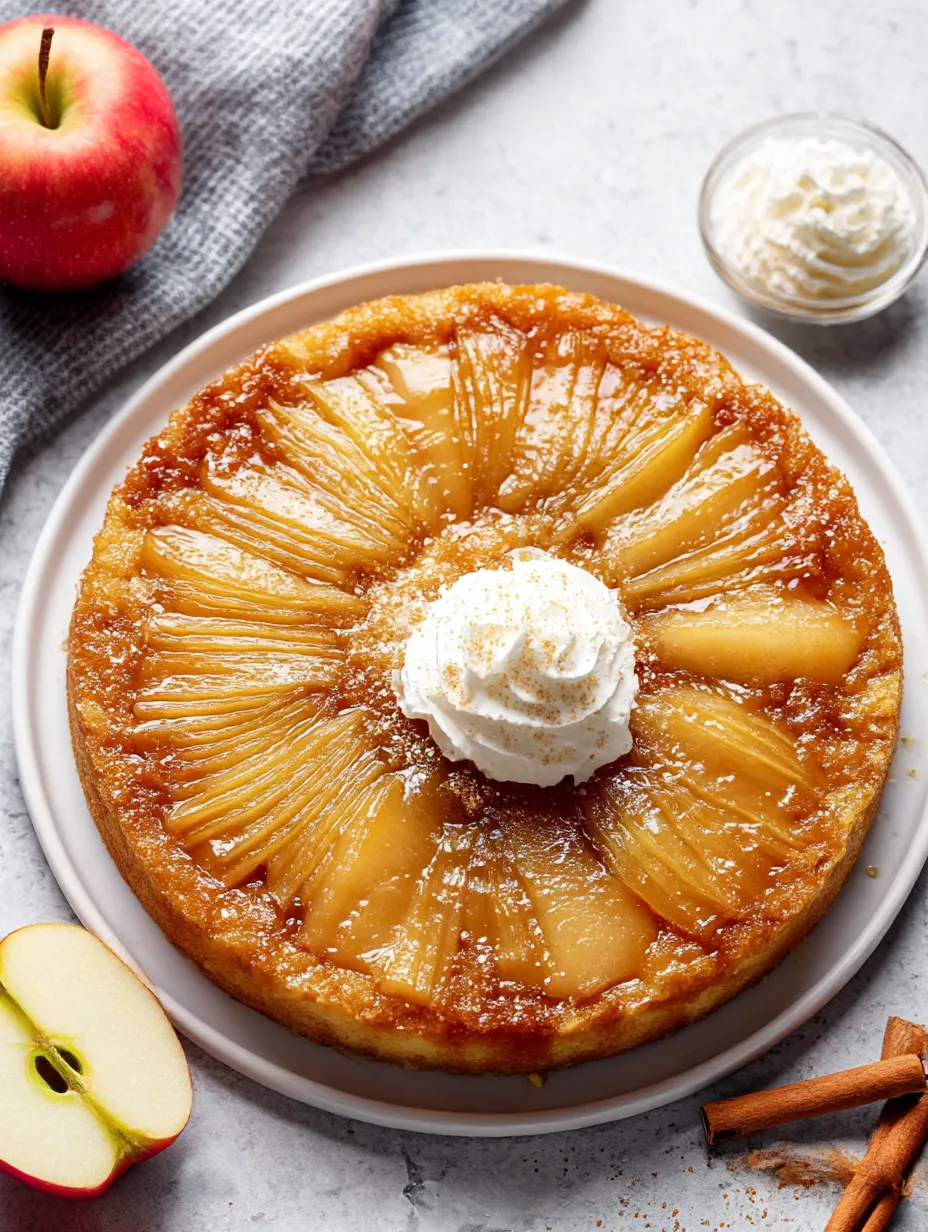
How to Serve It
Dollop whipped cream or scoop vanilla ice cream on each slice for dessert. Want it for breakfast? Top with Greek yogurt and sprinkle on toasted nuts. If you’re feeling fancy, a drizzle of warm caramel sauce never hurt. It’s just right with a hot mug of tea or a strong coffee.
 Pin it
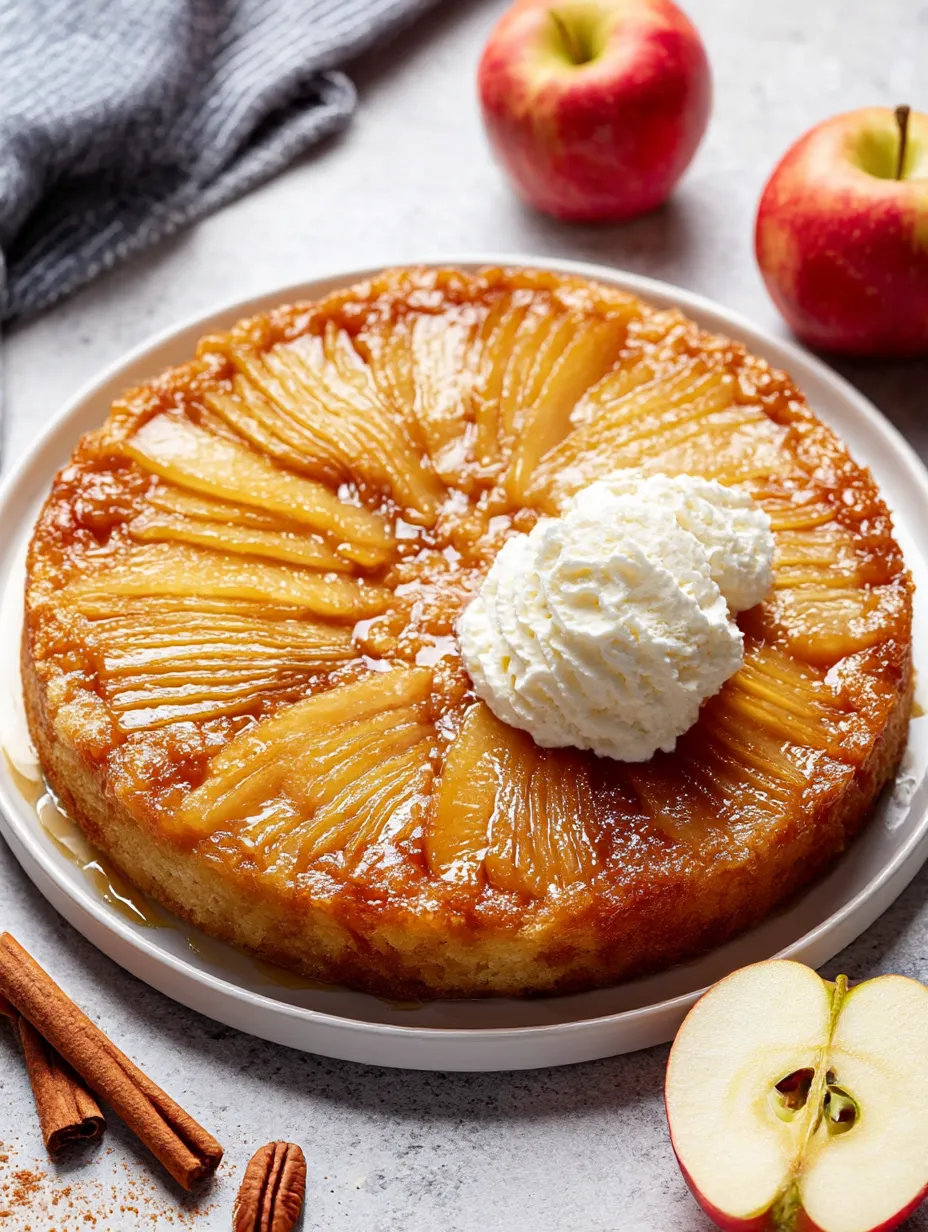
A Little Background
Flipping cakes over to show off fruit started back in the 1800s in America, often cooked in a heavy iron pan. Pineapple versions got super popular in the 1950s, but folks have been making them with apples way before that. I love how this dessert blends those old-school methods with fresh flavors for something you’ll always crave.
Frequently Asked Questions
- → Can I use other apples instead of Honeycrisp?
Totally! Try Granny Smith for tartness or Pink Lady for a sweet bite. Go with what you like best.
- → Should I remove apple skins?
You don't have to peel them. The peel gives color and extra bite to the top.
- → Is plant milk okay for this?
Absolutely, almond or oat milk work just fine and keep the cake moist.
- → How can I tell when this cake is baked through?
If a toothpick in the center comes out clean or has just crumbs, it’s done.
- → Can I swap in dark brown sugar for the top?
Yep, you'll get a deeper caramel flavor if you use the dark stuff.
- → What's the best way to serve it?
Let it cool a while, flip it carefully, slice, and eat as is or with tons of whipped cream.