
 Pin it
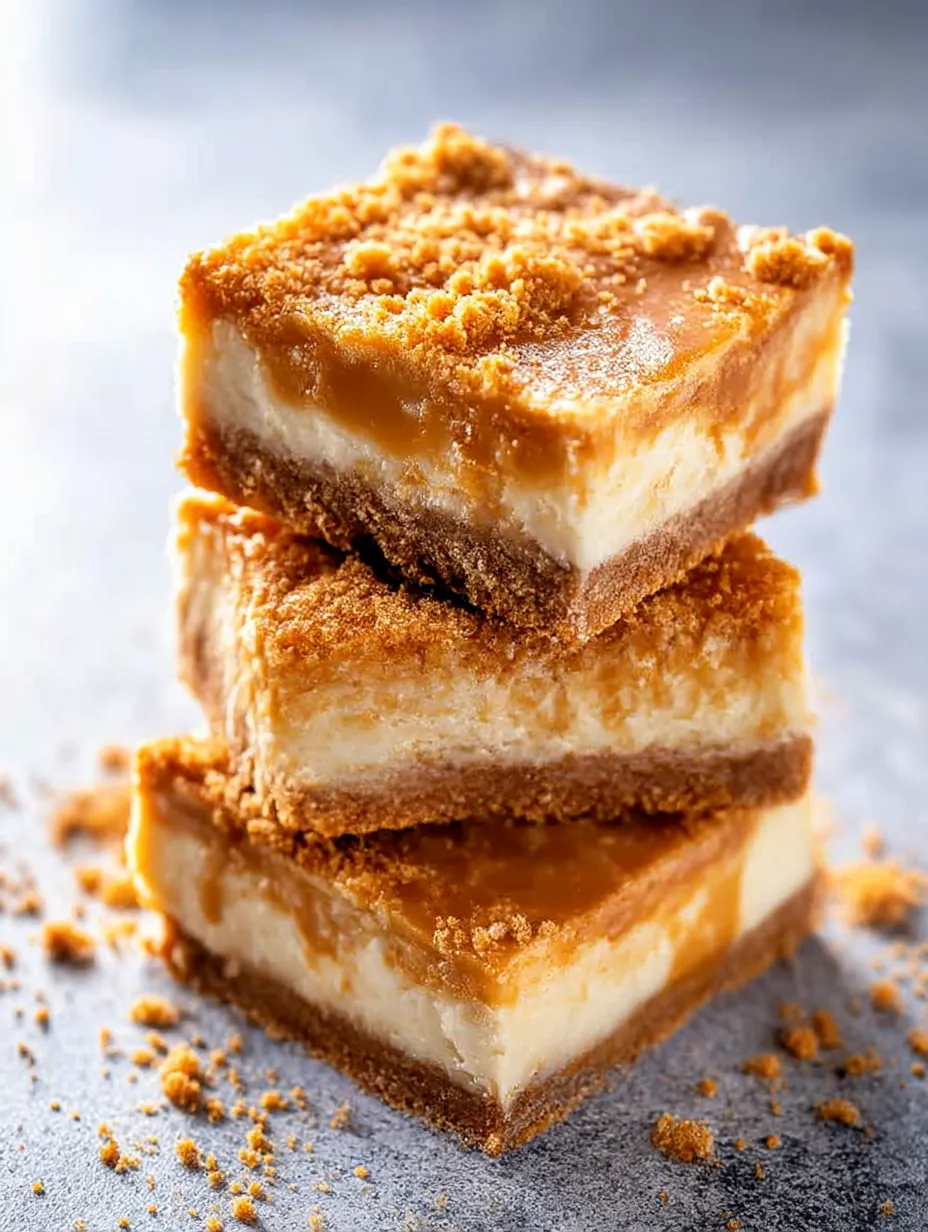
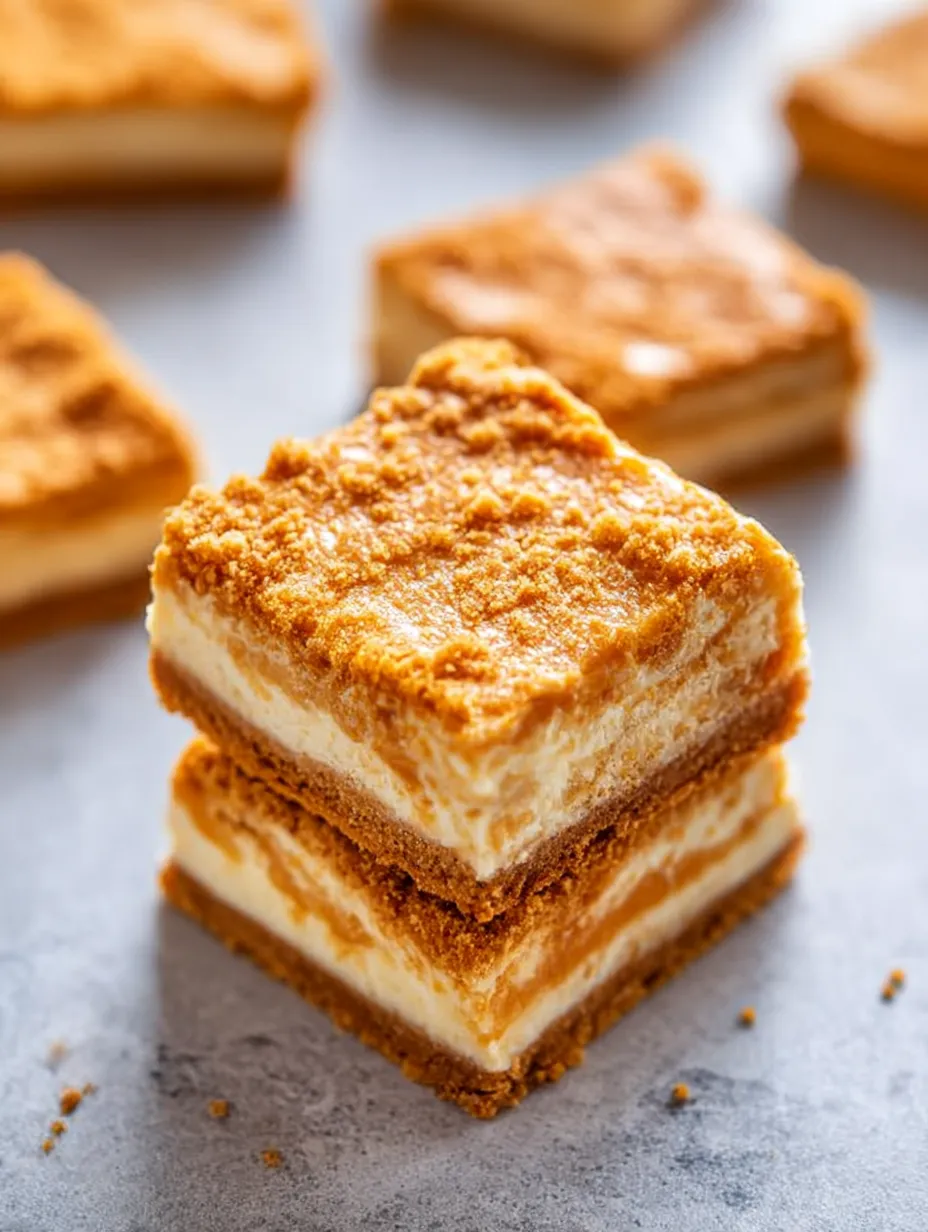
These butterscotch graham cracker cheesecake bars mix crunchy and smooth textures for a truly mouthwatering treat. The graham cracker base infused with butterscotch delivers both a soft bottom layer and crumbly top that perfectly frames the velvety cream cheese center. When you bite into these bars, the way the sweet butterscotch bits play against the zesty cheesecake creates something that'll blow your taste buds away.
I threw these together for a block party when I needed something wow-worthy but was short on time. As they baked, the smell of butterscotch filled my kitchen so wonderfully that neighbors were asking for my recipe before they'd even had a taste. Now I can't show up to gatherings without bringing a batch.
Ingredients
- Butterscotch chips: They give that wonderful caramel-like sweetness that makes these bars special. Try to get good quality ones for smooth melting.
- Unsalted butter: Makes everything richer and helps bind the crust together. Going unsalted lets you adjust the saltiness yourself.
- Graham cracker crumbs: They form that fantastic base we all love. Buy them ready-made or smash your own for a chunkier feel.
- Cream cheese: This makes the star filling. Make sure it's sitting at room temp for the creamiest results.
- Large egg: Gives the filling its structure. A room temp egg mixes in much better.
- Sweetened condensed milk: Adds creamy sweetness without needing extra sugar.
- Vanilla extract: Brings out all the other flavors. Real vanilla tastes best.
- Salt: Cuts through the sweetness and makes the butterscotch pop. Don't skip it even in sweet treats.
Step-by-Step Instructions
- Prepare the Pan:
- Heat your oven to 350°F and put aluminum foil in a 9x9-inch baking pan, leaving some hanging over the sides. This hanging bit will help you lift the bars out later. Don't forget to spray with cooking spray so nothing sticks.
- Melt the Butterscotch Base:
- Put butterscotch chips and butter in a pot over medium-low heat. You'll need to be patient here as it takes about 5 minutes to melt properly. Keep whisking the whole time so it doesn't burn. Don't worry if it looks weird and grainy at first – it'll smooth out eventually.
- Create the Crust Mixture:
- After your butterscotch mix looks smooth, dump in the graham cracker crumbs and mix until everything's combined. It'll be thick and a bit crumbly but should stick together when pressed. Take out 1 heaping cup and set it aside for the top.
- Form the Crust:
- Put the rest of your butterscotch crumb mix into the pan. Press it down firmly to make a solid base. A measuring cup bottom works great for packing it down tight.
- Make the Cheesecake Filling:
- Beat the cream cheese with a mixer until it's fluffy, about 2-3 minutes. Don't rush this part if you want it silky smooth. Then add your egg, sweetened condensed milk, vanilla, and salt. Keep beating until everything's mixed in. If you see little cream cheese lumps, just keep beating until they're gone.
- Assemble and Bake:
- Pour your cheesecake filling over the crust and spread it out to the edges. Sprinkle that cup of crumbs you saved all over the top. Bake for 32-35 minutes until it feels set but still jiggles slightly when moved. The top should feel a bit springy when you touch it lightly.
- Cool and Chill:
- Let the bars cool for about an hour at room temperature before covering and putting them in the fridge for at least 2 hours. This cooling time really helps the flavors come together and makes the bars easier to cut cleanly.
 Pin it
Those butterscotch chips really make this dessert special. I stumbled on this combo while playing around with different cheesecake bar bases. The first time my family tried that buttery graham cracker crust with rich butterscotch, they practically fought over who got the last piece. I now always keep butterscotch chips on hand for surprise visitors or when I need a quick dessert fix.
Melting Butterscotch Like a Pro
Getting those butterscotch chips to melt just right can be tricky. They don't melt as nicely as chocolate chips do. They tend to go through a weird stage where they look separated and lumpy. Keep your heat on the lower side and never stop whisking. Eventually, they'll turn smooth and shiny. If the mix seems too thick, a tiny bit of neutral oil can help thin it out. Don't give up when it looks messy – it'll come together in the end.
Make Ahead and Storage Options
These bars actually taste better after sitting in the fridge overnight as everything melds together. You can make them up to three days before you need them. They'll stay good in the fridge for about a week if covered well. Want to save them longer? Wrap them tightly in plastic then foil and freeze for up to three months. Just put them in the fridge overnight to thaw. Only cut what you'll eat and keep the rest stored for maximum freshness.
Serving Suggestions
These bars taste amazing on their own, but you can fancy them up for special occasions. Try adding a small scoop of vanilla ice cream or some whipped cream on top. A warm butterscotch sauce drizzle or some toffee bits sprinkled over makes them extra special. I love setting these out cut into bite-sized pieces alongside chocolate desserts at parties. The butterscotch flavor stands out and always gets folks talking.
 Pin it
Frequently Asked Questions
- → What's the easiest way to melt butterscotch chips?
Warm butterscotch chips using low heat while stirring often. Take your time to get a smooth, buttery mix.
- → Can I prepare these ahead?
You bet! Keep them in a sealed container in the fridge for up to seven days. These are best served cold.
- → What pan size works for this treat?
A 9x9-inch pan lined with foil is ideal. It makes cleaning up easy and ensures even baking.
- → How do I avoid lumps in the cheesecake layer?
Whip cream cheese on high speed until it’s soft. Scrape the bowl down often as you add the other ingredients.
- → What's the best way to store them after baking?
Let them cool for an hour on the counter. Then cover and refrigerate. They'll stay fresh for a week in an airtight container.