
 Pin it
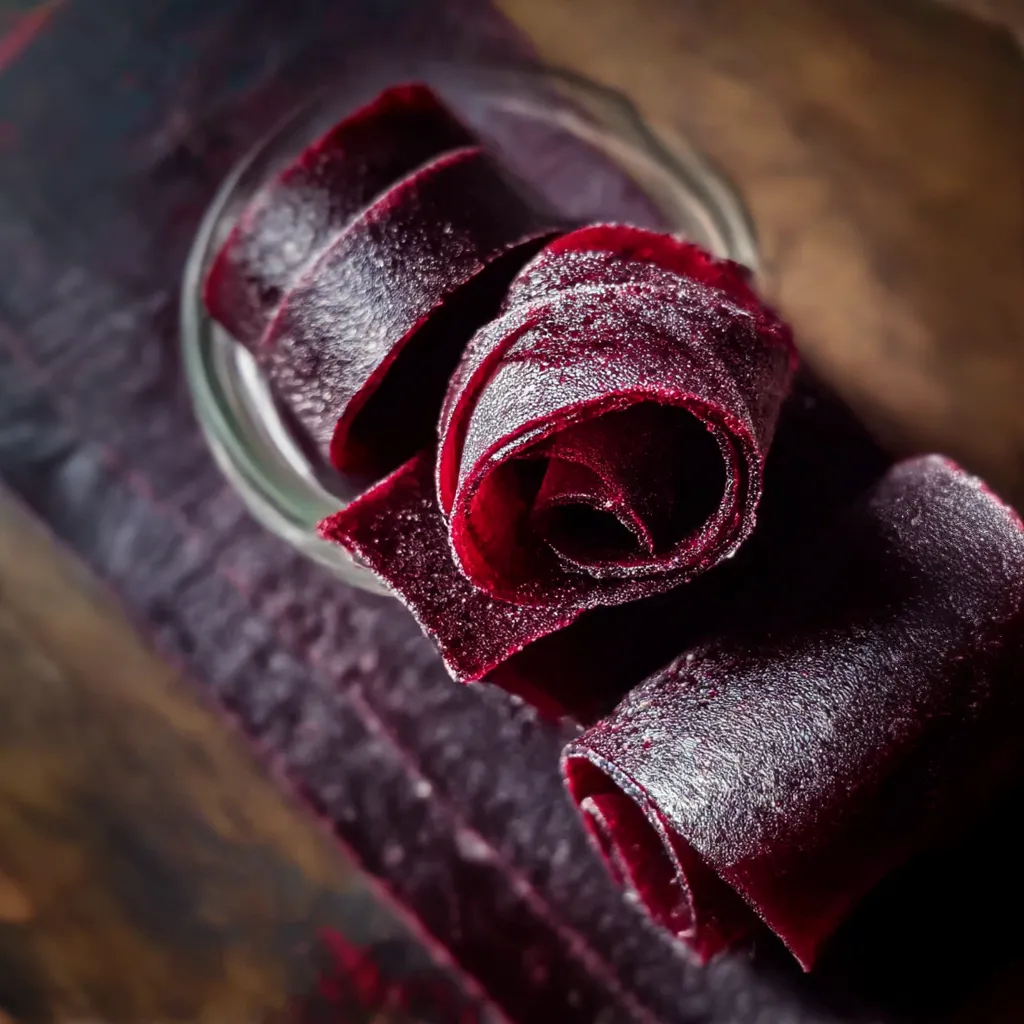
Making your own cherry fruit strips is a nostalgic treat that brings back sweet memories with every chew. All you really need are cherries and a bit of sweetener. Kids and grownups can't resist this fun chewy snack and you can use whatever fruit you have on hand.
When I made cherry fruit leather for the first time summer took over my whole kitchen My kids kept sneaking bites before the strips were even cool enough
Essential Ingredients
- Honey or sugar: Sweetens things up and cuts tartness Skip it if your fruit is ultra sweet and ripe
- Cherries: Go for cherries that are plump deep colored and not squishy—that makes the flavor pop
- Water: Just enough so the cherries blend easily Filtered water keeps everything tasting fresh
Simple How-To
- Store:
- Pop the finished fruit strips in a sealed container in your fridge. They'll keep best for days. Want to keep them longer? Add an oxygen absorber and stash them to stay fresh
- Cut and Roll:
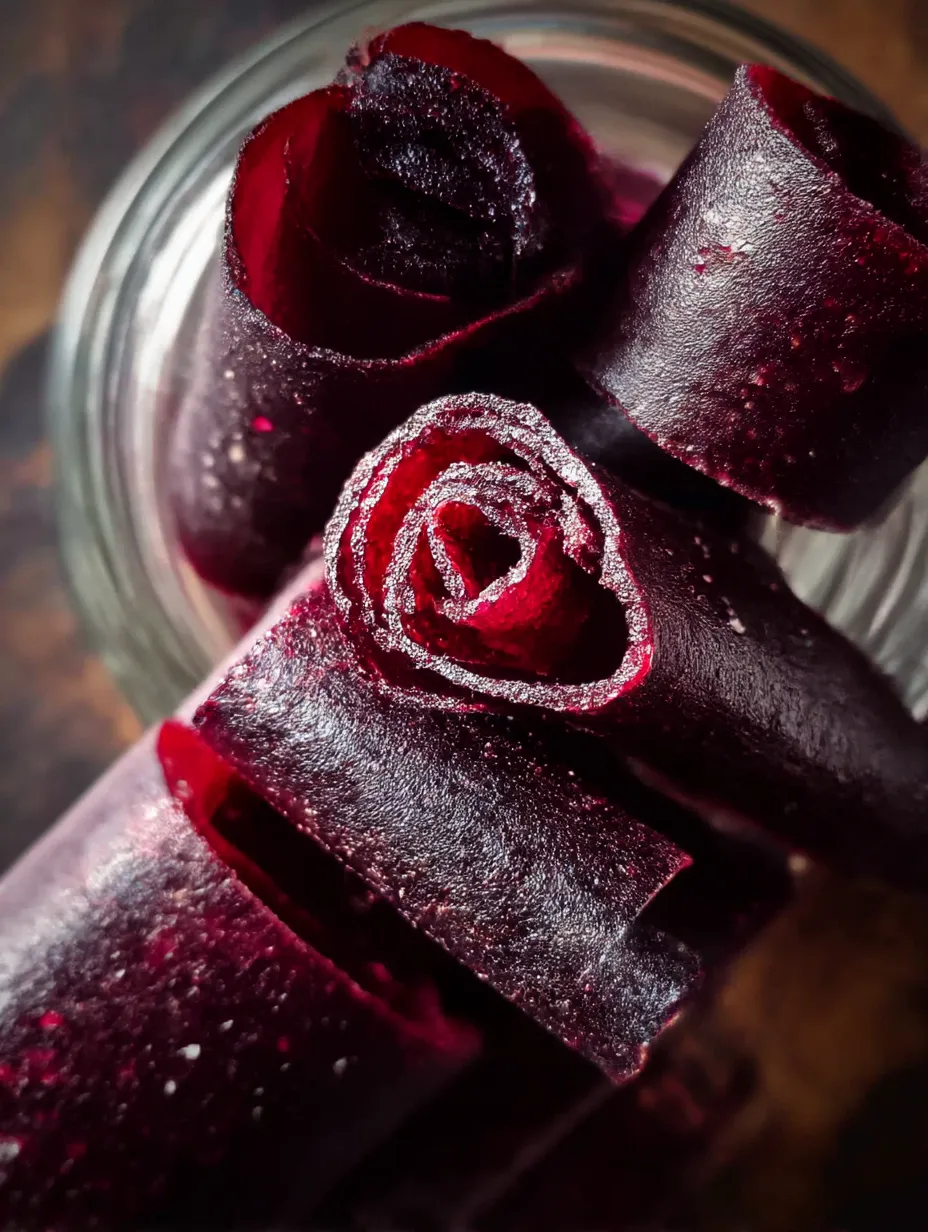
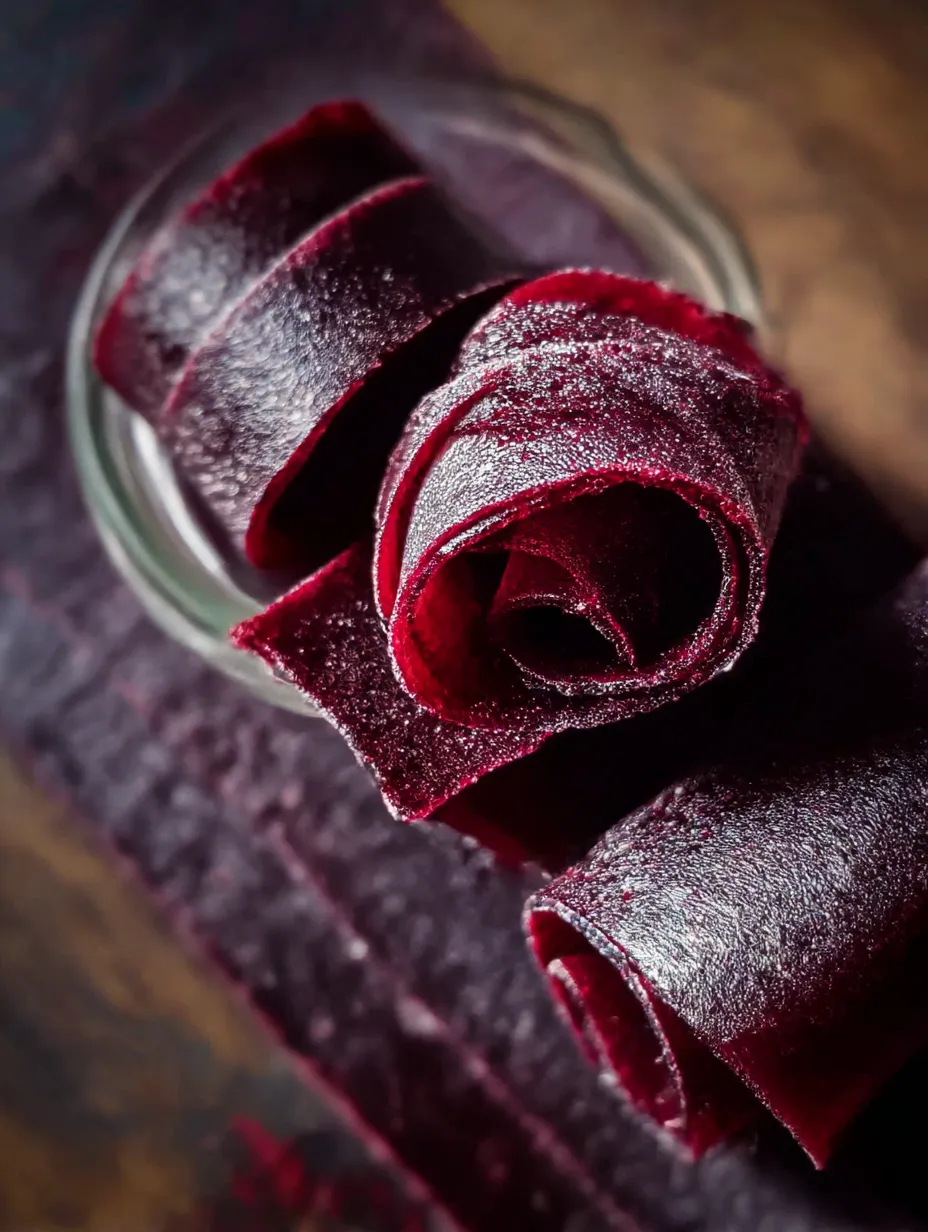
- Once totally cool and dry just peel the leather off the tray Use clean scissors to make long strips Roll each up nice and tight. Tie with string for the classic vibe
- Dehydrate or Bake:
- In your dehydrator go for 125°F setting and plan for 6-12 hours Check after six hours to see if a corner peels clean. Using the oven? Set to 170°F and bake about five hours. Rotate trays now and then. You want them tacky—not damp
- Spread on Dehydrator or Baking Sheets:
- Line your trays with parchment or silicone mats Scoop the blended fruit onto each. Use a spatula to spread it about 1/8 inch thick
- Blend Until Smooth:
- Move the bubbly cherry mix to a blender or food processor. Go slow and be extra careful with the heat. Blend it all until there aren't any chunks left
- Cook Down the Fruit:
- Pour pitted cherries, water, and your sweetener into a sturdy pot. Let everything boil gently—keep stirring. Once the cherries break down after 15-20 minutes, cut the heat
- Wash and Prep the Cherries:
- Give the cherries a good rinse and look for any leaves or stems. Remove them and get rid of the pits by hand or with a cherry pitter. Hang onto the pits if homemade syrup or jelly is in your future
 Pin it
Cherry season is always something I wait for because these sweet strips remind me of sunny kitchen days with my grandma. She showed me that fruit plus a little waiting brings out the best treats
Storing It
Your homemade fruit leather lasts longest if you keep it in the fridge. It stays soft and chewy up to two weeks but you can freeze it for three months if you want. Always check the strips are fully dried out before sealing them up so they stay mold free
Other Swaps
No cherries in the house? Mango, peaches or strawberries work just as well. Want to drop processed sugar? Just use honey or skip sweetener if your fruit's sweet enough. Splash a little lemon juice in for a tangy kick or some vanilla for a twist
Serving Ideas
Slip cherry fruit leather into lunch bags for a cool treat. It’s great post-workout for a little boost or cut into cubes for a fruity spin in yogurt or with cereal. These are a blast at parties or picnics—just roll them up in parchment for easy sharing
 Pin it
A Little Background
This fruity snack comes from old-school ways of drying fruit puree in the sun to save the harvest. You’ll find it in parts of Asia and the Middle East called lavashak or pestil. Making fruit leather today keeps extra fruit from going to waste and connects us to those age-old methods
Frequently Asked Questions
- → Is it possible to make this with different fruits?
Totally! Blueberries, strawberries, and peaches work just fine—basically, any ripe, soft fruit you have is good.
- → Do I need a dehydrator or can I use my oven?
You don’t have to own a dehydrator. Just set your oven on low and let the mixture dry out until it’s leathery.
- → How will I know it’s completely done?
You want it to feel a bit sticky, not wet. It should peel off easy without sticking all over the tray.
- → How long will the finished leather stay good?
If you keep it in a sealed container somewhere cool (or pop it in the fridge), your fruit leather should last weeks.
- → What if I want it less sweet?
No problem! You can leave out or cut back the sweetener depending on how tart you want it or how ripe your fruit is.