
 Pin it
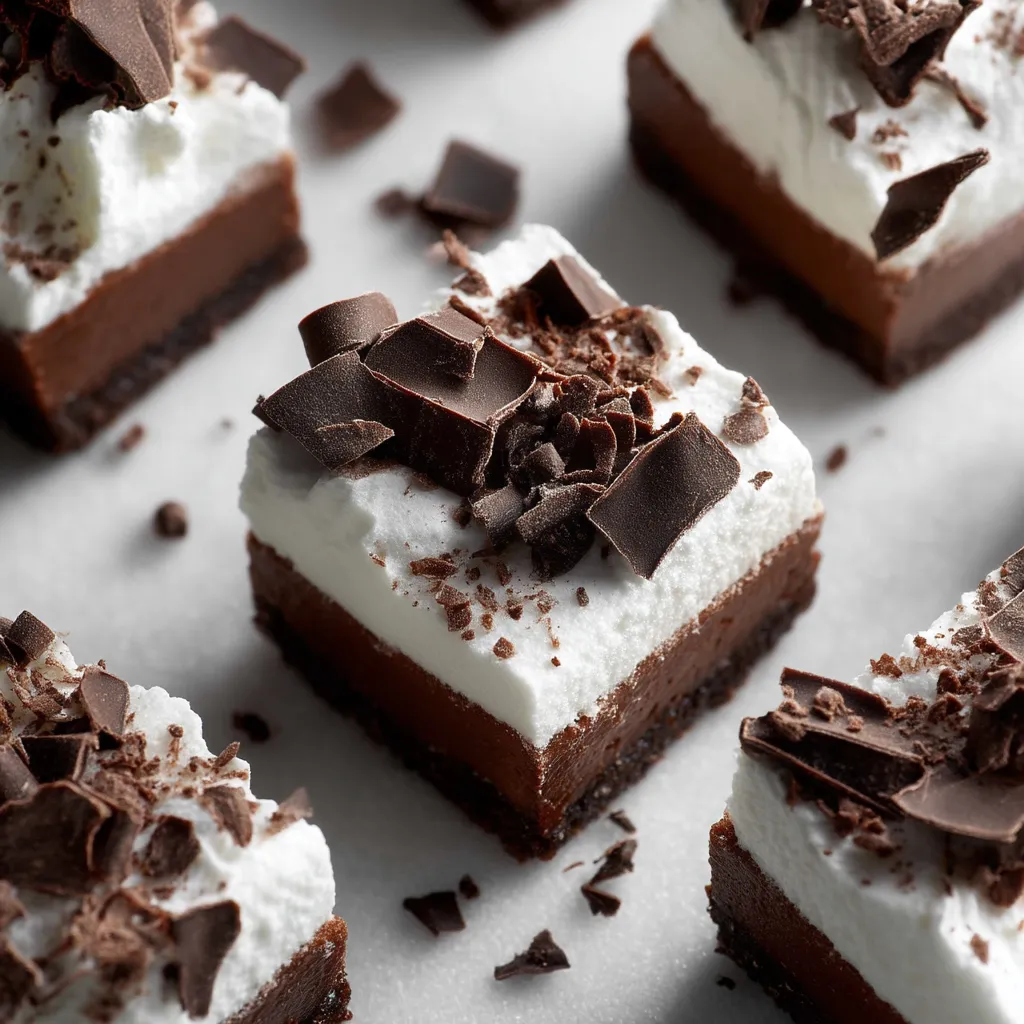
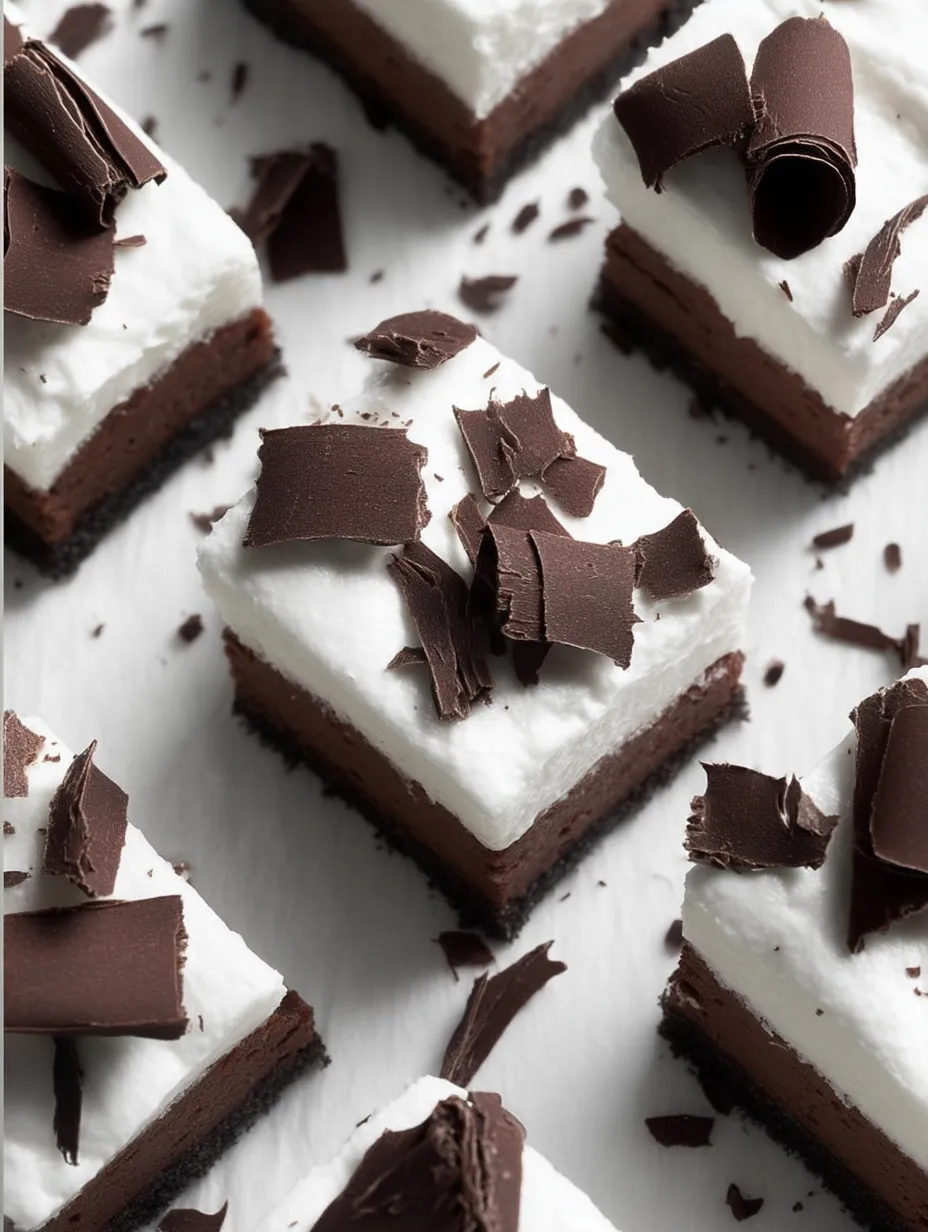
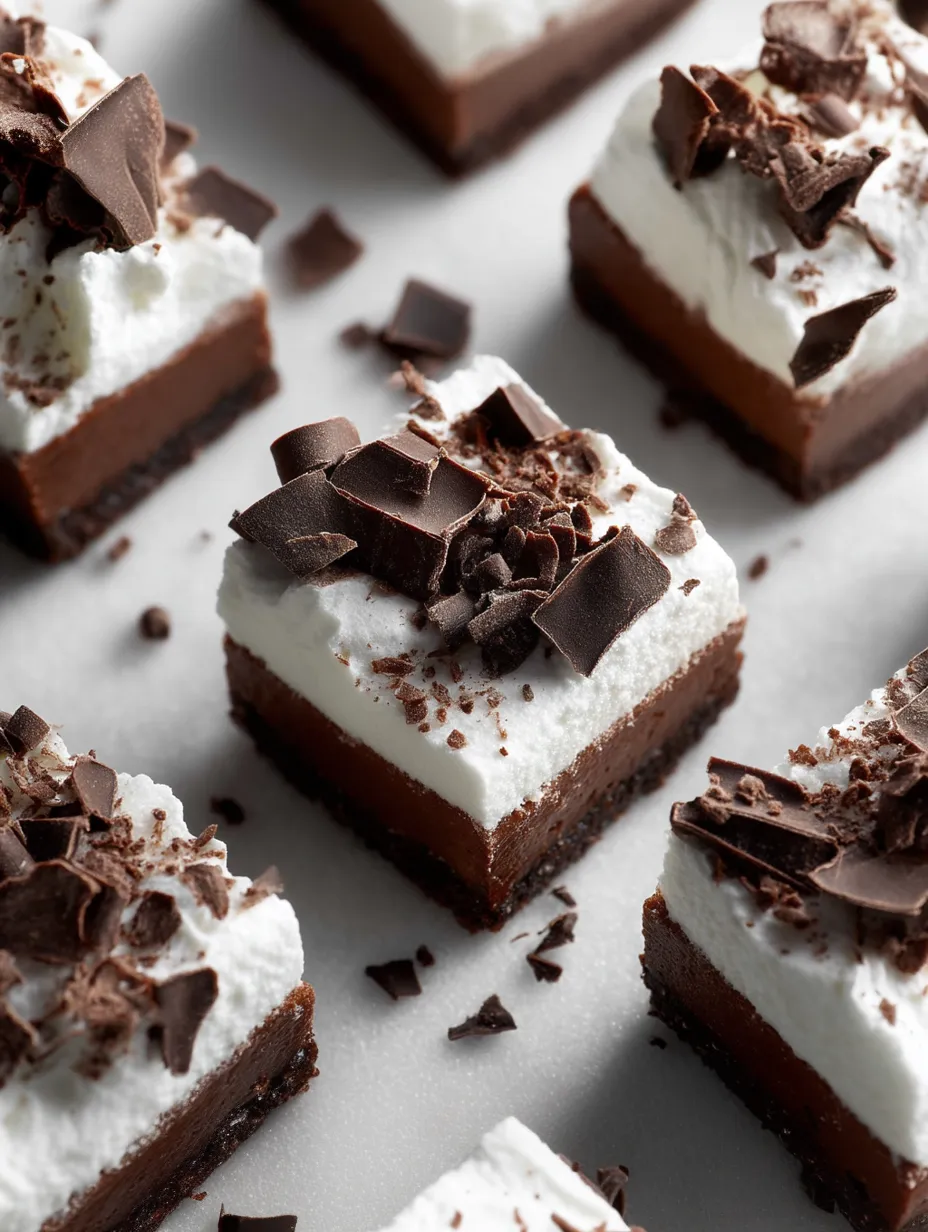
Picture this: a mouthwatering three-layer treat that takes chocolate cream pie and transforms it into convenient bar form. The combo of crunchy cookie base, smooth chocolate middle, and fluffy whipped topping makes an absolute dream for anyone who loves chocolate. They'll be the star at any party you bring them to.
I came up with these squares for a block party when I needed something folks could grab easier than slice of pie. They vanished so fast I couldn't believe it, and now everyone bugs me to bring them whenever we all get together.
What You'll Need
- Oreo cookie crumbs: They form that amazing chocolatey foundation that works perfectly with the filling
- Unsalted butter: It helps the crumbs stick together and makes the base taste richer
- Heavy whipping cream: This gives you that cloud-like texture that makes the filling so darn good
- Semisweet chocolate chips: Don't cheap out here - better chocolate means way better taste
- Unsalted butter: It adds that smooth richness to your chocolate mixture
- Full fat cream cheese: Brings a nice tang and helps everything hold together against the sweetness
- Powdered sugar: Melts right in without any graininess for the smoothest possible filling
- Unsweetened cocoa powder: Kicks up the chocolate flavor - try Hershey's Special Dark for extra wow-factor
- Vanilla: Makes all those chocolate flavors pop with its warm background notes
- Salt: Don't skip this - it cuts the sweetness and makes chocolate taste even more chocolatey
- Heavy whipping cream: Make sure it's cold from the fridge for the biggest, fluffiest volume
- Powdered sugar: Helps your whipped cream keep its shape and not collapse
- Vanilla: Adds that little something extra that works so well with the chocolate layers
- Shaved chocolate: You can skip it, but those little flakes look gorgeous and add bonus chocolate flavor
How To Make Them
- Get Your Pan Ready:
- Put parchment in your pan with extra hanging off the sides. These paper handles will let you lift out the finished bars super easily without messing them up.
- Make Your Cookie Bottom:
- Crush those Oreos till they look like sand. Take out the filling first for the best results. Mix thoroughly with melted butter so every bit gets coated. Press it down really firmly using a measuring cup to get a flat, packed layer that won't fall apart when you cut it.
- Quick-Bake the Base:
- Just 10 minutes at 350°F does the trick to set everything. The perfect base should be slightly soft but stay in one piece when you cut the bars later.
- Get Your Chocolate Ready:
- Take your time with the double boiler approach. Keep water at a gentle simmer instead of boiling hard so you don't wreck the chocolate. Keep stirring until everything looks glossy with no clumps or rough spots.
- Beat Your Cream:
- For that amazing filling, whip the heavy cream until you see stiff peaks that stay upright when you pull the beaters out. Stick it in the fridge right away to keep that perfect texture while you work on other parts.
- Fix Up the Chocolate Mix:
- When you blend cream cheese with the dry stuff, start slow so you don't wear it everywhere, then speed up to medium to get some air in there for a lighter feel. Make sure everything's totally smooth before adding in your melted chocolate.
- Mix It All Together:
- How you fold matters a ton here. Use a big spatula, cut down the middle, then sweep along the bowl's edge and turn everything over. This keeps all the air bubbles in your whipped cream for that mousse-like goodness.
- Let It Set Up:
- Three hours minimum in the fridge, but leaving it overnight works even better. The flavors get deeper and you'll get cleaner slices when you cut it.
- Add the Final Layer:
- Save this step for just before you're ready to serve for the freshest look. The dark chocolate filling looks amazing next to that bright white cream on top.
- Cut Them Perfectly:
- Wipe your knife clean between each slice for picture-perfect squares. A knife dipped in hot water cuts through everything smoothly without dragging filling everywhere.
 Pin it
The game-changer in this dessert is definitely that special dark cocoa powder. I found out how amazing it was when I whipped these up for my daughter's birthday a few years back. She swore they beat anything from fancy bakeries, and now we always make them together as our little tradition.
Keeping Your Chocolate Bars Fresh
These treats stay awesome for up to four days if you keep them in the fridge in something airtight. Want to save them longer? Just wrap each piece in plastic, then foil, and freeze them. They thaw beautifully overnight in the fridge with hardly any change in texture. I usually freeze them without the whipped topping and add that fresh after they've thawed.
Making Them Your Own
The basic recipe is fantastic, but you can mix things up easily. Try a graham cracker or shortbread cookie base for something different. Coffee fans might love adding a spoonful of espresso powder to the chocolate part. If you're into white chocolate, swap the regular chips for white ones and you've got a whole new dessert. My family goes crazy for the minty version we make during Christmas season - just add a few drops of peppermint extract to both the filling and the topping.
 Pin it
Tasty Ways To Serve Them
These bars work for fancy dinner parties but they're just as good for casual hangouts. They're delicious on their own, but you can dress them up too. Try a raspberry sauce drizzle for pretty color and fruity tang. If you love coffee, serve them with a shot of espresso to bring out the chocolate even more. In summer, toss some fresh berries alongside. I always bring these to dinner parties with tiny forks and tell everyone to try each layer by itself before taking a bite with all three together.
Frequently Asked Questions
- → How do I make a cookie base?
Blend Oreo crumbs (without filling), mix with butter, press flat in a pan, and bake at 350°F for a quick 10-minute crust.
- → Is semi-sweet chocolate okay for the filling?
Absolutely! Just adjust sweetness if you’re using other chocolates, like milk or dark varieties.
- → Why’s it important to keep this cold?
Keeping it chilled helps the layers stay firm and lets the flavors mix wonderfully into each bite.
- → What can I add to dress up the whipped cream?
Add vanilla for a yummy flavor boost, or sprinkle with chocolate curls or shavings for a fancy touch.
- → Can I freeze these for later?
Totally! Store them in the freezer and thaw in the fridge when you’re ready to serve. They’ll come out just as delicious.