
 Pin it
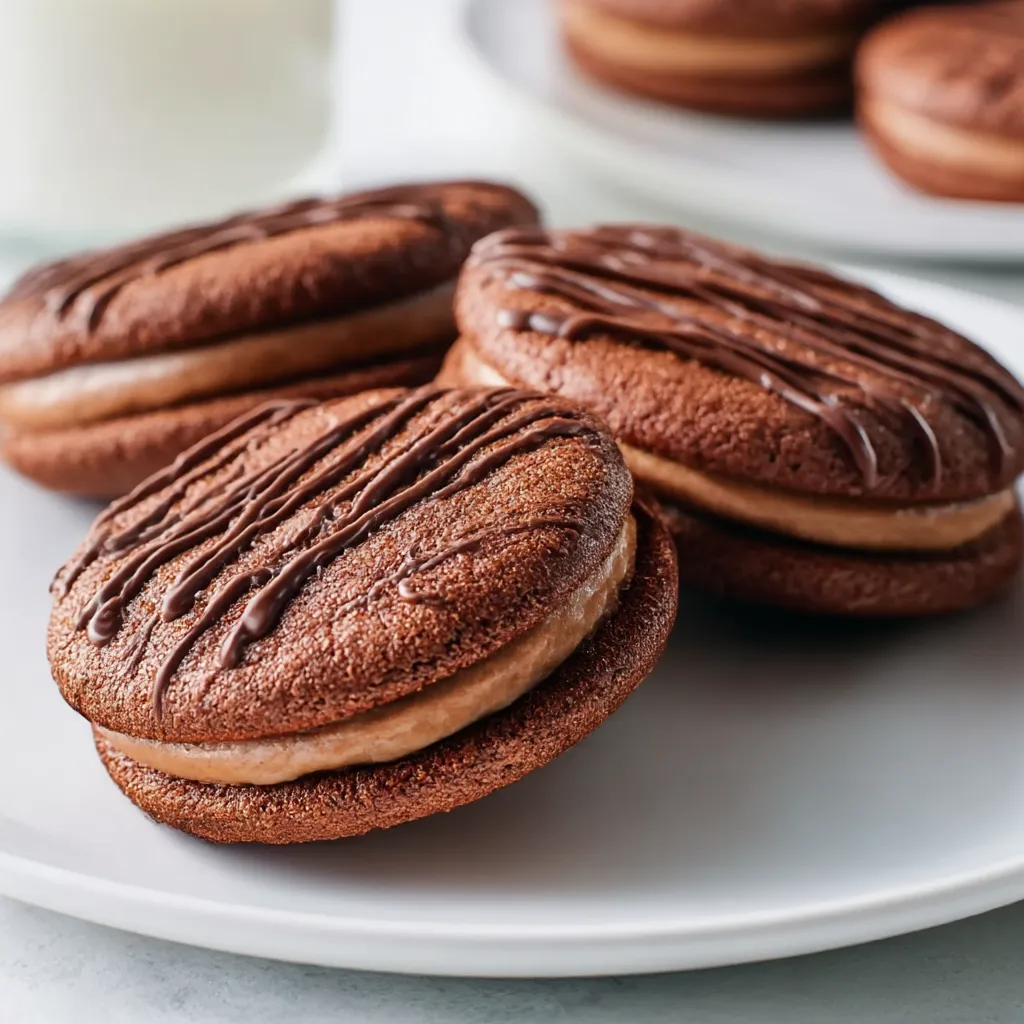
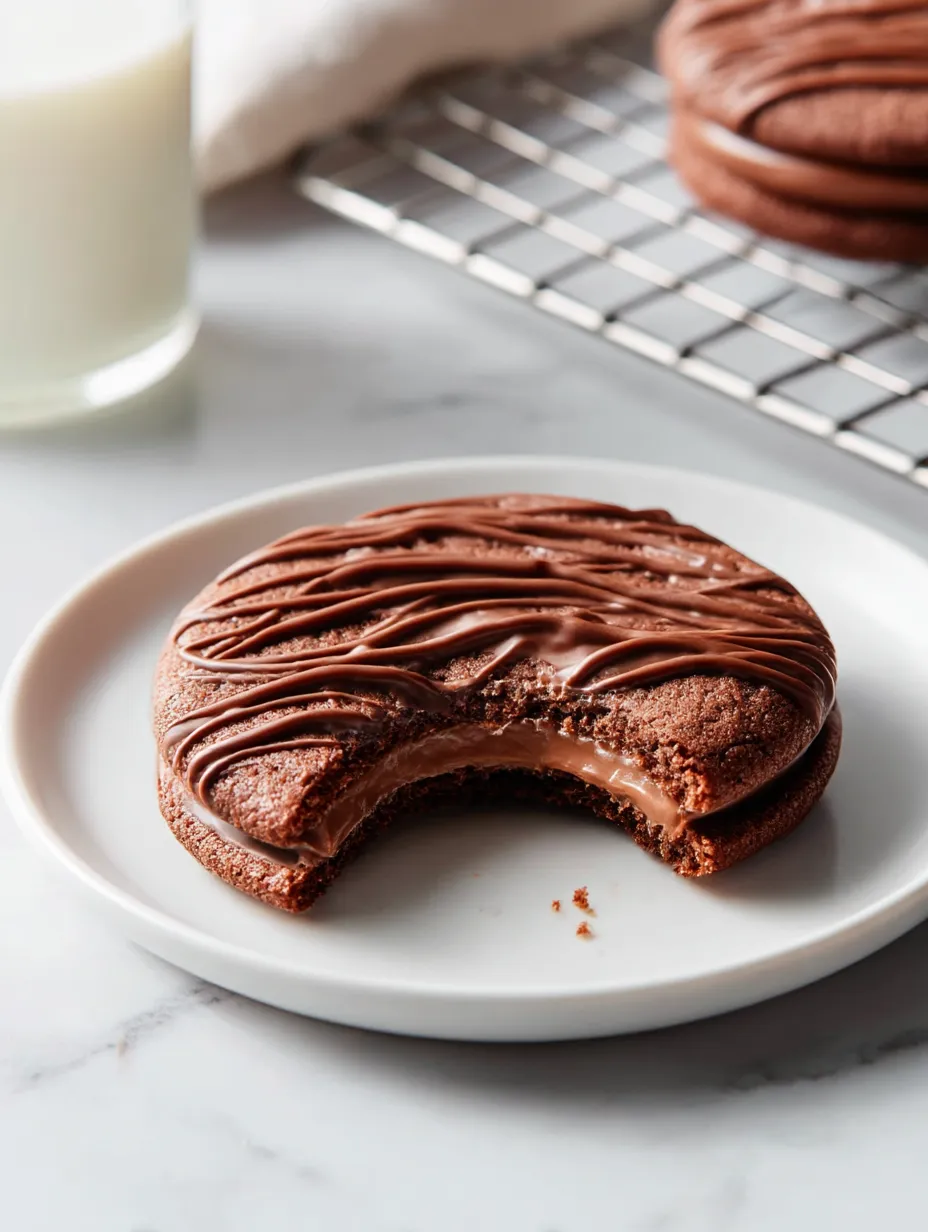
Making these Fudge Rounds from scratch always takes me back to those classic chocolate snack cakes I used to crave as a kid. They're extra chocolatey, super soft, almost gooey, and there's that creamy center and chocolate striping on top. Whenever I bake a batch for friends or family, everyone's impressed and it brings back the best old-school vibes.
When I first baked these for my nephew's party, his face lit up after just one cookie. He swore off the boxed ones forever after that.
Decadent Ingredients
- Warm water: Pulls the filling together and makes it easier to spread. Stick to clean water that's a bit warmer than room temp
- Powdered sugar: Keeps the filling pillowy and sweet. I always sift mine so there aren't any clumps
- Vegetable oil: Gets the chocolate drizzle glossy when melted and helps it firm up
- Milk chocolate chips: The secret to that shiny drizzle on top. Go for a creamy brand for best results
- Fine salt: Brightens the chocolate flavor and keeps the cookies from tasting too sweet
- Baking soda: Makes your cookies puff up, then they settle down flat as they cool. Double check yours isn't old for best results
- Cornstarch: Gives a tender bite and soft cookies. If you can, pick fine or organic
- Unsweetened natural cocoa powder: The hero of the rich chocolate kick. Natural style keeps it traditional and real chocolatey
- All-purpose flour: Holds everything together. I always sift it so the dough's not heavy
- Vanilla extract: Doesn't overwhelm the chocolate, just rounds out the flavor. Pure is best if you have it
- Light corn syrup: For chewy cookies that won't get crumbly. Make sure it's clear and smells fresh
- Large egg: Makes the dough stick together. Large eggs keep the cookies chewy and shiny
- Granulated sugar: Adds sweetness and gives those chewy edges. I always check it's fresh without lumps
- Unsalted butter: Rounds out the cookie and filling, making them extra soft. Splurge on a better butter if you want
Simple Steps
- Set and Enjoy:
- Before you bite in, let them sit at room temp or in the fridge for just a bit to lock in the texture. Store extras however you like best
- Sandwich It Up:
- Slather filling on half your cookies (flat side) and top with the other half, pressing just enough so you see a little filling peek out
- Prep That Filling:
- Beat softened butter smooth, add sifted cocoa and powdered sugar, then blend in warm water and vanilla. Keep mixing 'til it's whipped and dreamy
- Drizzle Chocolate:
- Microwave your milk chocolate chips with oil, stirring every 15 seconds, until it's all melted and glossy. Drizzle or pipe it over each cookie, then chill to let the chocolate set
- Cool Down:
- Give your cookies just a few minutes on the baking sheet, then gently move them onto racks so they finish cooling and flatten a bit
- Bake the Cookies:
- Scoop about one and a half tablespoons of dough per cookie onto lined sheets, spreading them two inches apart. Bake at 350°F for 8–9 minutes 'til puffed
- Mix Your Dough:
- With your mixer on low, add your dry ingredients one bit at a time into the wet. Combine only until it just pulls together
- Dry Ingredients Meet:
- Stir together flour, cocoa, cornstarch, baking soda, and salt in a separate bowl so the color looks even
- Add All the Wet Stuff:
- Now, toss in the egg, syrup, and vanilla with your butter mixture and mix until it’s fully smooth
- Butter and Sugar First:
- Beat room-temp butter and sugar together in your stand mixer for around 3 minutes, until fluffy and light
- Line Baking Sheets:
- Cover two baking sheets with parchment paper to keep cookies from sticking and help them cook evenly
 Pin it
Good to Know
- The chewy fudge texture comes from corn syrup, so don't skip it
- Freeze these chocolate sandwich cookies if you want to stash some for later
- Double the batch for lots of guests and parties
The best part for me is pouring melted chocolate all over. My kids love helping, and every cookie looks a little different. Our kitchen turns into a creative zone whenever we make these—it's what makes this treat extra fun for us.
Keep It Fresh
Put finished Fudge Rounds in an airtight box and keep them on the counter for a day or chill for up to five days. If you want to save them longer, freeze in a single layer till hard, then bag them up. They're awesome cold—the middle gets denser and fudgier.
 Pin it
Swaps and Switches
If you're out of corn syrup but have golden syrup, use that for a touch of caramel flavor. Need dairy-free? Just grab a solid vegan butter for the filling—don't use the super soft kind. You can use dark or semi-sweet chips for topping if you want a big chocolate punch.
Fun Ways to Share
Pack these in lunch bags, stack them up for parties, or show them off at bake sales. We pair them with cold milk, hot coffee, or espresso for a real treat. They travel well, so they're awesome for gifts and celebrations too.
Sweet History and Homestyle Memories
Fudge Rounds totally bring back memories of trading snacks at school and after-class treats in the US. Making them at home with simple stuff and real butter feels like old-time American baking. The drizzling and sandwiching is part of the throwback fun—just made with a little more love than the store version.
Frequently Asked Questions
- → How can I make sure Fudge Rounds stay soft?
Don't bake them for too long. Keep them in a sealed container, or toss them in the fridge if you want them extra fudgy.
- → Is golden syrup a good swap for corn syrup?
Totally! Just use the same amount and you'll still get that top-notch chewy vibe.
- → Which chocolate should I melt for the top?
Grab milk chocolate chips—they melt fast. Mix with a splash of oil for extra shine and easy drizzling.
- → When are the cookies done baking?
When they look puffed and the sides feel set, they're ready. They'll fall a bit while cooling and stay nice and soft.
- → Is it okay to freeze the filled cookies?
Yep! Stash them in the freezer for up to a month. Thaw in the fridge or just munch on them straight from the freezer.