
 Pin it
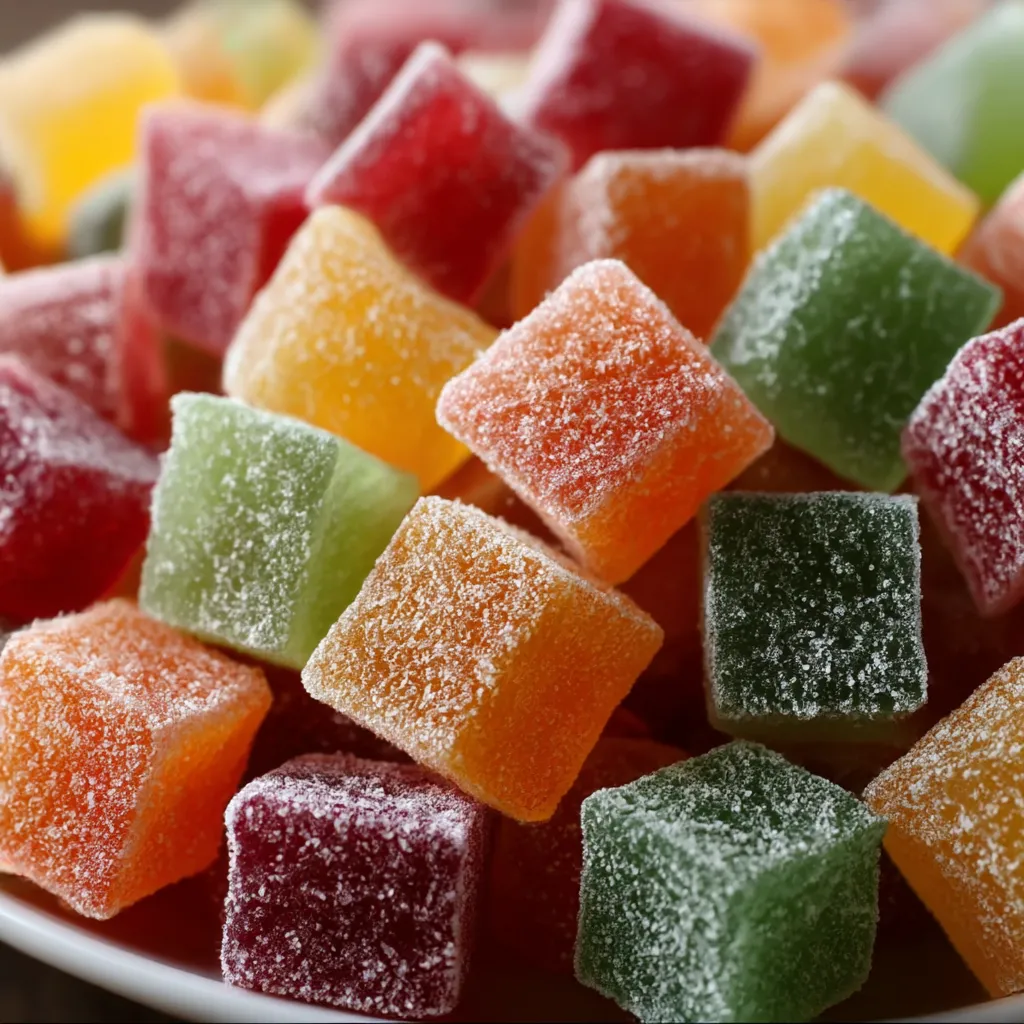
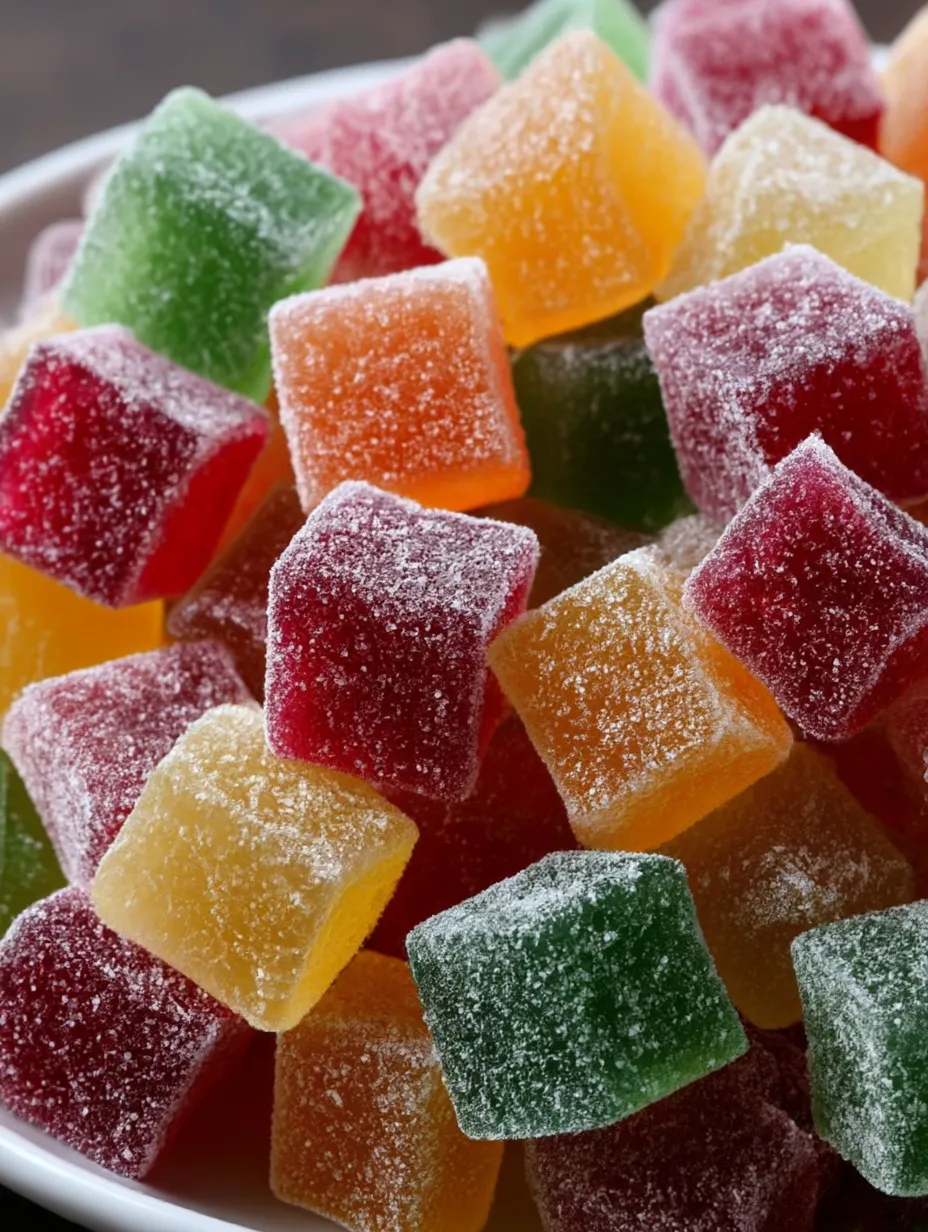
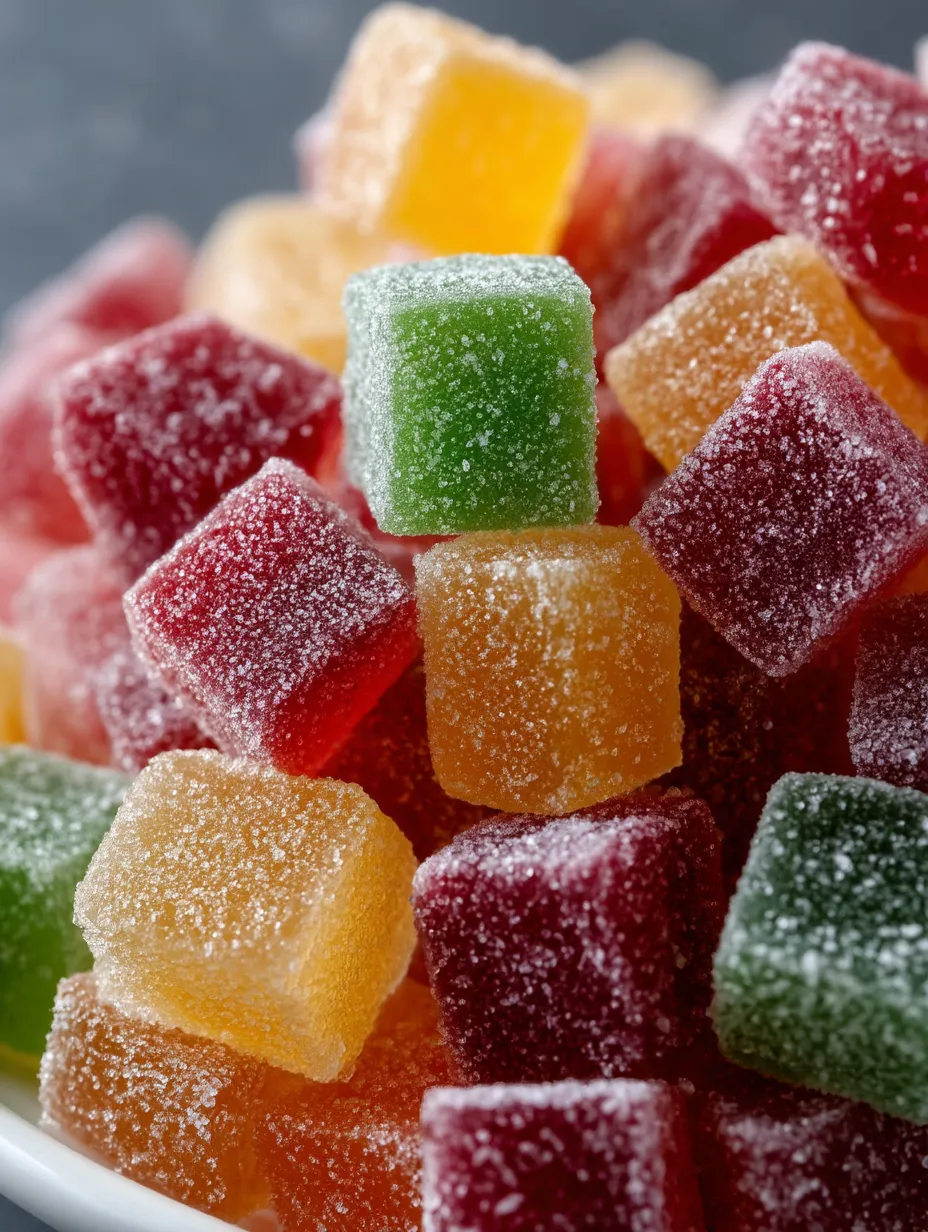
There's something just so fun about making these chewy gumdrops at home—they're bright, bouncy little bites that always take me back to family holidays and county fairs. Each one packs a sweet punch with a bit of tang and you can whip up your own shades and shapes every time, so you never get bored.
Making these with my niece for the first time turned a rainy day into a memory. We spent hours laughing, mixing colors, and now it’s our go-to thing to do when we’re stuck inside.
Delightful Ingredients
- Extra sugar for coating: toss your finished candies in this to keep them from sticking and give a sparkly look
- Food coloring: jazzes up the gumdrops with bold colors — gel works best and won’t water things down
- Lemon or vanilla extract: gives your candies a bright zing or mellow sweetness. Pure extracts taste best
- Water: ties everything together and helps dissolve the ingredients properly; filtered keeps flavors fresh
- Gelatin powder: creates that squishy, chewy feel — stick to the unflavored kind
- Sugar: the base for both the flavor and look, fine granulated sugar melts easily
Cheerful Step-by-Step
- Unmold and Sugar Coat:
- After gumdrops have set, pop them out or gently slice them up if using a pan. Toss every piece in extra sugar, making sure they’re totally covered. Put them on parchment or a rack for a few minutes so the outside sets up before you serve them.
- Mold the Gumdrops:
- Grease your molds or pan a little, then pour or scoop in the gel mix. Smooth it out and let it chill undisturbed for four hours so it’s firm to the touch.
- Combine and Mix:
- Take your pot off the heat. Add the bloomed gelatin and stir really well until it’s all melted in with no lumps. Want different colors or flavors? Split the mix into cups now and drop in your coloring and flavors, mixing gently.
- Prepare the Sugar Syrup:
- Pour sugar and one and a half cups water into a saucepan. Heat over medium, stirring, for about five minutes. Make sure to use a candy thermometer and watch until the syrup hits 230F—this is the softball point, so your candy will turn out just right.
- Bloom the Gelatin:
- Sprinkle the gelatin powder over cold water in a small dish. Let it hang out for five, even ten minutes, until you see a thick gel and no dry bits. This step is what keeps your treats super smooth.
 Pin it
I love testing out new flavor combos—yellow gumdrops with lemon for a tart pop, mellow vanilla for extra sweetness. One time my niece demanded rainbow swirls, and we just had the best time making wild colors together.
How to Store Them
After you’ve coated each gumdrop in sugar, stash them in a parchment-lined tin or container. Keep it tightly closed at room temp and don’t refrigerate—otherwise, they’ll turn sticky. I like putting wax paper between layers to keep everything separate and they hold up for around two weeks.
Switch Ups
No lemon or vanilla? Try almond, peppermint, orange—pick your favorite! If you’re short on gelatin, swap for agar agar (it’s plant-friendly but makes them a bit firmer). For sour lovers, coat gumdrops with tangy sugar or a sprinkle of citric acid to really make them zing.
 Pin it
Fun Ways to Share
Pack them in jars tied with cute ribbon or pop into cellophane bags—makes for the cutest edible presents. I stick them on cupcakes or use them to decorate birthday cakes too. They’re always a smash hit at classroom parties, especially when everyone can pick their colors.
Sweet Background
People have loved gumdrops for centuries—these treat classics started popping up in early American candy kitchens. They became famous for decorating gingerbread houses and still make holidays feel special. When you whip up your own, you can pick any flavor or shape, way more fun than store-bought ones.
Frequently Asked Questions
- → Which flavors work for these treats?
Lemon and vanilla extracts are great options. If you want to switch it up, try orange, raspberry, or any flavor you like.
- → Is a candy thermometer a must-have?
Yep! It helps your syrup hit the softball stage so the gumdrops end up chewy and just right.
- → Can I use any kind of food coloring?
Definitely. Split your mix and splash in your go-to colors to make bright, playful candies.
- → What's the best way to store them?
After you roll them in sugar and they’ve cooled, stash them in a sealed container on your counter. They’ll stay good for days.
- → Is this something kids will enjoy doing?
For sure! Let kids help mix, color, and sugar-coat. It’s a fun hands-on way to spend time together in the kitchen.