
 Pin it
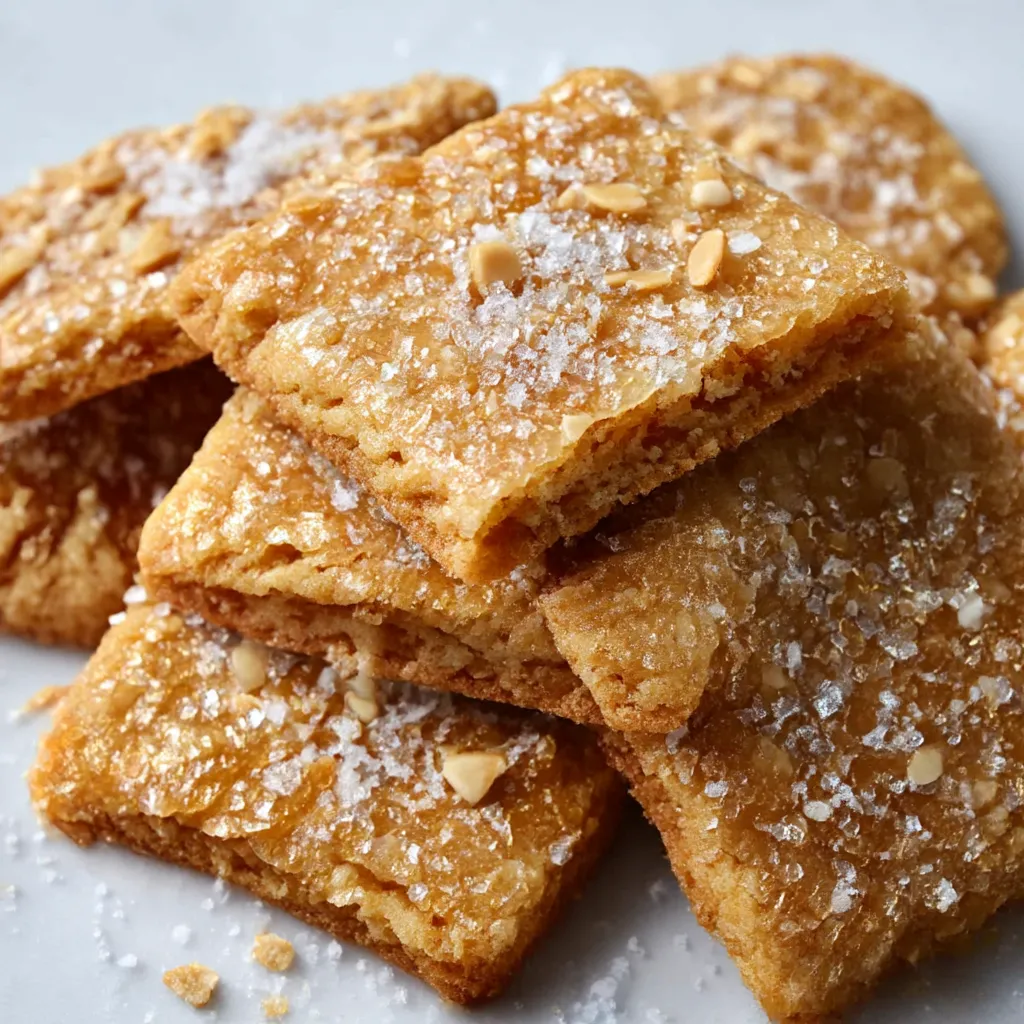
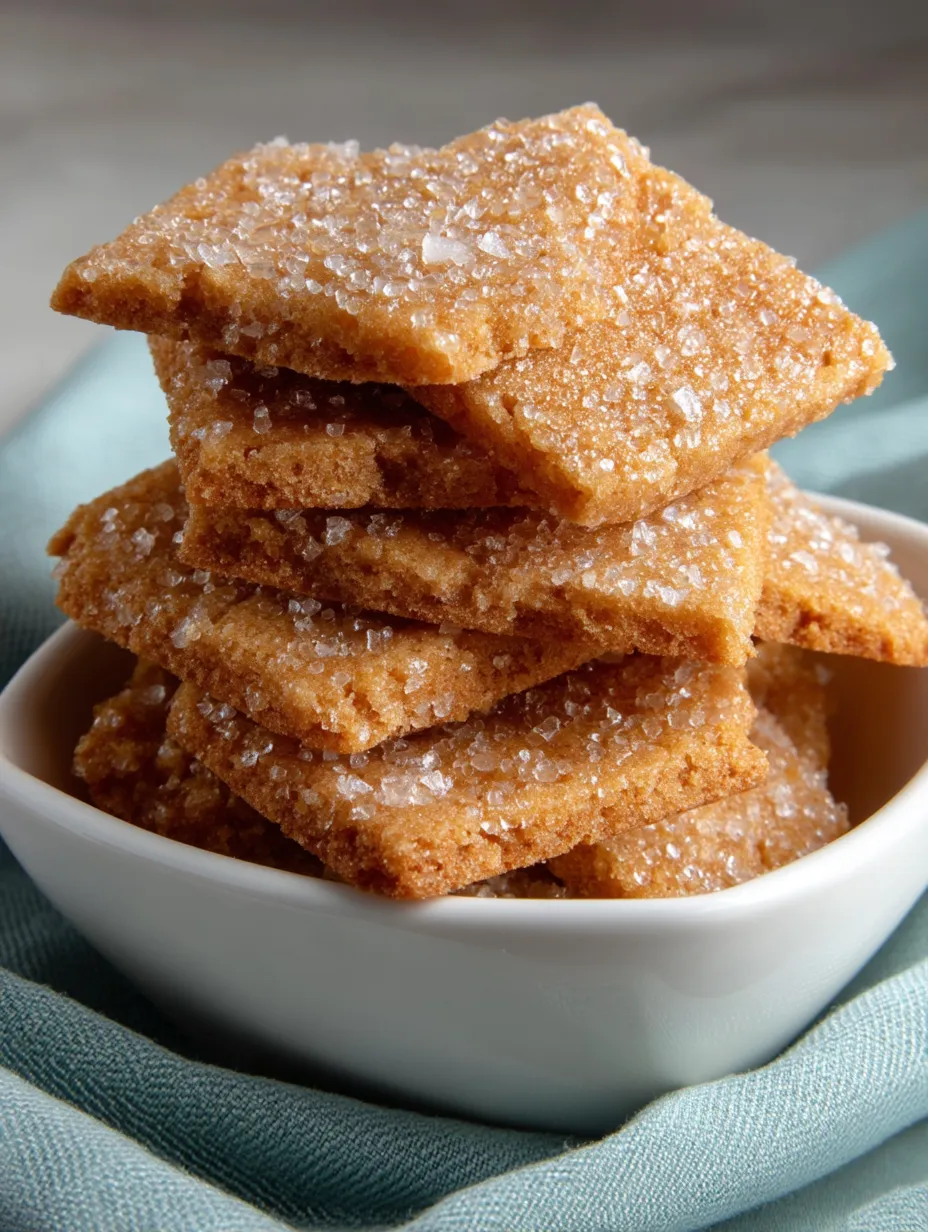
These thin, golden maple cookies shimmer with sugar crystals and pack an amazing maple kick. Slow baking turns basic ingredients into something special that stays crunchy for weeks.
I came up with these for a Christmas cookie swap and they vanished first. The sugar sparkle makes them look fancy, so folks think they took way more work than they actually did.
What You Need
- All purpose flour: Gives the base without making them too heavy
- Whole milk: Adds a creamy touch to the mix
- Maple flavoring: Brings that cozy maple taste without needing pricey syrup
- Instant yeast: Makes them light and helps create that perfect crunch
- Salt: Brings out all the tastes and cuts the sweetness
- Unsalted butter: Added bit by bit to make those flaky layers that break when you bite them
- Coarse white sugar: Gives that eye-catching glitter and satisfying crunch
How To Make Them
- Mix Your Base:
- Put the flour, milk, maple flavoring, yeast, and salt in your mixer bowl. This starts your dough. Room temperature stuff works best for good mixing.
- Slowly Add Butter:
- Cut your butter into eight chunks. Drop them in one at a time, mixing a full minute between each. This slow adding is key for those flaky bits. You'll watch the dough change from crumbly to wet to smooth and stretchy.
- Let It Chill:
- Wrap your dough tight in plastic and stick it in the fridge overnight. This wait lets the yeast work its magic for flavor without making the dough rise, and firms up the butter for better rolling.
- Cover With Sugar:
- When you're ready to bake, throw coarse sugar on parchment paper. Put half your cold dough on the sugar and sprinkle more sugar on top. The sugar doesn't just add sweetness—it makes that pretty sparkle and nice crunch that makes these cookies stand out.
- Roll It Out:
- Roll the dough until it's super thin (about 1/16 inch), adding sugar above and below as you go. This sugar coating is crucial for how they look and feel. Lift the edges now and then to get sugar underneath everywhere.
- Cut and Bake:
- Cut into diamonds or squares with a sharp knife or pizza cutter. Smaller pieces bake more evenly. The long, slow bake at 275°F turns them from soft dough into beautifully browned, crispy treats.
 Pin it
I totally love the coarse sugar in this recipe. I found it by accident when I ordered way too much online. Now I keep it just for these cookies. My grandma always told me that kitchen mistakes often turn into the best family favorites.
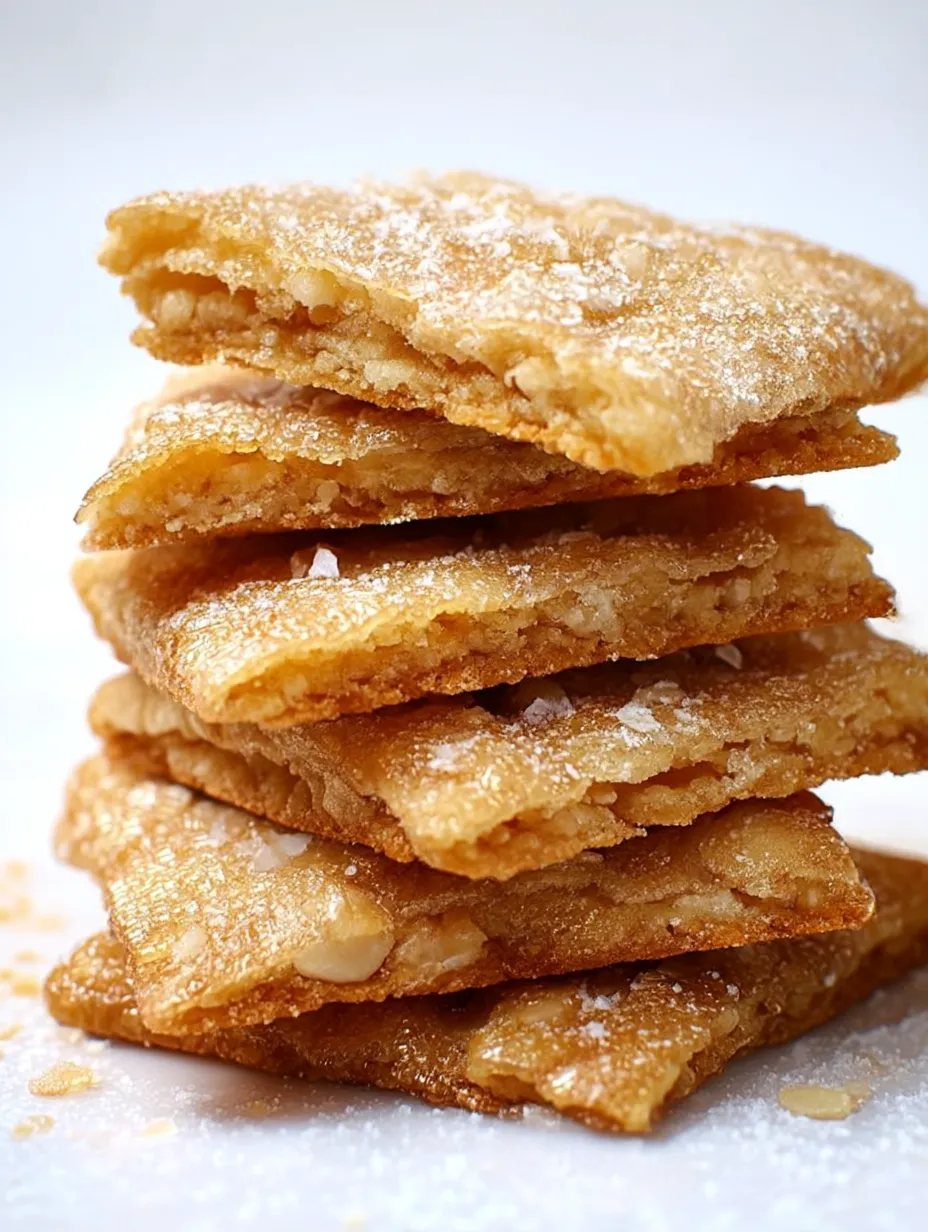
Why They're So Crispy
The way we add butter and the slow baking creates that special crunch. Unlike regular cookies where you cream butter and sugar together, this way makes thin layers like pastry. The yeast adds subtle flavor without making them puffy. The long baking time dries them out completely, giving you that satisfying snap when you take a bite.
 Pin it
Keeping Them Fresh
Keep these cookies between sheets of parchment in an airtight box. Dampness ruins their crunch, so think about throwing in a silica packet if you live somewhere humid. If they do go soft, five minutes in a 250°F oven will bring back their snap without making them darker.
What Goes Well With Them
These cookies taste great with hot drinks. Try them with a maple latte for double maple goodness, or with strong coffee to balance the sweetness. For fancy desserts, they look great standing up in ice cream or mousse. They're sturdy enough to shape into little cups for desserts if you mold them over upside-down muffin tins while they're still warm.
Frequently Asked Questions
- → How do they stay so light and crisp?
Letting the dough rest overnight in the fridge and baking slowly keeps the cookies light, airy, and perfectly crispy.
- → How can I get that rich caramel taste?
Coating the cookie dough generously with coarse sugar before baking ensures a caramelized, rich flavor when golden brown.
- → Can I prepare these ahead?
Absolutely! Chill the dough overnight and bake when ready. Store baked cookies airtight, and they’ll last up to two weeks.
- → What’s the best way to store them?
Wrap the cookies tightly in plastic and keep them in an airtight container to protect them from moisture and maintain their crunch.
- → Can I make them bigger or smaller?
Sure! Slice the dough into any size you like. Just remember, smaller pieces bake more evenly and quickly than larger cuts.