
 Pin it
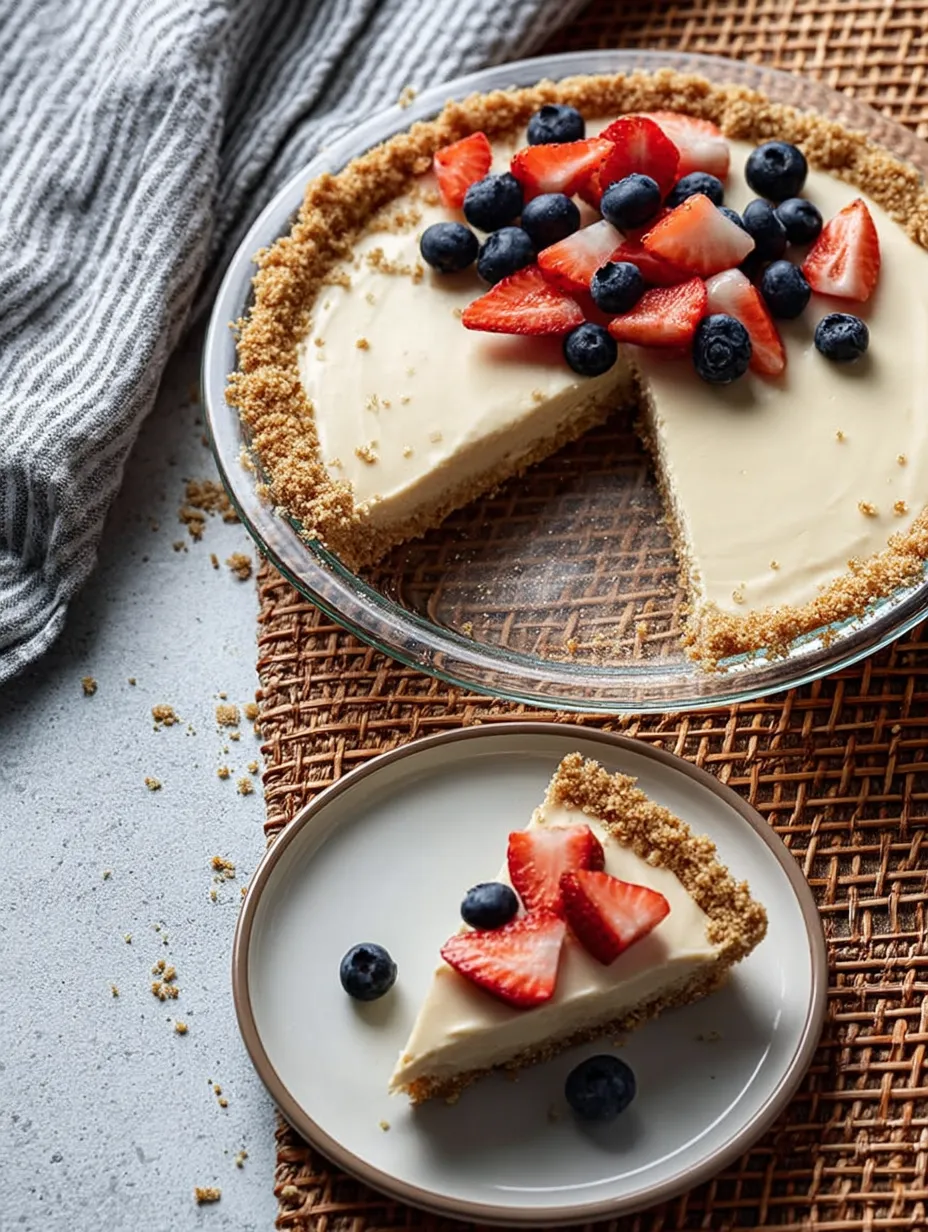
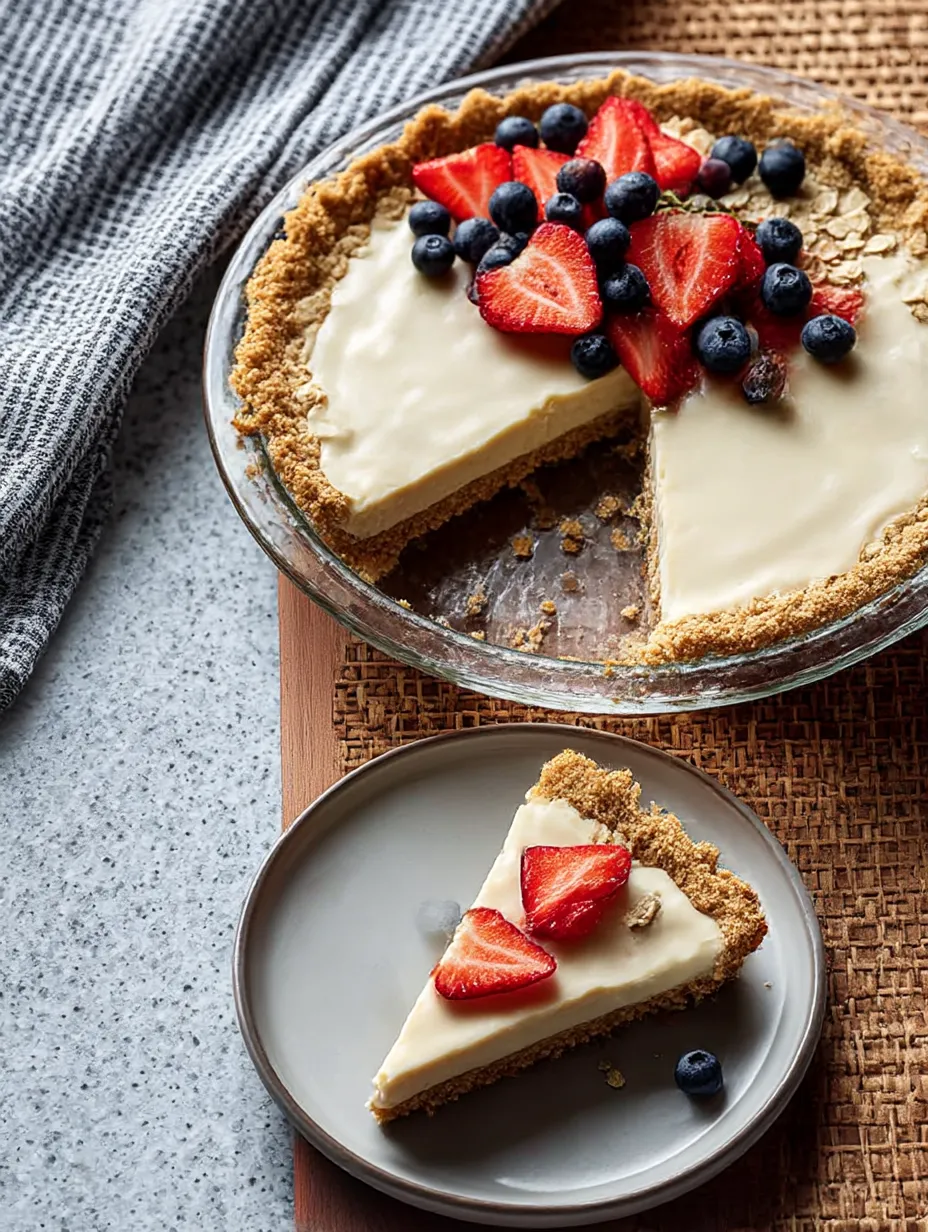
This simple oat crust turns ordinary rolled oats into a tasty swap for traditional graham crusts. With just a few basics from your kitchen, you'll make an amazing base for no-bake treats that works for gluten-free, vegan, and nut-free diets.
I stumbled on this idea while looking for graham cracker options for my celiac-affected neighbor. After bringing it to our block party, even friends who eat gluten began asking how to make it for their own family get-togethers.
What You'll Need
- Old fashioned rolled oats: Get the gluten-free kind if needed. They give that perfect hearty feel while keeping a bit of natural sweetness.
- Sugar: Gives just the right sweetness without taking over your filling. Try brown sugar for a richer taste.
- Cinnamon: Adds cozy flavor that goes great with oats. Adjust to how much you like.
- Fine sea salt: You can skip this if you want, but it really balances the sweet stuff. Don't add if you're using salted butter.
- Vegan butter: Melt it down to stick everything together. Don't swap for regular butter as it won't work the same way.
- Maple syrup or agave: Brings natural sweetness and helps bind things. Its flavor works really well with the oats.
- Vanilla extract: Makes all other flavors pop. Just a tiny bit makes a big difference.
Easy Instructions
- Warm Up Your Oven:
- Turn your oven to 350°F and pull out everything you'll need. This makes things go smoothly and you won't forget anything during the mixing.
- Mix the Dry Stuff:
- Dump oats, sugar, cinnamon, and salt into your food processor. Give it about 10 quick pulses until oats break down but still have some chunks. You don't want super fine powder—some texture makes it taste better.
- Pour in the Wet Stuff:
- Add your melted vegan butter, maple syrup, and vanilla. Run the processor again until it's all mixed up. When you squeeze some, it should clump together. If it's too dry, add a bit more melted butter.
- Make Your Crust:
- Dump the mix into a 9-inch pie dish, spreading it around. Start pressing from the middle and work outward. A flat measuring cup works great for smoothing it down. Make sure the edges are packed tight.
- Cook Until Golden:
- Put it in your hot oven for 16 to 18 minutes until it looks set and slightly gold. Don't worry if it puffs up near the end—we'll fix that.
- Let It Rest:
- When you take it out, gently push down any puffy spots. Wait until it's totally cool before adding your filling. This cooling step can't be rushed if you want your crust to stay together.
 Pin it
The oats really shine in this recipe. My grandma always baked oatmeal cookies for special days, and this crust brings back those warm kitchen feelings. When it bakes, the smell fills your kitchen with comfort and tells everyone something good is coming for people you care about.
Keeping It Fresh
This crust stays nice and crisp in the fridge. After it cools completely, wrap it tight with plastic and keep in the fridge up to three days before adding filling. Once filled, most desserts will stay good for 2-3 days depending on how wet your filling is. For longer keeping, wrap the empty crust in plastic then foil and freeze it up to a month to stop freezer taste from getting in.
No-Fat Choice
If you don't eat fats or oils, you can swap the vegan butter with applesauce. Use half a cup of plain applesauce, skip the maple syrup since applesauce is already sweet, and bake it about 20 minutes. This makes a softer, chewier crust but it still holds together really well. It goes especially well with fruit fillings where the softer feel works with the whole dessert.
 Pin it
Tasty Filling Ideas
This handy crust goes with lots of no-bake fillings. Chocolate pudding or mousse makes a hit dessert that feels fancy but comes together fast. Vegan cheesecake mixes set up great on this base, and they look amazing topped with fresh berries. Lime and lemon fillings give a nice tang against the hearty oats. For something quick, try coconut cream pudding topped with fresh tropical fruit for a wow-worthy treat that takes almost no work.
Making It Without A Processor
Don't worry if you don't have a food processor. Just roughly chop the oats in a blender until they're broken down but not powdery. Dump them in a big bowl and mix well with the dry stuff. Melt your vegan butter, stir in the maple syrup and vanilla, then pour it over the oat mix. Stir until everything's wet and combined. The feel might be a bit different but still makes a yummy crust. You'll need to press harder to get it firm in the pan, but it'll taste just as good.
Frequently Asked Questions
- → What if I don’t have a food processor?
No worries! Grab a blender to pulse the oats, then use a bowl to mix it all together. Just don't over-blend the oats—they should be a bit coarse for the best texture.
- → Can this crust handle baked pies?
It’s best for no-bake pies since it cooks fast. For longer-baking pies, like pumpkin, it might not hold up as well.
- → Any way to make a fat-free version?
Swap out vegan butter for applesauce. Use ½ cup, skip the maple syrup, and bake for about 20 minutes. The result? A softer, chewy crust that’s still tasty.
- → How do I store it before adding fillings?
Let the crust cool, then wrap it up and keep it in the fridge. It’ll stay fresh for about 3 days before filling. Once filled, it’s good for another 2 days.
- → What kind of fillings work best?
This crust is awesome with creamy, no-bake fillings. Think chocolate, vegan cheesecake, banana cream, or key lime. Just avoid anything watery for the best results.