
 Pin it
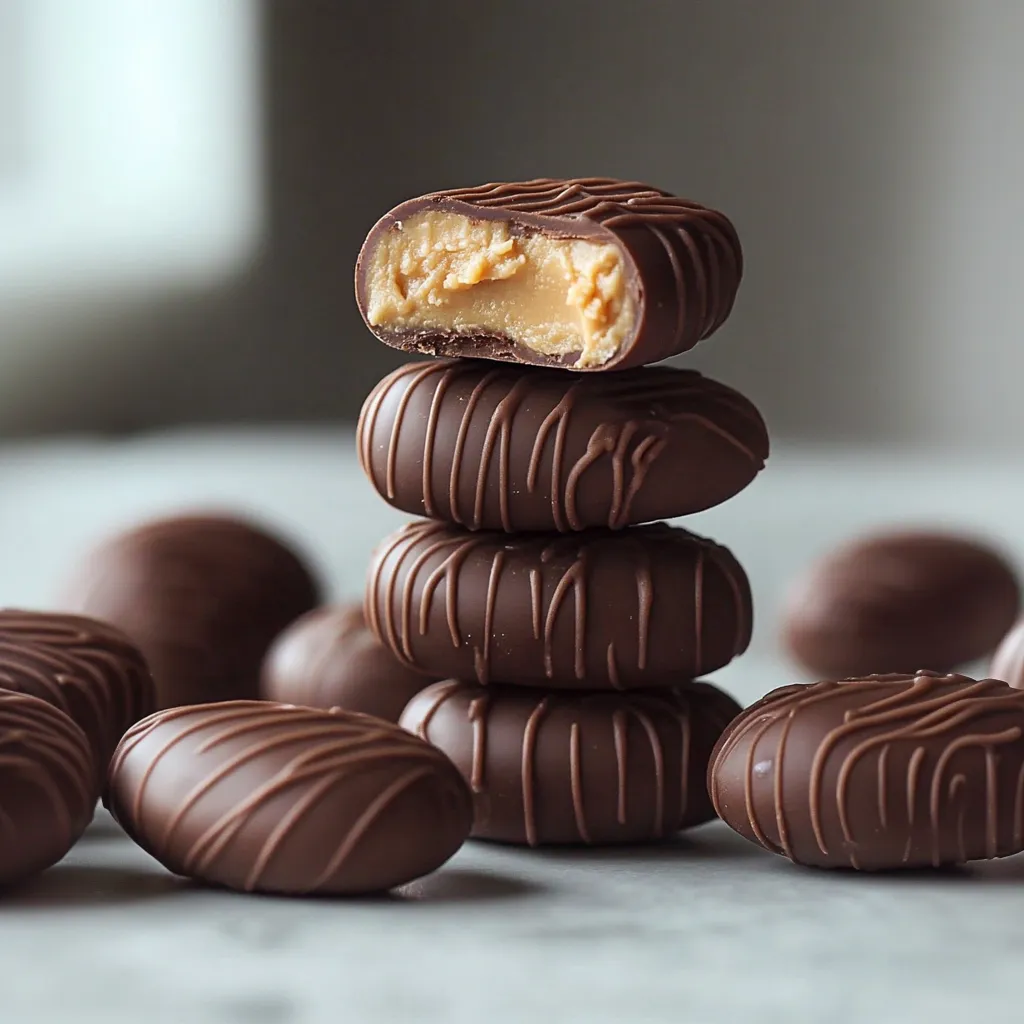
DIY peanut butter eggs turn basic pantry items into a better-for-you take on that Easter favorite everyone craves. These tasty treats have a smooth peanut butter middle with just enough sweetness, all wrapped in decadent chocolate. They're great for filling Easter baskets or whenever you want that peanut butter-chocolate combo we all crave, offering a more wholesome option than store candy while keeping all the yumminess.
I started making these peanut butter eggs while hunting for better options than grocery store candy for our Easter celebrations. We were worried about too much sugar and growing dental costs, so I wanted to whip up something fun that still had that amazing peanut butter-chocolate mix we can't resist. These are super easy to make and I love knowing exactly what goes into them - that's why I'm happy sharing them with everyone at home.
Key Components
- Creamy peanut butter: Gives that signature nutty taste as the main filling part
- Coconut flour: Holds everything together for that perfect moldable texture
- Maple syrup: Adds sweetness naturally with richer flavor than regular sugar
- Dark chocolate chips: Make a tasty coating with less sweetness
- Coconut oil: Helps chocolate melt perfectly and adds some shine
How To Make Them
- Mix Your Filling:
- Grab a medium bowl and combine 1 cup of creamy peanut butter, 3 tablespoons of coconut flour, and 3 tablespoons of maple syrup. Mix everything until you get a smooth blend that sticks together. You want it soft but firm enough to keep its shape - kind of like soft cookie dough. Don't rush it - the coconut flour takes a minute to soak up all the moisture.
- Form Your Eggs:
- Take a tablespoon or small cookie scoop to portion out roughly 1-inch chunks of the peanut butter mix. Roll each piece in your hands until smooth, then press it flat and shape into an oval. Make one end a bit pointier to look more egg-shaped. Put all your shaped eggs on a parchment-lined baking sheet. Once they're all done, stick the whole tray in the freezer for 30 minutes to firm them up. This step is super important - it makes sure they won't fall apart when you dip them.
- Get Your Chocolate Ready:
- About 5 minutes before taking the eggs out of the freezer, start on your chocolate coating. Put 1 cup of dark chocolate chips and 1 tablespoon of coconut oil in a microwave-safe bowl. Heat it in 30-second bursts, stirring after each until it's completely smooth. This usually takes around 1½ minutes total, but every microwave works differently. Let your melted chocolate cool for about 5 minutes - if it's too hot when you dip those cold eggs, they might start melting and lose their shape.
- Dip Each Egg:
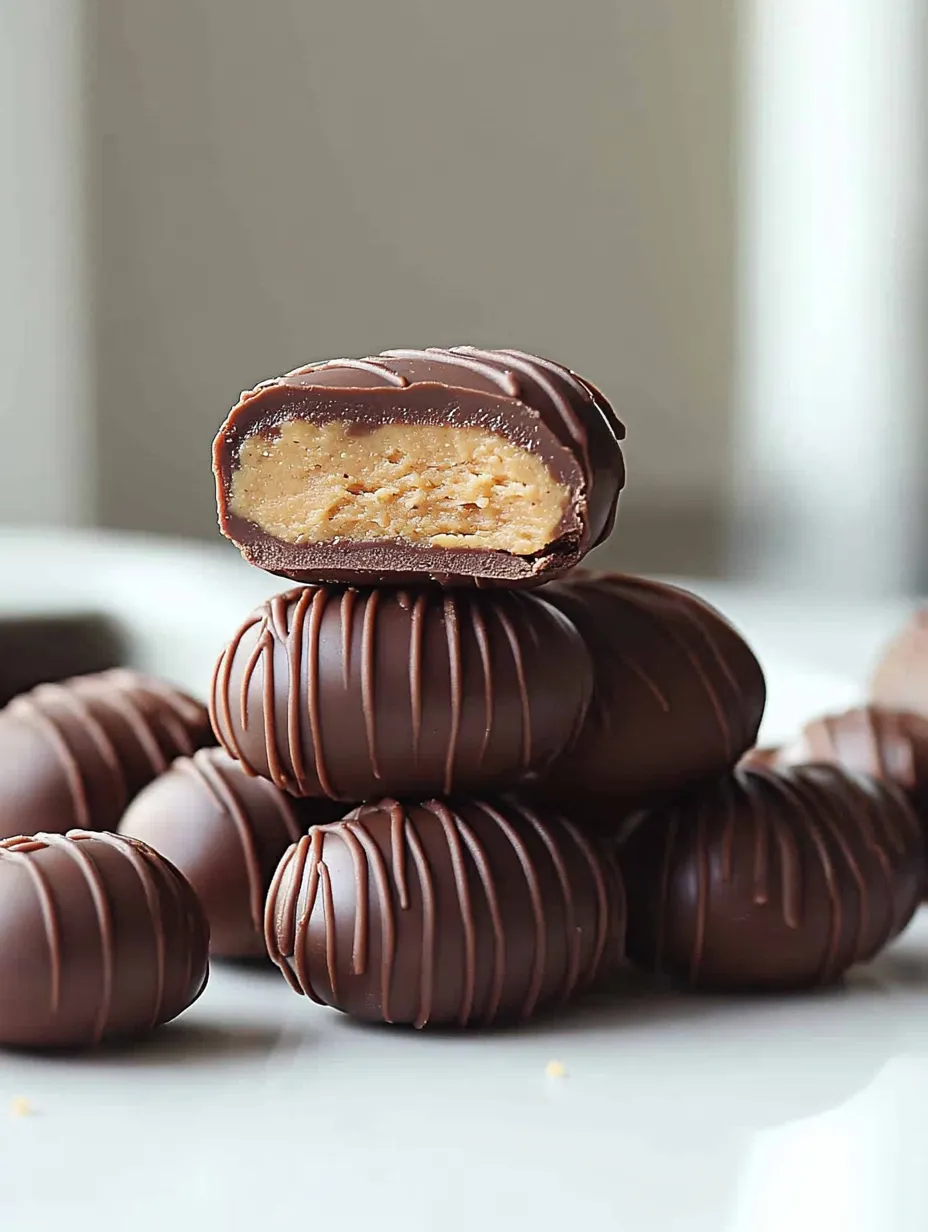
- Take your chilled peanut butter eggs out of the freezer. One at a time, drop an egg into the melted chocolate. Use two forks to gently roll it around for full coverage, then lift it out and let extra chocolate drip back into the bowl. Tap the fork lightly against the bowl's side to shake off the excess. Carefully place the coated egg back on the parchment paper. Keep going until all eggs are covered. Don't stress if they aren't perfectly smooth - you'll add a drizzle later that hides any flaws.
- Add Pretty Details:
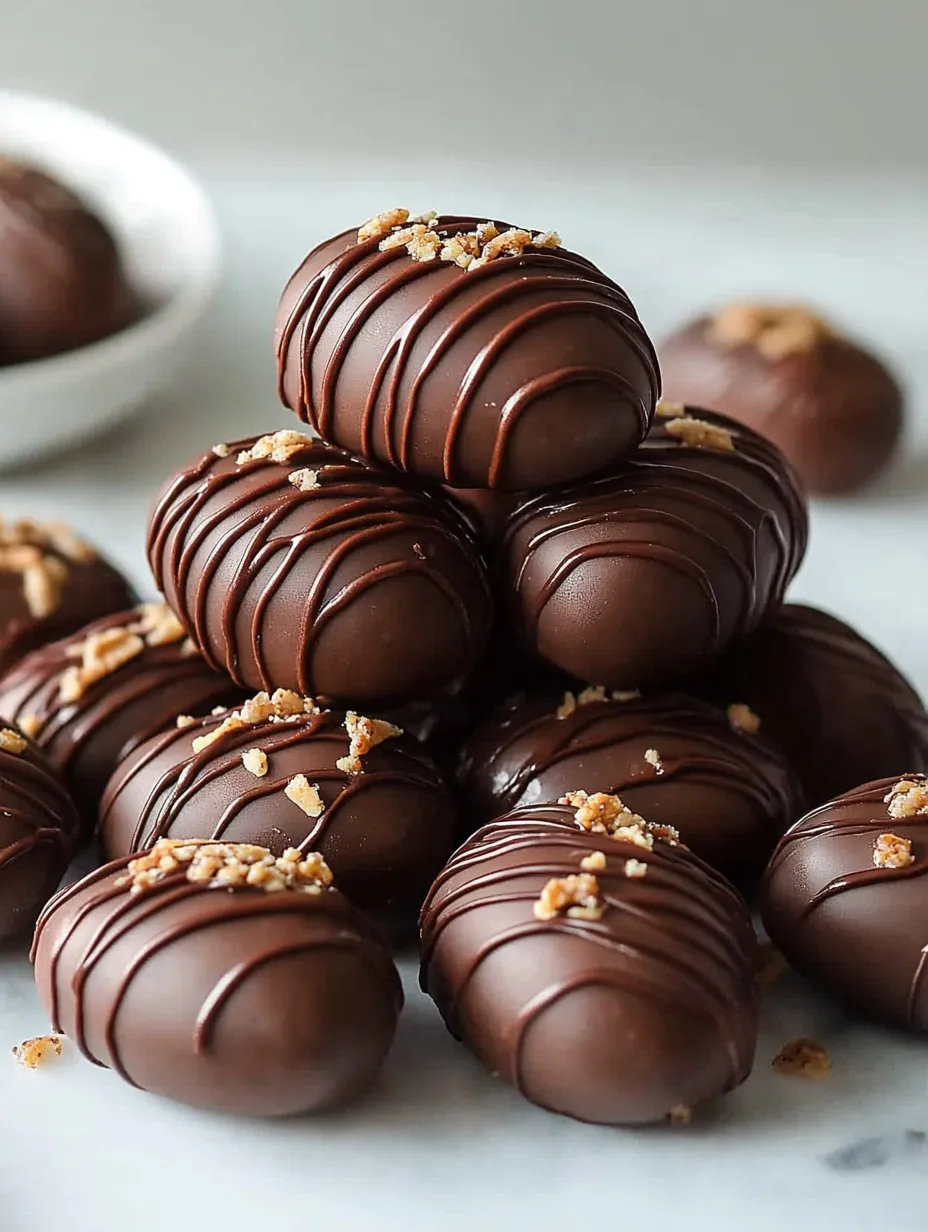
- Once all eggs are coated and the chocolate has started to set but isn't fully hard yet, it's time for decoration. If you have leftover melted chocolate, use that for drizzling. If not, melt a small handful of extra chocolate chips with a tiny bit of coconut oil. Put this in a small plastic bag, cut a tiny hole in one corner, and zigzag the chocolate across all the eggs. This makes them look fancier and covers up any spots where the coating isn't perfect.
 Pin it
Growing up, our Easter always meant store-bought candy, but these homemade peanut butter eggs have kicked off something new that we actually enjoy more. Making them together is now just as fun as eating them. The first batch I made had my husband (who loves Reese's) looking doubtful, but after one taste, he said they beat the original - they weren't as sweet, had more peanut butter flavor, and the chocolate layer complemented the filling instead of overpowering it.
Keeping Them Fresh
Put your finished peanut butter eggs in a sealed container in the fridge, where they'll stay good for up to 2 weeks. If you need to stack them, put parchment paper between the layers so they don't stick together. Want to save them longer? They freeze really well for up to 3 months. Just pop them in a freezer-safe container or bag and move them to the fridge when you're ready to eat them. I usually make twice as many and keep some frozen for whenever I get that chocolate-peanut butter craving.
Fun Twists To Try
- Almond Butter Option: Swap in almond butter instead of peanut butter for a different nutty taste.
- Added Crunch: Mix a tablespoon of crushed rice cereal into your peanut butter mixture for some unexpected texture.
- Chocolate Marble: Carefully stir a tablespoon of melted chocolate into the peanut butter mix for a cool swirled look.
- White Chocolate Outside: Try white chocolate chips for dipping to create a sweet contrast with the nutty center.
 Pin it
I've been whipping up these better-for-you peanut butter eggs for multiple Easter seasons now, and they've become such a hit that we've started making them for other times too. What really makes them special isn't just how good they taste, but how they show our family's move toward treats that are still fun but a bit more thoughtful. When I see my kids' eyes light up biting into these homemade goodies, I know for sure that healthier options can be just as exciting as the store versions they're based on.
Frequently Asked Questions
- → Can I swap the peanut butter for something else?
- Of course! Try almond, cashew, or sunflower seed butter. The texture might need a tweak, so adjust the coconut flour as needed.
- → Is there another flour I can use?
- Coconut flour is super absorbent, so substitutes change the formula. Almond flour works but needs three times more (around a cup). Oat flour may also work with quantity adjustments.
- → Can I trade maple syrup for honey?
- Yep! Use the same amount, but honey has a stronger taste that might stand out more. Don't forget, it's not vegan-friendly!
- → Why does my chocolate layer crack?
- It's likely because the eggs were too icy. Before dipping, let them rest room temp for five minutes. Adding coconut oil to your chocolate gives a gentler coating.
- → How do I make these look nicer?
- Lay them on a wire rack for even drips after dipping. You can also add lines with a fork or sprinkle nuts, coarse salt, or anything fun on top while wet!