 Pin it
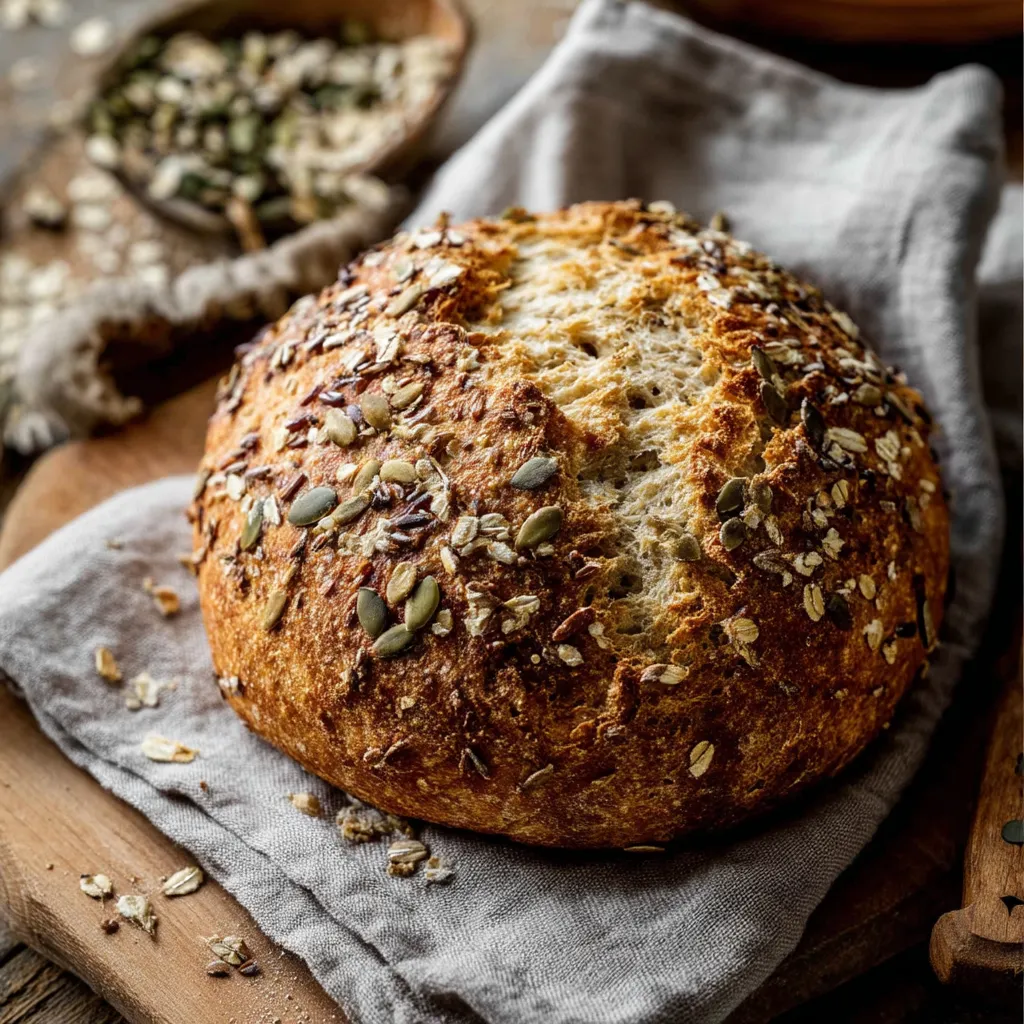
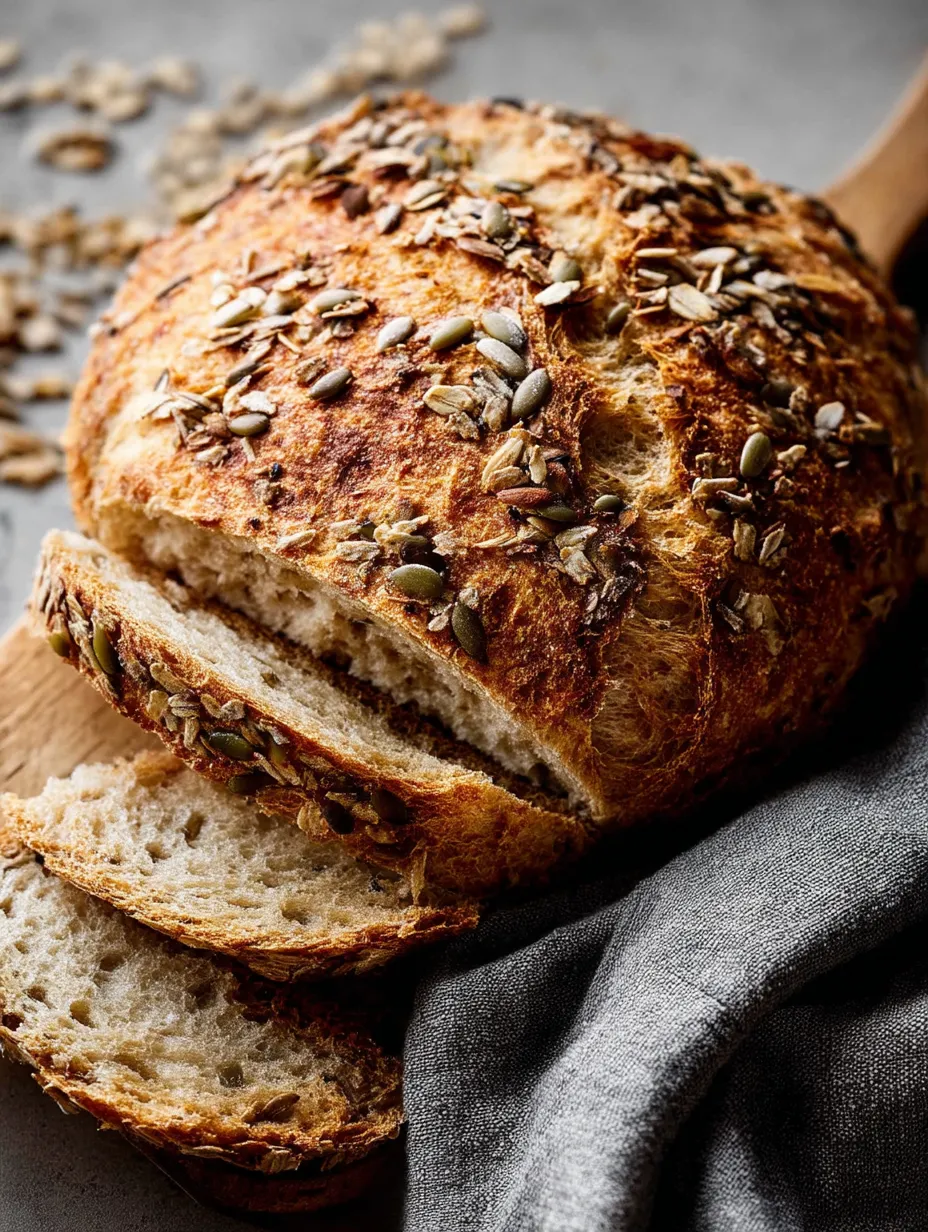
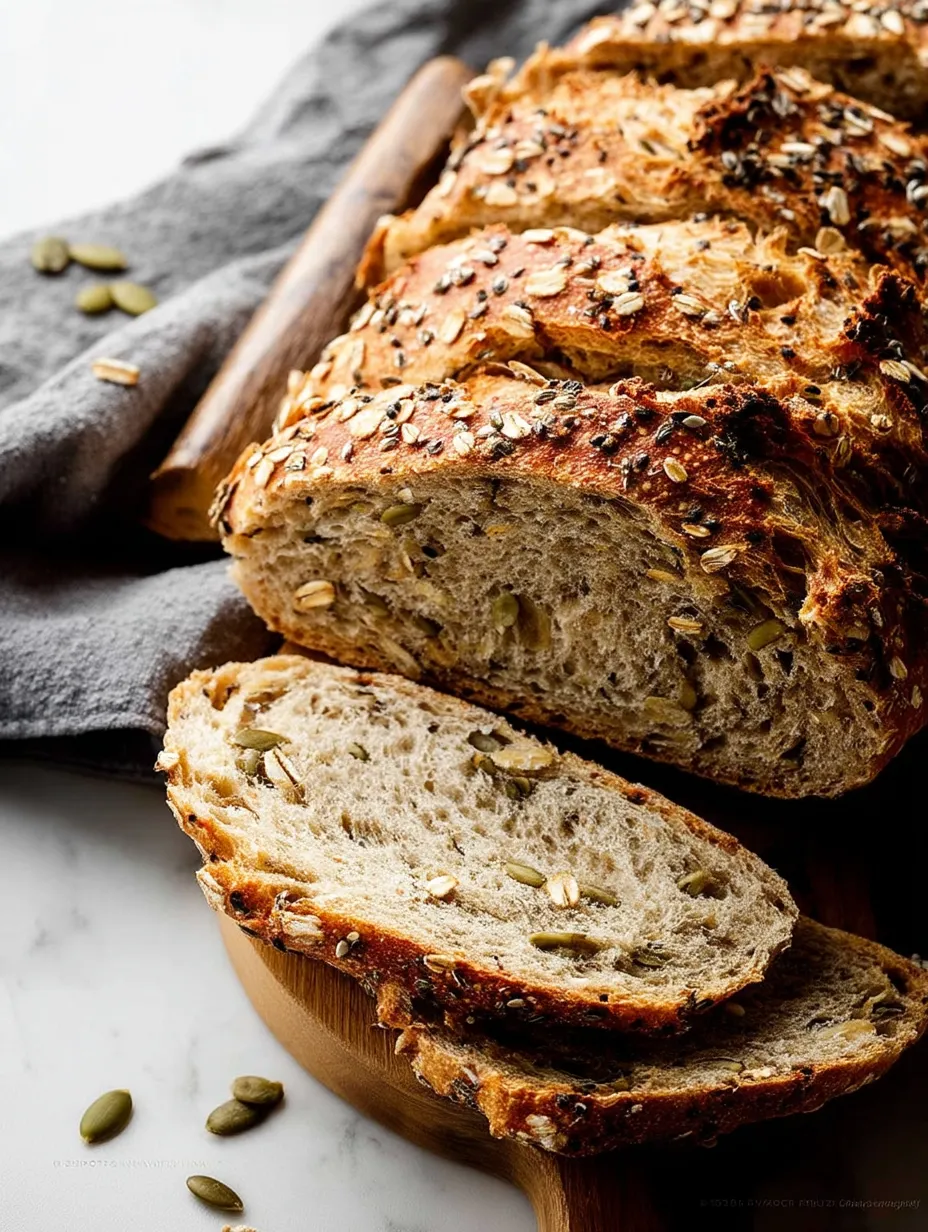
The golden crunchy outside gives way to a chewy middle dotted with seeds, making a top-quality loaf without much work. This special bread mixes healthy seeds and wholesome oats in a dough that gets amazing flavor without any kneading. This easy method gives you a homestyle loaf that looks fancy but mostly makes itself, so it's great for new bakers and old pros too.
I stumbled on this bread method during a hectic period when I wanted homemade bread but couldn't spare time for traditional kneading and watching it rise. When that first loaf came out of my oven looking so fancy and tasting so rich, my family went crazy for it. Last winter, my next-door neighbor actually wondered which fancy bakery I'd visited when I brought her a loaf that was still warm.
Key Ingredients
- Bread flour: makes a tougher, stretchier dough that catches air bubbles really well during rising
- Whole rolled oats: soak up water as the dough sits, growing bigger to make hearty bits throughout your bread
- Coarse sea salt: spreads flavor better than regular salt and brings out the nutty taste from all those seeds
- Instant yeast: helps your dough rise without needing to mix it with water first
- Pumpkin seeds: give a rich, buttery taste and nice crunch inside and on top of your bread
- Sunflower seeds: add gentle crunch and mild sweetness that works well with the other stuff
- Flax seeds: pack healthy goodness and look pretty with their tiny, unique shape
- Honey: brings light sweetness and helps make that bouncy inside texture
- Warm water: wakes up the yeast properly, helping it lift all those heavy oats and seeds
Baking Success
- Mix Dry Stuff:
- In a big bowl, stir together bread flour, oats, salt, and instant yeast until they're all mixed up.
- Toss In Seeds:
- Mix your pumpkin, sunflower, and flax seeds into the dry stuff, making sure they're spread out evenly.
- Get Wet Mix Ready:
- Stir warm water and honey together until the honey's completely dissolved.
- Make Rough Dough:
- Pour your honey water into the dry ingredients and mix with a wooden spoon or rubber spatula.
- Let It Grow:
- Cover your bowl with plastic wrap or a kitchen towel and let the dough sit at room temp for about 3 hours.
- Make Flavor Better:
- Put the bowl in your fridge for at least 2 hours or up to 3 days if you want.
- Form It Gently:
- When you're ready to bake, use floury hands to softly shape the cold dough into a round ball.
- Add Crunchy Topping:
- Sprinkle more seeds and oats over the outside of your shaped dough ball.
- Make Steam:
- You'll need steam while baking to get that professional bakery-style crust, either from a dutch oven or a pan of water.
- Cut The Top:
- Right before baking, use a sharp knife to make a shallow design across the top.
- Bake Till Brown:
- Bake until the outside turns deep gold and the bread sounds hollow when you tap it.
- Wait Before Cutting:
- Let your finished bread cool on a wire rack for at least an hour before slicing.
I really enjoy making this bread in winter when the warm oven and amazing smell make the house feel so comfy. My kid calls it our "weekend tradition" bread since we often mix it Friday night and bake it Saturday morning. The honey makes it just sweet enough for great toast, but it's still savory enough for sandwiches or dunking in soup.
Great Matches
- With Soup:
- Cut thick chunks of this hearty bread to go with veggie soup for a complete meal.
- Breakfast Toast:
- Toast slices until golden and put mashed avocado and runny eggs on top for breakfast.
- Cheese Board:
- When friends come over, build an impressive cheese board with this bread as the star.
 Pin it
Tasty Twists
- Fruit & Nut Mix:
- Change up this flexible loaf by mixing in dried cranberries and chopped walnuts.
- Savory Herb:
- For something more savory, add 2 spoonfuls of fresh rosemary and a spoonful of lemon zest.
- Cheese Loaded:
- If you love cheese, fold in a cup of grated aged cheddar or crumbled feta before shaping.
Keeping It Fresh
- First Day Storage:
- This bread stays at its best when you put it cut-side down on a cutting board that first day.
- Next Few Days:
- To keep it longer, wrap the totally cooled loaf in a clean kitchen towel.
- Freezing:
- If you won't eat it within two days, slice the whole loaf and freeze portions in sealed containers.
 Pin it
Making this seedy bread links me to old baking traditions but with a simpler, modern touch. There's something really satisfying about throwing simple ingredients together and coming back later to find them changed into something so impressive. The method needs patience more than skill, making it perfect for busy days when you want homemade goodness without standing over it. When I cut into a fresh loaf and see all those pretty seeds inside, I remember that some of life's best things take time but not much effort.
Frequently Asked Questions
- → How does this bread avoid kneading?
- Instead of kneading, this recipe uses patience! A long rise at room temperature (roughly 3 hours, plus refrigeration if desired) lets gluten naturally develop for the perfect structure.
- → Can I swap the seeds for other choices?
- Of course! Feel free to mix and match. You can tweak the seeds to your liking—go heavy on your favorites or try something like poppy or chia seeds. Just aim for about 1/2 cup of larger seeds and 2 tablespoons of smaller ones.
- → Do I really need to refrigerate the dough?
- Not required but definitely worth it! Baking right after the first 3-hour rise is fine, but leaving it in the fridge for at least 12 hours adds incredible flavor and makes shaping the dough easier.
- → Why does my dough feel so sticky?
- The stickiness comes from the high water content, which is completely normal and creates the bread's moist crumb. Dust your hands well with flour when shaping—this bread is meant to look rustic anyway!
- → Can I bake this without a Dutch oven?
- Absolutely! While a Dutch oven works great, you can use a regular tray. Add water in a separate pan inside the oven to mimic the steam effect for a crisp crust.
