 Pin it
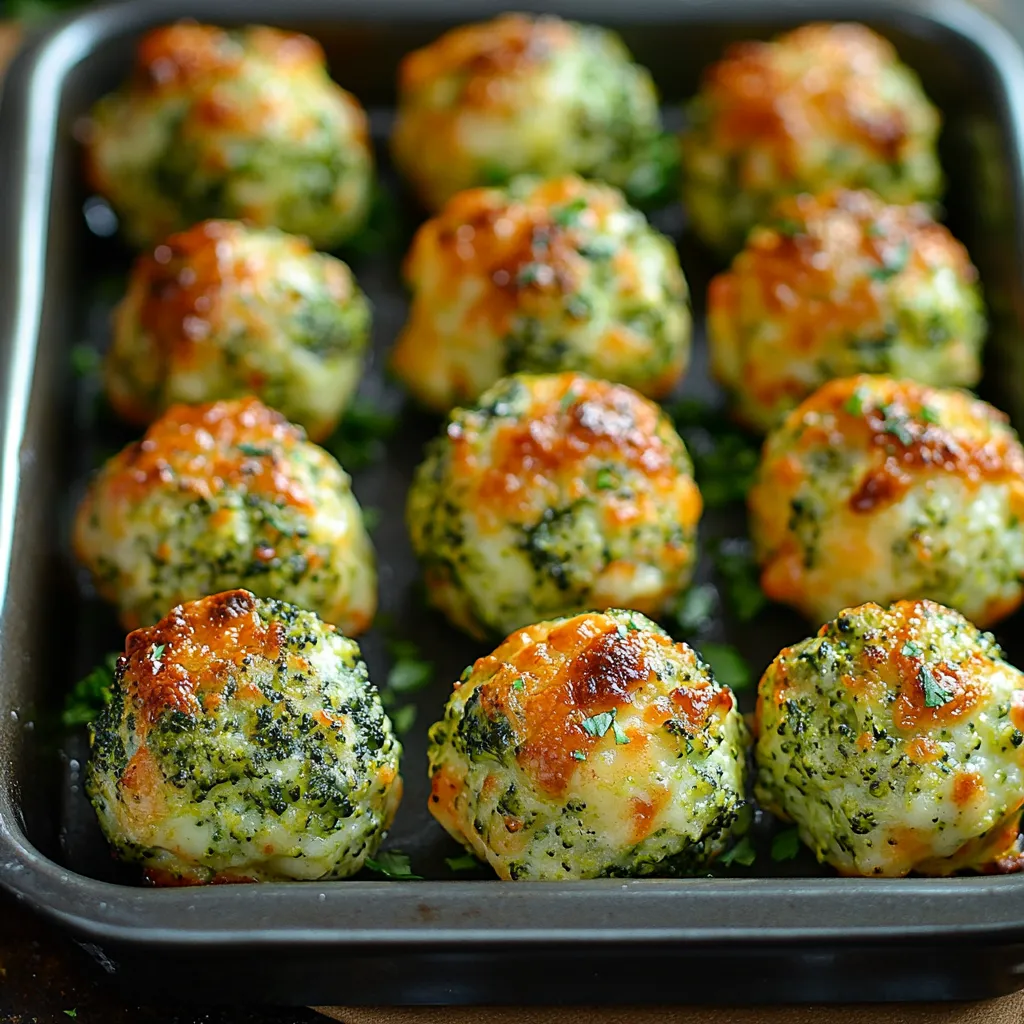
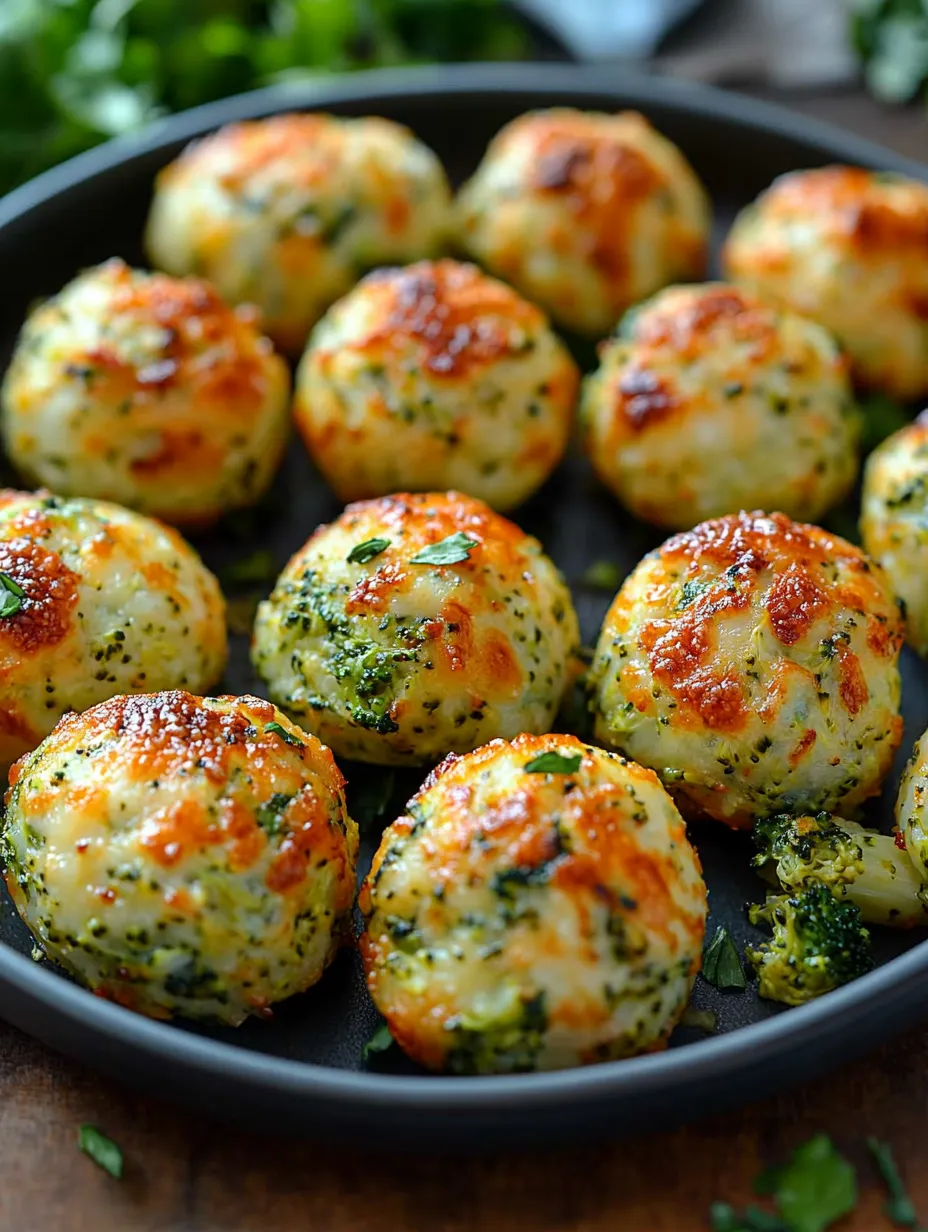
These broccoli cheese balls pack comfort and ease in every mouthful. Each golden nugget features soft broccoli surrounded by gooey cheddar and tasty bacon pieces, creating an unbeatable flavor combo. The crunchy outside breaks open to reveal a soft, cheesy middle that'll make you smile whether you're having them as starters, munchies, or alongside your main dish.
I whipped these up for a block party when I needed something I could make ahead and carry easily. These little bites got way more love than the fancy main courses! Even kids who usually run from green stuff were grabbing more, which just goes to show that with the right look and enough cheese, veggies can win anyone over.
Key Ingredients
- Broccoli florets: Look for vibrant green heads with snug florets for best taste and highest nutrients
- Sharp cheddar cheese: Its bold taste works wonderfully with broccoli, making each bite perfectly balanced
- Bacon bits: Brings smoky goodness and savory kick that makes these more than just veggie bites
- Breadcrumbs: Gives these balls their shape and helps them turn golden when baked
- Egg: Works as the glue that keeps everything stuck together while cooking
Preparation Method
Get your oven going at 375°F and put parchment on a baking tray for quick cleanup later. Steam your broccoli until it's just soft – about 3-4 minutes should do it. Don't cook it too long since it'll get softer in the oven anyway. After it cools down, chop it up nice and small so your balls will stick together well.
Create The Mixture
Grab a big bowl and throw in your cooled broccoli with freshly grated cheddar, crunchy bacon bits, and finely chopped onion. Add some minced garlic, breadcrumbs, an egg, flour, and your favorite seasonings. Mix everything until it's all coated well, making sure the egg and flour touch everything so it all sticks together properly.
Form Perfect Balls
With clean hands, grab about two spoonfuls of mixture and squeeze it firmly between your hands. The stuff should stick together nicely – if it feels too wet, just add another spoonful of breadcrumbs. Place each ball on your ready baking sheet, leaving some room between them so hot air can flow around each one.
Bake To Perfection
Stick the tray in your hot oven and let them cook for 20-25 minutes until they're golden and crispy outside. If you want them extra crunchy, flip them over halfway through cooking. When they're done, let them cool for 3-5 minutes before eating so the cheese can set up a bit and won't burn your mouth.
My mom always told me food should look good and taste good, and I've found that making these broccoli cheese balls the same size makes them look better and cook evenly. Using a small cookie scoop helps get them all the same size so they all finish cooking at the same time, which means you won't have some overcooked while others are still raw in the middle.
Tasty Dips
Ranch dressing cools things down when you eat these warm, cheesy balls and brings out the herb flavors. Spicy sriracha mayo gives you a hot kick that works really well with the creamy cheese inside. Honey mustard adds sweet tanginess that goes great with the savory bacon.
Perfect Pairings
Tomato soup turns these balls into a full meal that feels like grilled cheese and soup but with veggies thrown in. Marinara sauce gives them an Italian feel that reminds you of meatballs but lighter. Garlic aioli takes everything up a notch with rich roasted garlic that works well with both the broccoli and cheese.
 Pin it
Meal Companions
A simple green salad with tangy dressing cuts through the richness of the cheese balls with fresh crunchiness. Colorful roasted veggies create a full plate that's healthy but still feels like comfort food. Adding some crusty whole grain bread rounds things out with satisfying chew and extra fiber.
Storage Success
Keep leftovers in a sealed container in the fridge where they'll stay good for up to three days. They actually taste better the next day as the flavors mix together more, which makes them great for planning ahead. Just let them cool completely before you put them away so they don't get soggy from steam.
Reheating Right
Heat up refrigerated cheese balls in a 350°F oven for 7-10 minutes to make them crispy again. If you're using a microwave because it's quicker, put them on a paper towel to soak up extra moisture and heat them in short 15-second bursts so the cheese doesn't explode. Air fryers work great for reheating too, just 3 minutes at 350°F will make them perfectly crispy again.
Creative Variations
Try cauliflower instead for a milder taste that lets the cheese and bacon stand out more. Throw in some chopped jalapeños for a spicy kick that works really well with the creamy cheese inside. Mix in some shredded zucchini for extra moisture and nutrients, which is great for sneaking more veggies into picky eaters' meals.
Cheese Choices
Give smoked gouda a try for rich depth that makes the bacon's smokiness even better. Go for pepper jack to add gentle heat that builds with each bite without being too much. Mix different cheeses like mozzarella, parmesan, and cheddar together for fancy flavors that make these balls extra special.
I've made these countless times and they always wow everyone from my family to guests. What started as using up leftover steamed broccoli has turned into one of my go-to appetizers. The mix of healthy veggies with yummy cheese and bacon hits the sweet spot of being satisfying without going overboard, showing that comfort food can come in small packages and include veggies while still tasting amazing.
Serving Suggestions
These broccoli cheese balls can fit into so many meals throughout your week. Make a wow-worthy appetizer platter by placing them next to fresh cut veggies, olives, and chunks of crusty bread. For lunch, serve them with a bowl of thick tomato soup for a filling meal that's both comforting and nutritious. When you want them as your main dish, add some roasted sweet potatoes and a light arugula salad with lemony dressing.
Alternative Textures
Adding different textures can turn these cheese balls into totally new experiences. Roll them in crushed corn flakes before baking for amazing crunch that works so well with the soft middle. Mix in water chestnuts for surprising crispness in each bite that refreshes your mouth. Try adding cooked quinoa for extra nutrition and a nice popping feeling throughout.
Dietary Adaptations
These broccoli cheese balls can easily fit different diet needs without losing their yumminess. Swap breadcrumbs for almond flour to make them gluten-free and add a light nutty taste. Use vegan cheese and flax eggs for a plant-based version that's still creamy and satisfying. Cut down on salt by using herbs and spices instead, letting the natural flavors of the veggies and cheese shine through.
The secret to super moist broccoli cheese balls came from my grandma, who always made sure to pat the steamed broccoli completely dry before chopping it up. This easy step stops too much moisture from making the mixture too wet, so your balls keep their shape while baking and get that wonderful golden outside.
 Pin it
Serving Temperature Advice
How hot these broccoli cheese balls are when served really changes how they taste. Serve them warm but not super hot so you can really taste all the flavors without burning your mouth. At room temperature, they're perfect for taking to picnics or packing in lunch boxes. Slightly cold from the fridge, they get firmer and can be sliced up to add to salads.
Flavor Boosters
Make the whole dish pop with some freshly grated lemon zest right before serving. A tiny sprinkle of smoked sea salt adds amazing depth that makes these go from good to unforgettable. Fresh herbs added just before eating bring aromatic smells that make the whole experience better.
After years of making these broccoli cheese balls, I've realized they're more than just a tasty snack – they start conversations, help veggie-haters eat their greens, and can be used in so many different meals. What began as simply using up leftover veggies has become a recipe my friends always ask for. The blend of wholesome ingredients with indulgent touches hits that perfect balance between nourishing and satisfying – exactly what good food should do.
Frequently Asked Questions
- → Can I make them early?
- Absolutely. Mix the ingredients and roll the balls the day before. Pop them in the fridge until baking time, or freeze them for up to three months.
- → How do I stop them falling apart?
- Chop your broccoli really small! If the mix looks too soft, sprinkle in extra breadcrumbs or flour. Letting the balls chill in the fridge for 15 minutes before baking also helps.
- → Is frozen broccoli okay?
- Yep! Just thaw it out first and squeeze out as much water as you can before chopping it up and adding it to your mix.
- → What’s a good meat-free swap for bacon?
- Leave the bacon out and try adding smoked paprika, sun-dried tomatoes, toasted nuts, or even vegetarian bacon crumbles to keep that awesome flavor!
- → What dips pair well with these?
- Try ranch, tangy marinara, honey mustard, or an easy garlic aioli. They all work great!
