 Pin it
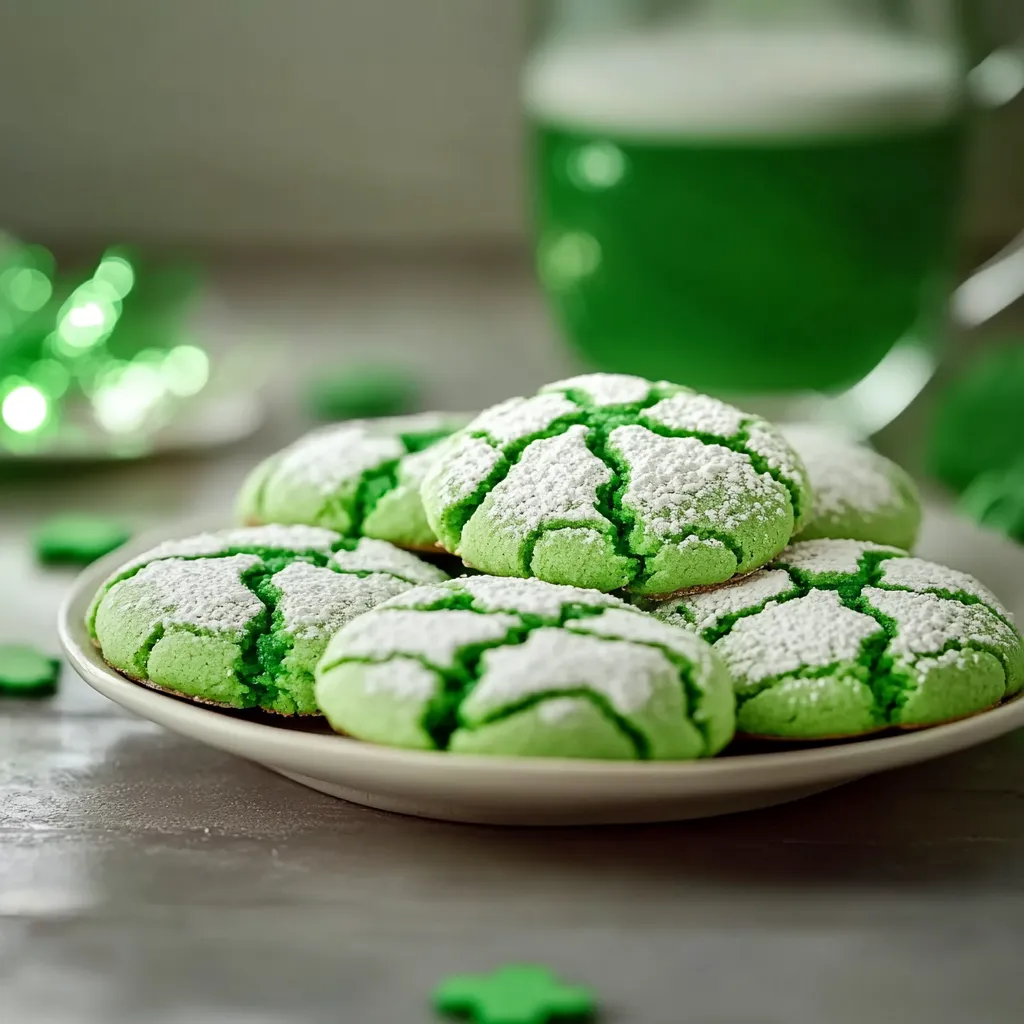
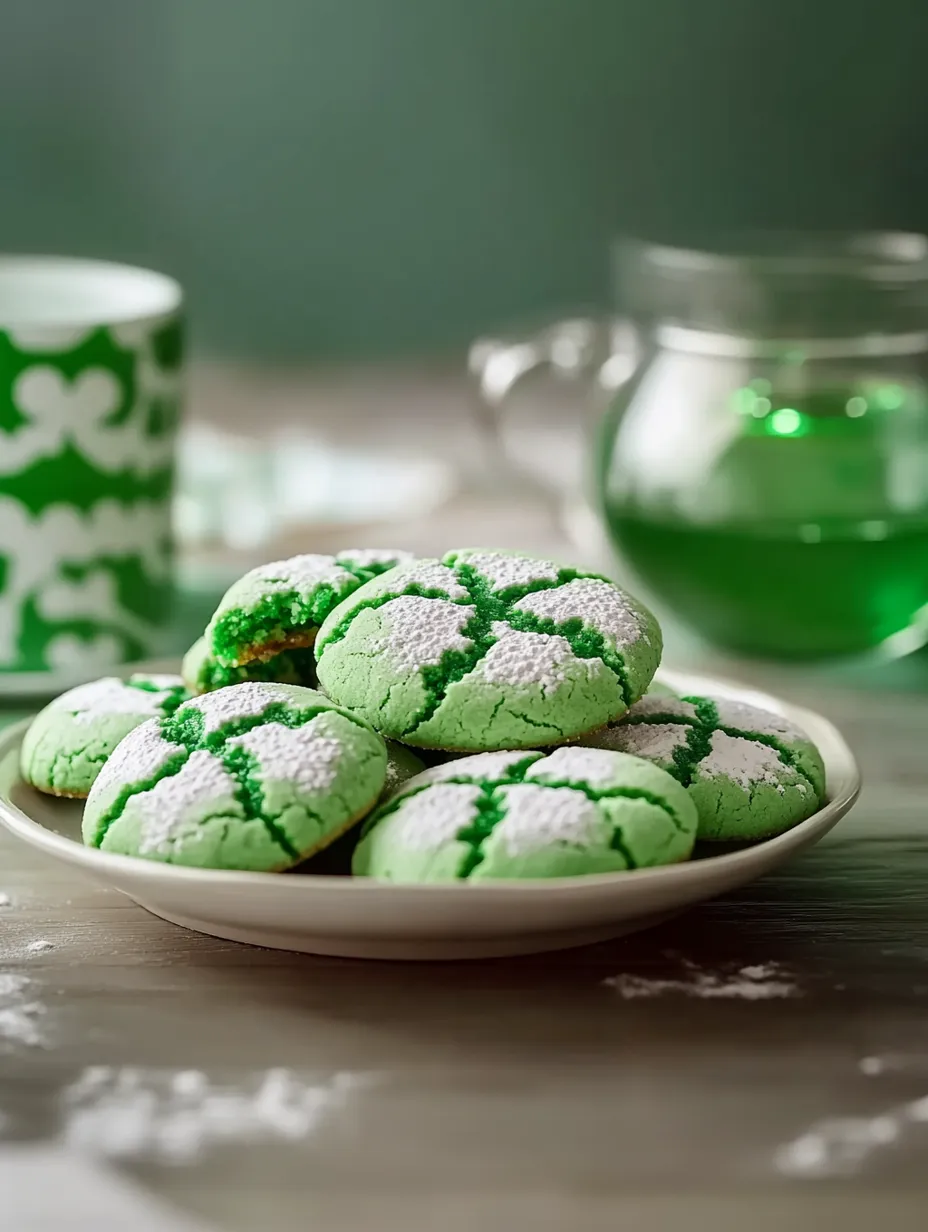
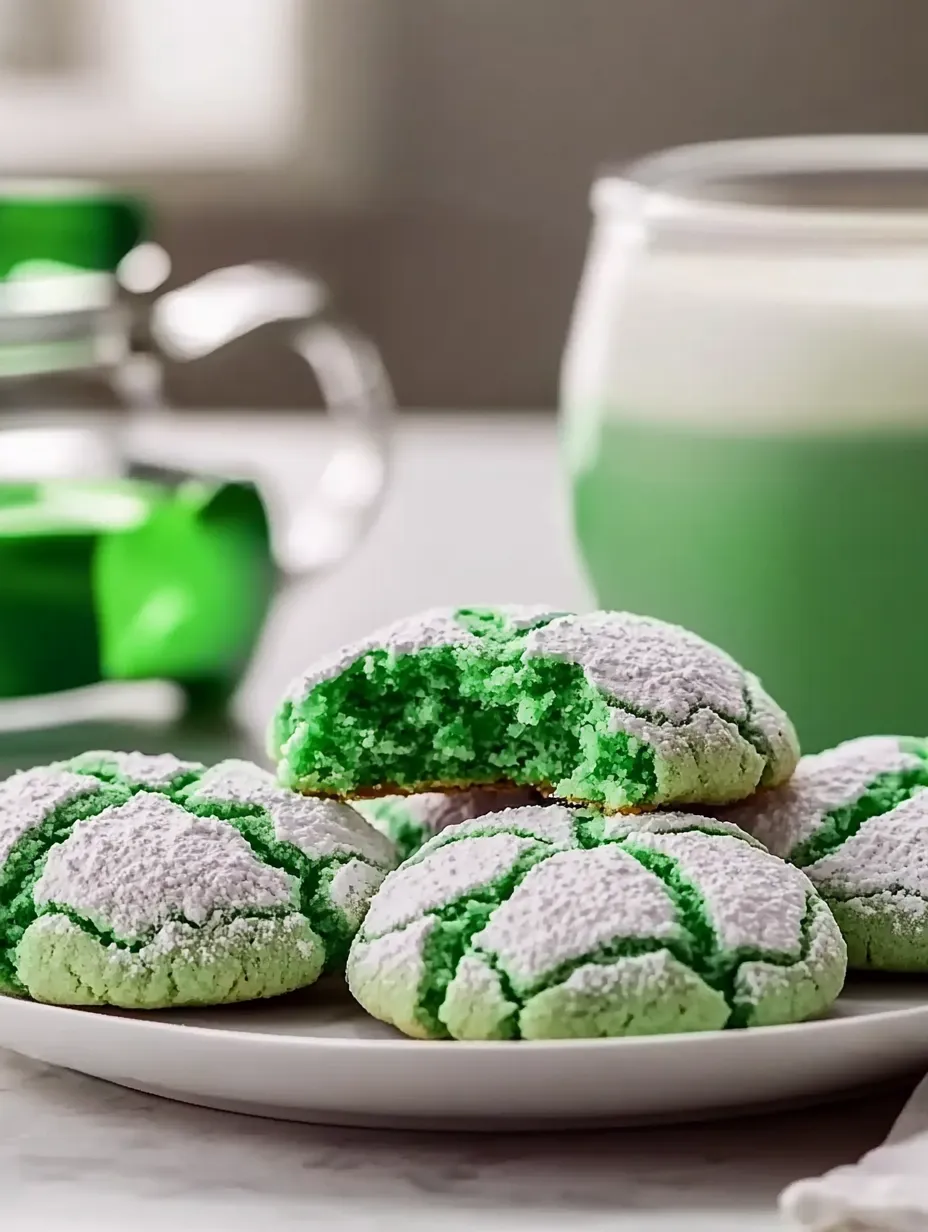
These St. Patrick's Day crinkle cookies turn ordinary cake mix into fun, bright green snacks without much work but tons of wow factor. The cookies come out soft and chewy with cool cracks from the sugar coating, making them stand out at any holiday party. Using just basic pantry items and a bit of green coloring, you can make these lucky treats in less than an hour.
I created these cookies when I needed a quick dessert for my kid's St. Patrick's Day event at school. Using cake mix as the starting point totally saved me time, while the bright green color and sugar-crackled finish made everyone think I'd been baking all day. I was so happy to find they stayed soft for days afterward, which made them perfect for making before the big day.
Key Ingredients
- White cake mix: Your timesaving foundation that gives perfect cookie consistency without messing with flour or baking powder
- Eggs: They hold everything together while adding richness to your cookies
- Vegetable oil: Makes your cookies stay tender and moist for days
- Kelly green gel food coloring: Gives you bright color without making your dough too wet
- Granulated sugar: The first layer that helps create those awesome cracks
- Powdered sugar: Creates that eye-catching crinkled look during baking
How To Make Them
- Mix Your Dough:
- Grab a big mixing bowl and throw in one 15.25 oz box of white cake mix with 2 large eggs and 1/3 cup vegetable oil. Mix with a strong spatula until you get a thick, kinda sticky dough. Put in 1/4 teaspoon of Kelly green gel food coloring and keep mixing until the color spreads evenly through all the dough. Gel works way better than liquid coloring since it makes vibrant color without adding extra moisture that might mess up your cookies.
- Cool It Down First:
- Cover your bowl with plastic wrap and stick the dough in the fridge for 30 minutes. This quick cooling step does several things - it makes the dough easier to handle, stops the cookies from spreading too much when baking, and lets all the ingredients blend properly. While waiting, heat your oven to 350°F and put parchment paper on a baking sheet so nothing sticks and cleanup is super easy.
- Set Up Your Sugar Bowls:
- Put 3 tablespoons of granulated sugar in one small bowl and 6 tablespoons of powdered sugar in another. Using two different sugars is the secret to getting that perfect crinkled look - the granulated sugar creates a layer that keeps the powdered sugar from soaking completely into the cookie while baking, leaving you with those beautiful cracks everyone loves.
- Roll And Coat Them:
- Use a 1-tablespoon cookie scoop or regular spoon to portion your chilled dough into balls. Roll each ball in the granulated sugar first until it's fully covered, then roll it in the powdered sugar until it's thickly coated with no green showing. Place these sugar-covered dough balls on your baking sheet about 2 inches apart so they have room to grow as they bake.
- Bake Until Cracked:
- Pop the cookies in your heated oven for 9-12 minutes. They're ready when they've spread a bit and the tops show those cool cracks in the powdered sugar, with bright green peeking through. The centers should still feel soft - they'll firm up while cooling. Let them sit on the baking sheet for 5 minutes before moving them to a cooling rack to finish cooling all the way.
 Pin it
My grandma always told me that the easiest recipes often turn out the most reliable, and these cookies really back that up. I wasn't sure if such a shortcut approach would make truly tasty cookies when I first tried them, but I fell in love with them after one bite. She always said to "pile on the powdered sugar" to get that beautiful cracked look that makes everyone want to grab these cookies.
Ways To Enjoy
Give kids green milk alongside for a fun treat. Add a scoop of vanilla ice cream for an easy dessert combo. Put them on a plate with chocolate gold coins for a leprechaun theme display. Wrap in clear bags with ribbons for cute St. Patrick's Day gifts.
Keeping Them Fresh
Keep your cookies in a sealed container at room temp for up to 5 days. Put paper between layers if you stack them so they don't stick together. These stay amazingly soft because of the oil in the recipe. If you want to keep them longer, freeze them in a single layer until hard, then put them in a freezer bag for up to 3 months.
Fun Twists To Try
- Minty Chocolate: Toss in 1/4 teaspoon mint extract and mix in 1/2 cup white chocolate chips for a shamrock shake flavor.
- Cereal Surprise: Push a few colorful marshmallows from Lucky Charms into the top of each cookie before baking.
- Citrus Green: Add 1 teaspoon lemon zest to the mix for a fresh, tangy taste that works great with the green color.
- Hidden Treasure: Stuff a chocolate-covered caramel in the middle of each dough ball for a secret "pot of gold" inside.
 Pin it
I've brought these St. Patrick's Day crinkle cookies to tons of school functions, family get-togethers, and holiday parties, and they always get people smiling. What I love most is how they turn a simple box of cake mix into something that looks and tastes like you bought it at a fancy bakery. The way the bright green peeks through the white sugar makes such a pretty holiday treat while keeping things super easy—and that's exactly what you want when celebrating.
Frequently Asked Questions
- → Could I use a different cake mix flavor?
- Of course! A white mix works best for the green color to stand out, but vanilla or lemon are great too. Chocolate won’t showcase the green well but hey, go with what you love!
- → Why do I roll them in two kinds of sugar?
- The granulated sugar forms a barrier so the powdered sugar doesn’t dissolve when baking. That’s how you get that perfect crackle look!
- → Can I freeze the dough for later?
- Yes, totally! Just roll the dough in regular sugar (skip powdered for now), freeze, and store. When baking, roll in powdered sugar while still slightly frozen, and add 1-2 minutes.
- → What if I only have liquid food dye?
- Liquid dye works, just use more! Start with 10-15 drops and mix until you’re satisfied. Careful not to add too much—dough can get too sticky.
- → Why did my powdered sugar vanish during baking?
- It might’ve happened if the dough wasn’t chilled long enough or if you skimped on the powdered sugar. Chill well and go heavy on the sugar for the best results!
