 Pin it
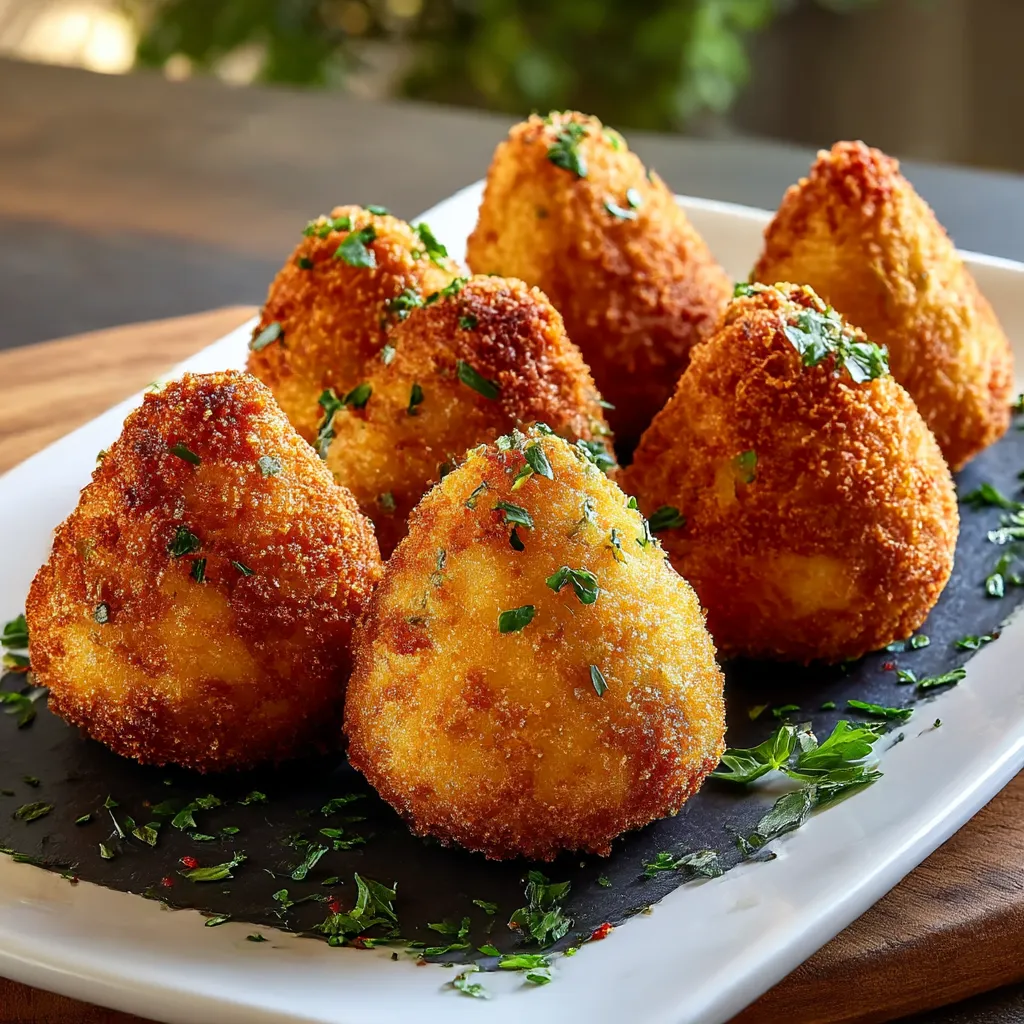
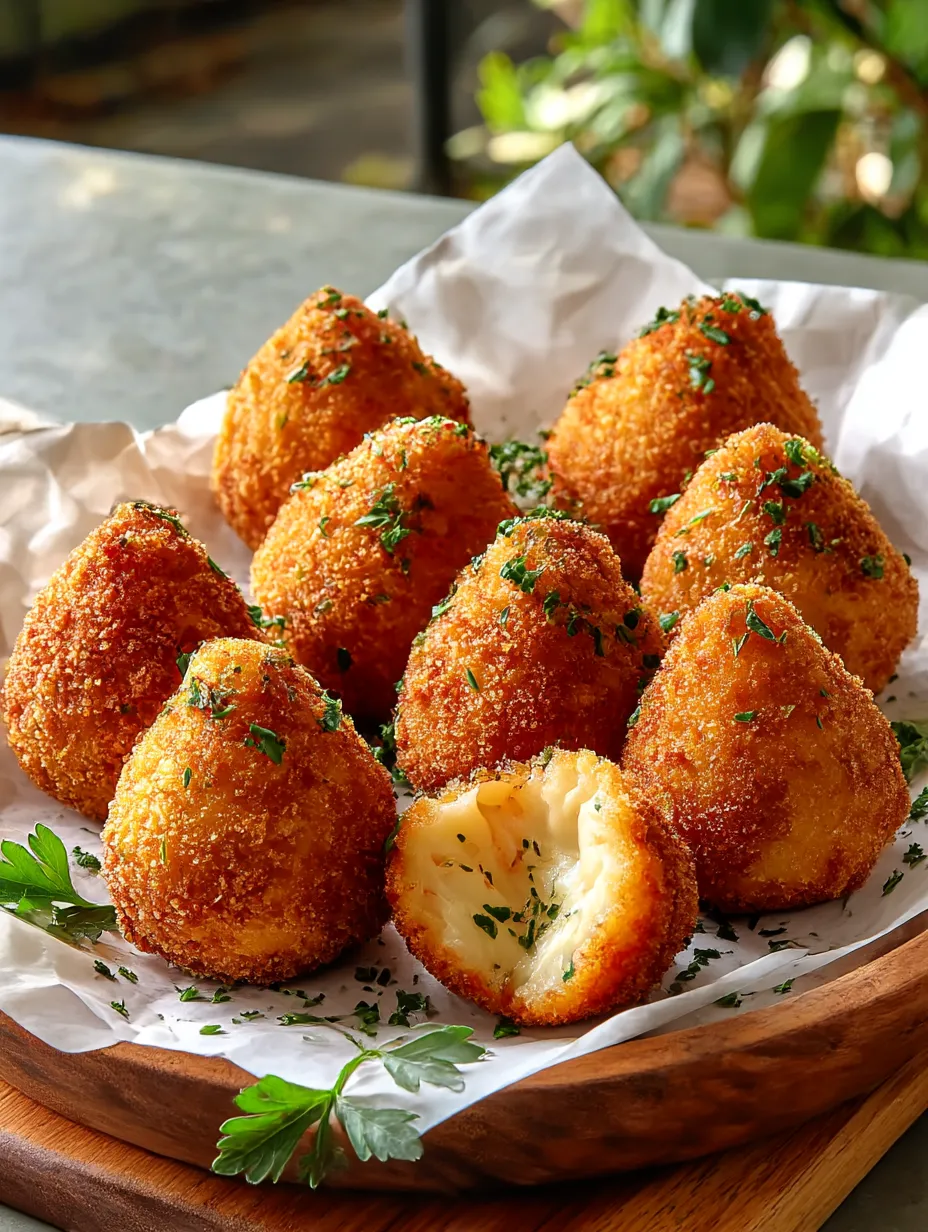
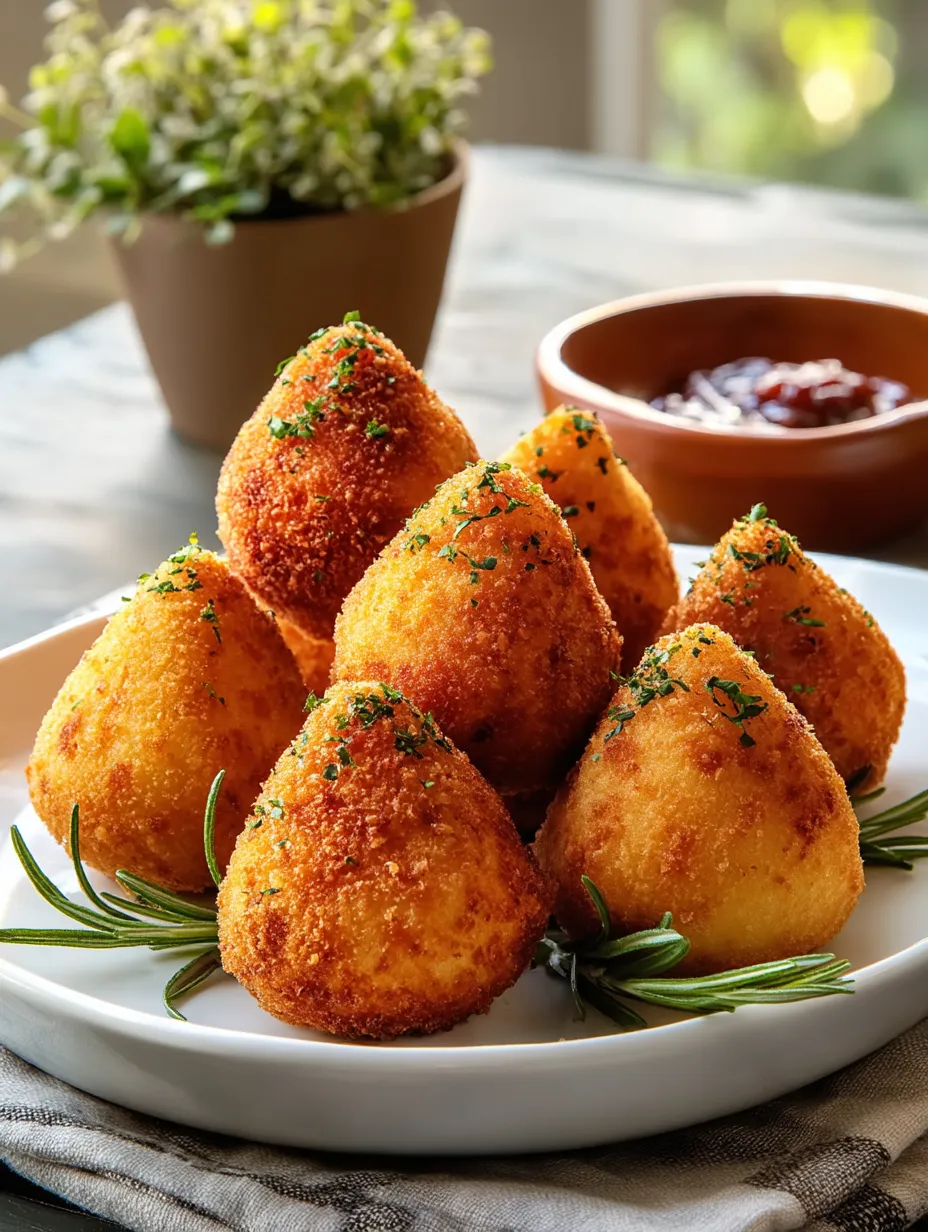
This is how you make Brazilian coxinha—those famous chicken-filled croquettes with a soft bite and crispy outside. People always ask for more at any get-together. They remind me of my family's old parties—they disappear so fast, everyone's left grinning.
When I first made coxinhas for my kids, we hung out in the kitchen, swiping steaming hot bites almost as fast as they came off the pan. Now I get why grandma's platter never made it untouched to the table!
Dreamy Ingredients
- Whole milk: keeps the dough extra soft, whole is best for that milky flavor
- Chicken broth: deepens the chicken vibe, use strained poaching juice
- Salt: brightens EVERY bit, reach for fine sea salt if it’s handy
- Butter: adds that smooth and rich taste, use in both dough and center
- Peeled mashed potatoes: makes everything plush and holds the dough together, russets are great here
- Sifted all-purpose flour: the wrap’s backbone, sifting helps it stay silky
- Boneless skinless chicken breasts: classic center, poach slow for juiciness
- Minced garlic cloves: brings pop and warmth, fresh is best right before you toss it in
- Finely chopped small onion: the start of all that savory depth, pick one that feels firm
- Paprika: gives a splash of color, use sweet style, NOT smoked
- Cream cheese: makes the chicken filling super creamy, brick-type melts in great
- Tomato sauce: a little tangy boost, get the plain one with no extra herbs
- Fresh chopped parsley: for that green pop, flat-leaf if you spot it
- Milk: gets coxinha nicely coated before they fry, whole works best
- Bread crumbs: major crunch, finer crumbs make the crust happier
- Vegetable oil for frying: go with light oil like canola or sunflower—good for high heats
Step-by-Step Help
- Breading and Frying:
- First, dunk your shaped coxinhas in milk. Roll them in breadcrumbs so they’re totally coated. Heat oil in a deep pan until it’s steady hot (about 350°F). Fry a few at a time—turn so every side goes deep golden. Each batch takes maybe three-four minutes a batch. Transfer them to paper towels right away, and eat up while the shell’s still crisp!
- Shape and Fill the Croquettes:
- Oil your hands, pull off dough pieces about the size of a golf ball. Squish them into thick disks. Spoon in the chicken center, close it up tight, and roll into a teardrop or drumstick shape. Don’t let the unused dough sit out uncovered—it’ll dry up quick.
- Prepare the Coxinha Dough:
- Grab a big pot. Pour in milk, saved chicken broth, salt, butter, and mashed taters. Heat to slow simmer, mixing until it’s smooth. Sprinkle in flour a bit at a time, then go to town stirring hard for five to seven minutes. It’ll come together in a shiny ball that leaves the sides clean. Set it on a lightly greased surface to cool off enough for kneading.
- Make the Chicken Filling:
- In a pan over medium-low, melt butter. Drop in onion, stirring until it smells sweet—about two minutes—then add garlic and give it two more. Add paprika, then cream cheese, tomato sauce, some water, chicken, salt, pepper, and parsley. Mix until it’s all coming together creamy, then pull it from heat and let it cool. That helps it thicken up so it’s easy to scoop.
- Cook the Chicken and Reserve Broth:
- Gently simmer chicken in enough liquid to cover. Ten minutes and it’s done—let it sit five more, then shred tiny with forks. Pour the cooking juice through a strainer and set aside for your dough.
 Pin it
I’ll never forget shaping these with my daughter. She’s quick to pinch the edges, and we both snitch warm bites before they hit the platter. That’s our little tradition now!
Easy Storage
Let leftover coxinhas cool all the way first. Store them in containers with lids in the fridge for up to three days. Want to keep them longer? Lay un-fried breaded coxinhas on a tray in the freezer, then throw them in a bag once they're frozen solid. To eat, fry straight from frozen until they’re hot and crunchy.
Swap Stuff In
No chicken breasts? Try cooked thigh meat for a juicier bite, or shredded roast chicken from last night.
No regular flour? Bread flour works for stretchier dough, but skip cake flour—it won’t hold up.
Going dairy-free? Use plant butter and plain soy milk instead of dairy.
How To Serve
Coxinhas are great dipped in salsa with lime wedges on the side. Pair with beans and rice or a crisp salad—can’t go wrong. If it’s party time, stack them on platters next to pitchers of sweet tea or guava juice for the crowd.
 Pin it
Brazilian Roots
Down in Brazil, coxinhas show up at pretty much every party, shaped like chicken legs as a clever nod to their start—word is they were invented to copy fancier cuts when real drumsticks were scarce. Now, you’ll see them everywhere, from birthdays to sunny beach stands. Everyone has their own little twist on the filling.
Frequently Asked Questions
- → Why is the dough special here?
Mixing mashed potato with flour, broth, and milk makes the wrapper extra flexible and tasty.
- → How do you get that drumstick look?
Start with a dough ball, flatten it, spoon on filling, then bring the sides up and pinch, rolling one end a bit thinner so it kinda looks like a tiny chicken leg.
- → Can coxinha be made in advance?
Yep, prep them and freeze after breading. Fry straight from the freezer whenever you want—they hold up great for two months.
- → What gets you that super crunchy shell?
Dip it in milk or water mixed with a bit of cornstarch, cover with breadcrumbs, then fry in really hot oil until golden all over.
- → What other fillings can you try?
Chicken's classic, but cheese, beef with spices, or veggies like mushrooms work great for switching it up.
