
 Pin it
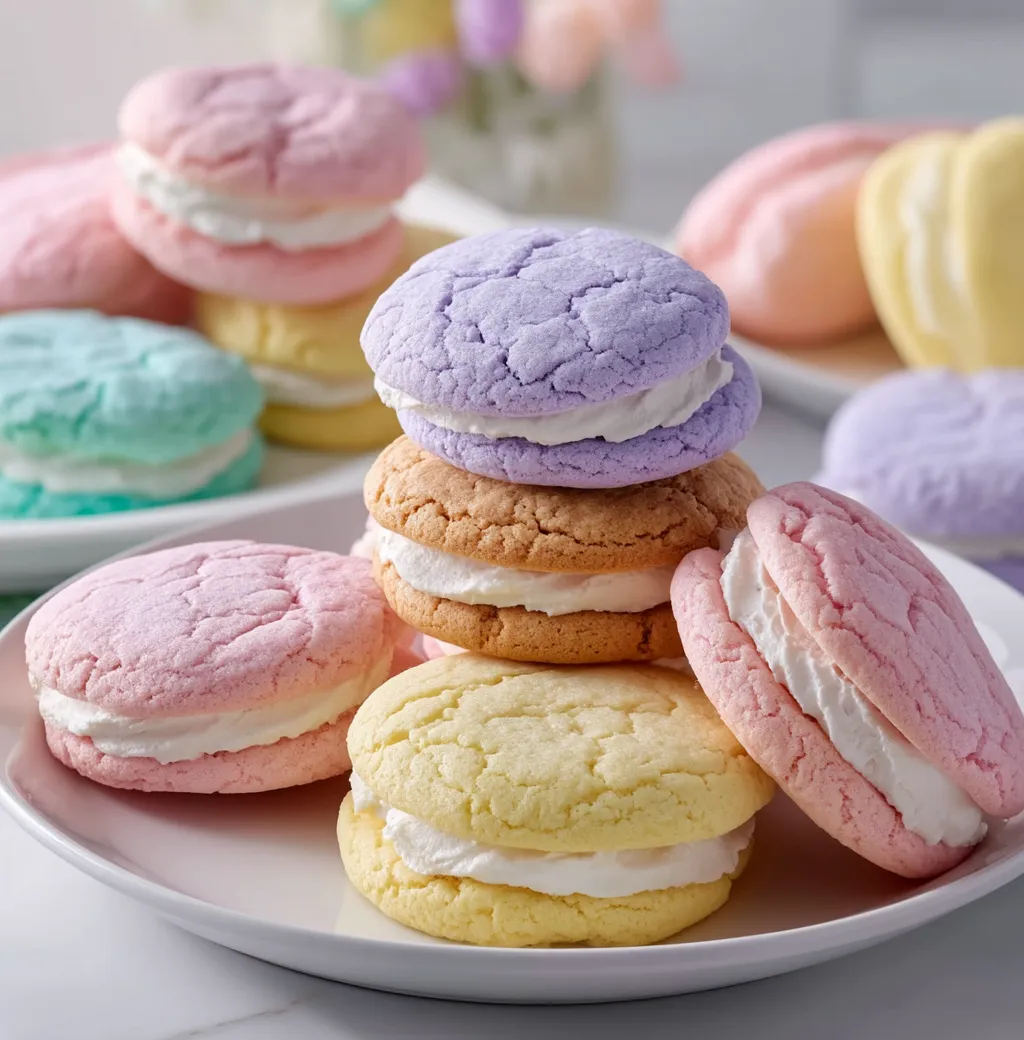
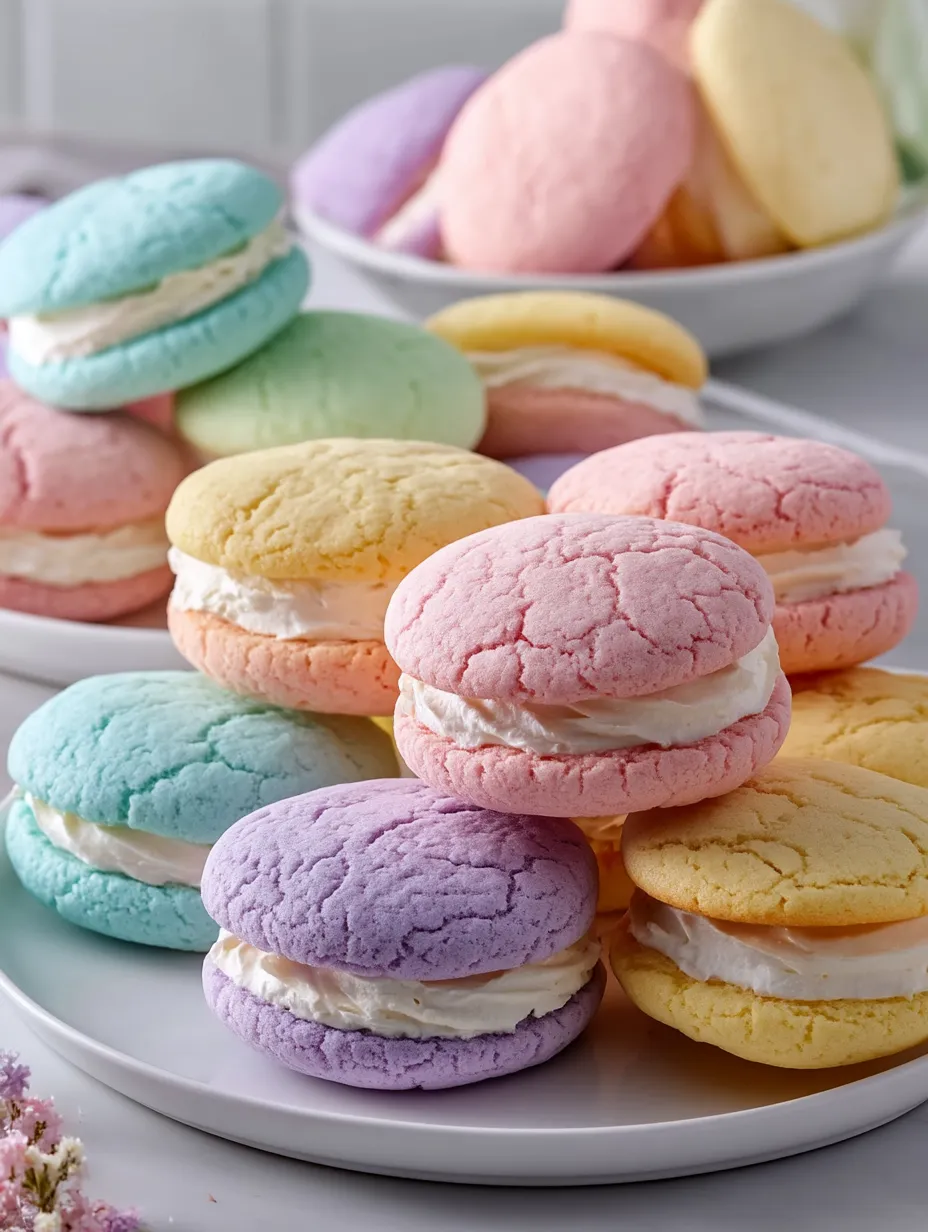
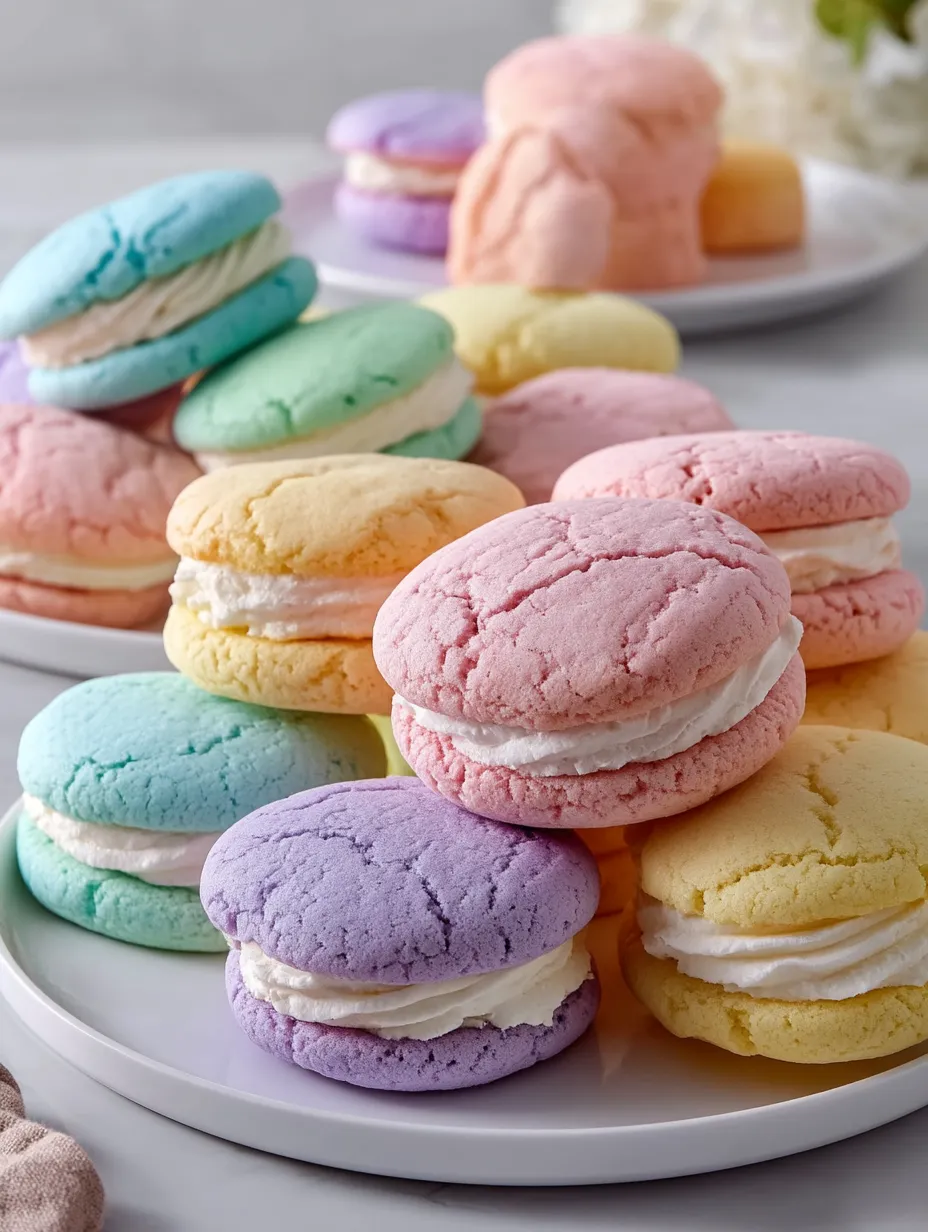
These colorful sugar cookie sandwiches pack a punch of brightness and sugary goodness for any event. The soft, crunchy cookies mixed with smooth vanilla cream make a dessert that looks as good as it tastes. I've whipped these up tons of times for kids' parties, mom-to-be celebrations, and whenever I want to cheer someone up with a sweet treat.
These treats have turned into my go-to dessert for spring parties. My niece once said they were "way too beautiful to eat" right before she gobbled up three back-to-back.
Ingredients
- FOR THE SUGAR COOKIES
- Unsalted butter: let it sit out until soft for the right cookie texture
- Granulated sugar: gives you that nice crackly surface
- Large egg: holds everything together nicely
- Vanilla extract: adds that cozy, familiar taste
- All purpose flour: grab unbleached for tastier cookies
- Baking soda and baking powder: they team up to make perfect rise
- Salt: brings out all the other tastes
- Milk: adds just enough moisture without making runny dough
- Gel food coloring: gives bright colors without making dough watery
- FOR THE VANILLA FILLING
- Unsalted butter: soft enough to whip up fluffy
- Powdered sugar: run it through a sifter for no lumps
- Heavy cream: makes the filling super smooth in your mouth
- Vanilla extract: stick with real stuff, not the fake kind
- Salt: cuts through the sweetness just right
Tasty Instructions
- Heat Your Oven:
- Turn it to 350°F and put parchment on your cookie sheets. When your oven's at the right heat, your cookies will bake evenly and get those cute little cracks.
- Mix Butter and Sugar:
- Beat them together until they're super fluffy, taking about 2 minutes. This step puts air in the mix and makes your cookies tender. You'll notice it gets much lighter in color.
- Put in Wet Stuff:
- Stir in the egg and vanilla until they're completely mixed in. Don't forget to scrape the bowl so everything gets mixed. It'll look smooth and glossy now.
- Add Dry Stuff:
- Slowly mix in the dry ingredients on low speed. This keeps flour from going everywhere and mixes everything evenly. Your dough will look thick and a bit sticky now.
- Add Milk and Colors:
- Stir in milk until the dough feels soft but not too sticky. Split the dough into five equal chunks and mix color into each one. Fold and press until each color looks completely mixed with no streaks.
- Form and Bake:
- Roll small tablespoon amounts into smooth balls with your hands. The rounder the ball, the prettier the cookie. Leave plenty of space between them as they'll grow while baking. Bake until the edges look done but middles still seem a bit soft for that perfect chewy bite.
- Whip Up Filling:
- Beat the butter until it's completely smooth, then slowly add sugar. This stops lumps from forming and makes it silky. Mix in the other ingredients and beat until it looks fluffy and light, about 3 minutes of mixing time.
- Put Cookies Together:
- Find cookies that match in size and shape so they look their best. Add a good dollop of filling on one cookie, then gently press another on top. Push down evenly so filling spreads all the way to the edges.
 Pin it
I totally love the vanilla filling in these cookies. I usually make a bit more than needed just so I can sneak a taste while putting them together. My daughter always catches me because I end up with buttercream somewhere on my apron.
Creating Perfect Colors
To get beautiful pastel shades, start with just a tiny bit of gel coloring. Stick a toothpick into the gel, then into your dough, and mix thoroughly before adding more. This slow approach keeps colors from looking too bright or fake. For the prettiest display, use colors that share similar tones instead of mixing bright primary colors with soft pastels.
 Pin it
Prep Ahead Tips
These sandwich cookies actually taste better after sitting a while. The filling softens the cookies slightly for a really nice texture. You can make the dough up to 2 days ahead and keep it in the fridge wrapped tightly. Just let it warm up before adding colors and shaping. Store finished cookie sandwiches in sealed containers with parchment between layers so they don't stick. If you're giving them as gifts, wrap each sandwich in a small clear bag tied with matching ribbon.
Ways to Serve
These bright treats work great as the main attraction on any dessert table. Try arranging them in a swirl pattern on a white cake stand to really show them off. They go great with tea, coffee, or cold milk. For parties, match your cookie colors to your theme or the season. Try yellows and purples for spring, blue and green for baby boy parties, or shades of pink and purple for little girls' birthdays.
Fixing Common Problems
If your cookies spread too much while baking, your butter was probably too warm. Just put the rest of the dough in the fridge for 15 minutes before you keep going. For cookies that come out too puffy, lightly tap the baking sheet on the counter right after taking it from the oven to help them flatten. If your filling seems too thick, add tiny amounts of cream until it feels right.
Frequently Asked Questions
- → What’s the best way to make pastel colors?
Use gel coloring to tint the dough. These give bright pastel tones and keep the dough's texture just right.
- → Can I replace gel food coloring if I don’t have it?
Liquid food coloring works too! Just use a tiny amount to avoid messing with the texture of your dough.
- → Is it okay to prep the filling earlier?
Absolutely! Make the filling ahead and store it sealed in the fridge. Let it sit at room temperature before assembling to make it easier to spread.
- → What’s the proper way to store these sandwiches?
Put them in an airtight container. Leave them at room temp for up to three days or refrigerate for up to a week. For a softer bite, let chilled cookies warm up a bit before eating.
- → How should I assemble these sandwiches?
Line up cookies of similar sizes. Spread a good amount of filling on one cookie’s flat side, place another cookie on top, and gently press them together so the filling spreads evenly.