 Pin it
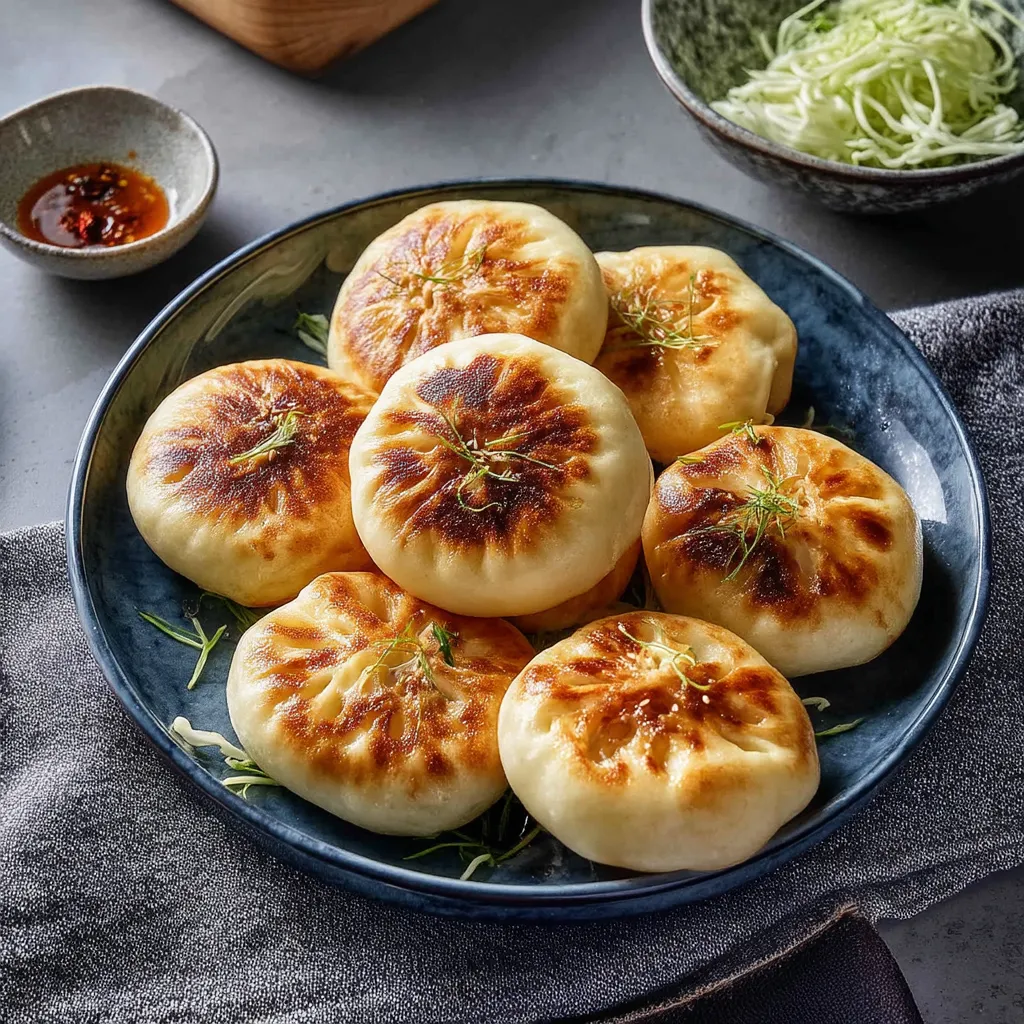
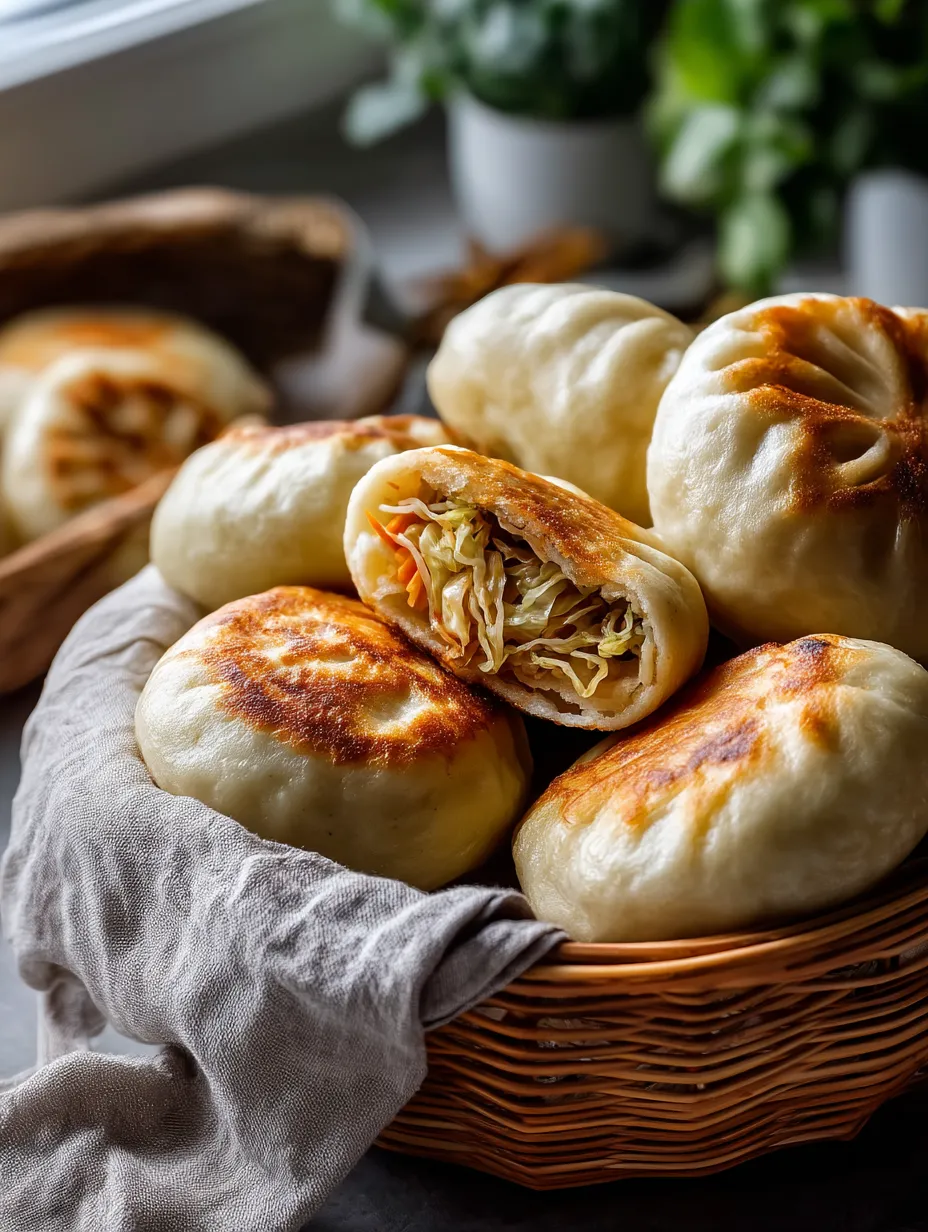
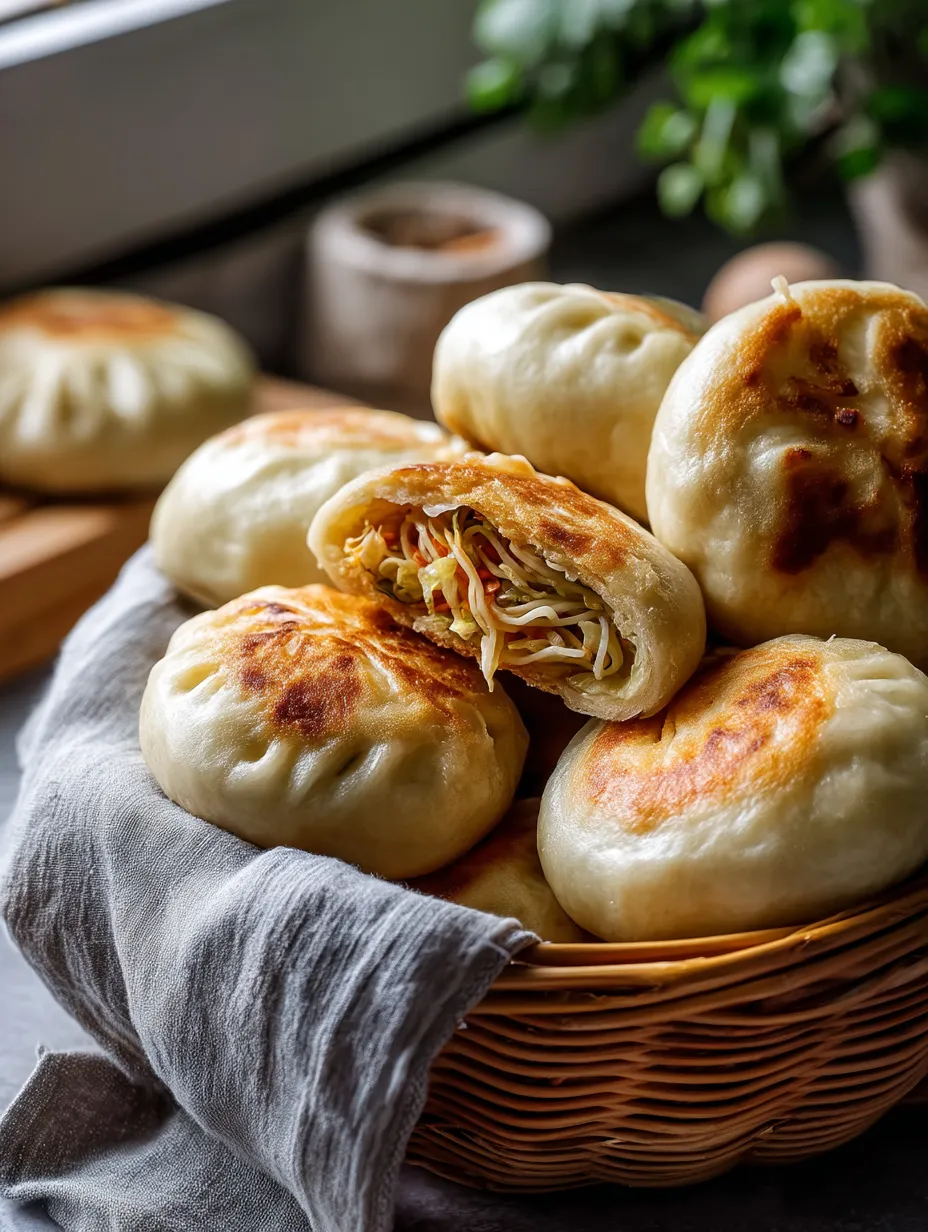
Enjoy these substantial meatless fried dumplings that capture the genuine flavor of Taiwan's bustling street markets at home. They're ideal when you're longing for those buns with their perfectly crunchy outside and soft, stretchy inside – the hallmarks of unforgettable street bites.
I've gotten hooked on making these buns every weekend since my trip back from Taipei. I used to pack tons in my luggage, but now I can get that same street food taste whenever I want without dealing with airports.
Ingredients
Dough
- All purpose flour: Using 3 cups gets you that classic chewy bite
- Instant dry yeast: Helps everything rise without waiting forever
- Sugar: Adds just enough sweetness to complement the savory stuffing
- Salt: Boosts overall taste and helps with dough structure
- Roasted sesame seeds: Give a lovely nutty flavor throughout
- Warm soy milk: Wakes up the yeast and makes the dough soft
- Toasted sesame oil: Adds that genuine aroma and depth
Filling
- Shredded cabbage: Creates a crunchy foundation that softens nicely
- Vermicelli noodles: Give that must-have springy texture in every bite
- Finely shredded carrots: Add natural sweetness and bright color
- Chopped scallions: Bring a burst of green flavor and aroma
- Soy sauce: Supplies that deep savory kick that keeps you coming back
- Toasted sesame oil: Rounds out the filling with traditional nuttiness
Step-by-Step Instructions
- Mix the dough:
- Put all your dry stuff in a big bowl and make a hole in the middle. Pour your warm milk and oil into this hole while stirring until everything comes together. Roll it into a ball, put it in a bowl, cover with a damp cloth, and wait about 2 hours till it doubles up. This long wait makes the dough nice and chewy.
- Prepare the filling:
- Drop vermicelli noodles in hot water for 7–8 minutes until soft, then drain and cut them small. Get some oil hot in a big pan, then throw in chives, carrots, and cabbage. Cook them 4–5 minutes till they soften up. Mix in noodles, soy sauce, salt, and oil, cooking another 2–3 minutes. Dump everything in a strainer while you work on the wrappers. Getting rid of extra water is super important.
- Shape the wrappers:
- Pull the dough into a big circle, then cut it into 16 same-sized pieces around 38g each. Roll each piece into a ball, then squish it a bit on a floured counter. Use a rolling pin to flatten each one into a 3–4 inch circle. Keep them under a dry towel so they don't dry out. Thinner edges with a slightly thicker middle work best.
- Assemble the buns:
- Put 2–3 spoonfuls of filling in the middle of each wrapper. With one hand, make folds around the edge while pinching them together with your other hand. After going all the way around, pinch and twist to close it up completely. Set it down and gently push the top to flatten a bit. The folds look nice and make different textures in each bite.
- Cook the buns:
- Get a pan with a lid hot and put in 1 spoonful of oil for every 4 buns. Set buns fold-side down and push softly. Cook on medium for 4–5 minutes until the bottom turns golden. Flip them over and cook till the second side browns too. Using the lid as a shield, carefully add 1 spoonful of water per bun, cover right away, and let steam for 5–6 minutes until the water's gone. This two-way cooking makes them crunchy outside and chewy inside.
 Pin it
My grandma always told me to drain the filling really well before stuffing the buns. The first batch I ever made, I got lazy and skipped this part. My buns turned all mushy and broke apart. Taking those extra five minutes with a strainer really makes the difference between okay and amazing buns.
Make Ahead Magic
These buns work great for planning meals ahead. After they're cooked, let them cool all the way, then put them in a sealed container in the fridge for up to 5 days. If you want to save them longer, freeze them separately on a tray until they're hard, then toss them in freezer bags. This way they won't stick together, and you can grab just one or two whenever you want some.
 Pin it
Perfect Pairings
These buns taste great by themselves, but they're even better with a simple dipping sauce. Just mix some soy sauce, a splash of rice vinegar, a tiny bit of sugar, and some chili oil for the best combo. For a full meal, serve them with a light cucumber salad with rice vinegar and sesame oil dressing to balance out the richness of the buns.
Troubleshooting Tips
If your dough feels too sticky, don't dump in loads of extra flour as it'll make your buns tough. Just put a little oil on your hands when you work with it. If stuff leaks out during cooking, your heat might be too high or you didn't seal them well enough. Try turning down the heat a bit and pinching harder when closing them up. When warming leftovers, always add a bit of water to the pan to create steam again for the best texture.
Frequently Asked Questions
- → What steps do I follow to make the dough?
Add the dry ingredients into a bowl, make a small well, and mix in warm soy milk and oil. Stir to bring it together, knead till smooth, cover it up, and let it rest for 2 hours.
- → What's in the filling?
You’ll need cabbage (cooked), grated carrots, thin rice noodles, scallions, soy sauce, sesame seeds, and a little sesame oil.
- → What’s the best way to cook them?
Start by heating some oil in a pan. Place the buns seam-side down and cook them until crispy and brown. Flip, cook the other side, then add a splash of water and cover to steam it through.
- → Can I store buns in the freezer?
Definitely! Freeze them on a tray first so they don’t stick together, then move them to a sealed bag or container. Reheat when you’re ready to eat them.
- → What dipping sauce tastes best with these?
A mix of soy sauce, sugar, sesame seeds, and a bit of chili sauce makes a fantastic dipping sauce for these buns.
- → How do I warm up already cooked buns?
You can reheat them in a pan with some water, toast them gently in the oven, or microwave them with a touch of water for a softer texture.
