
 Pin it
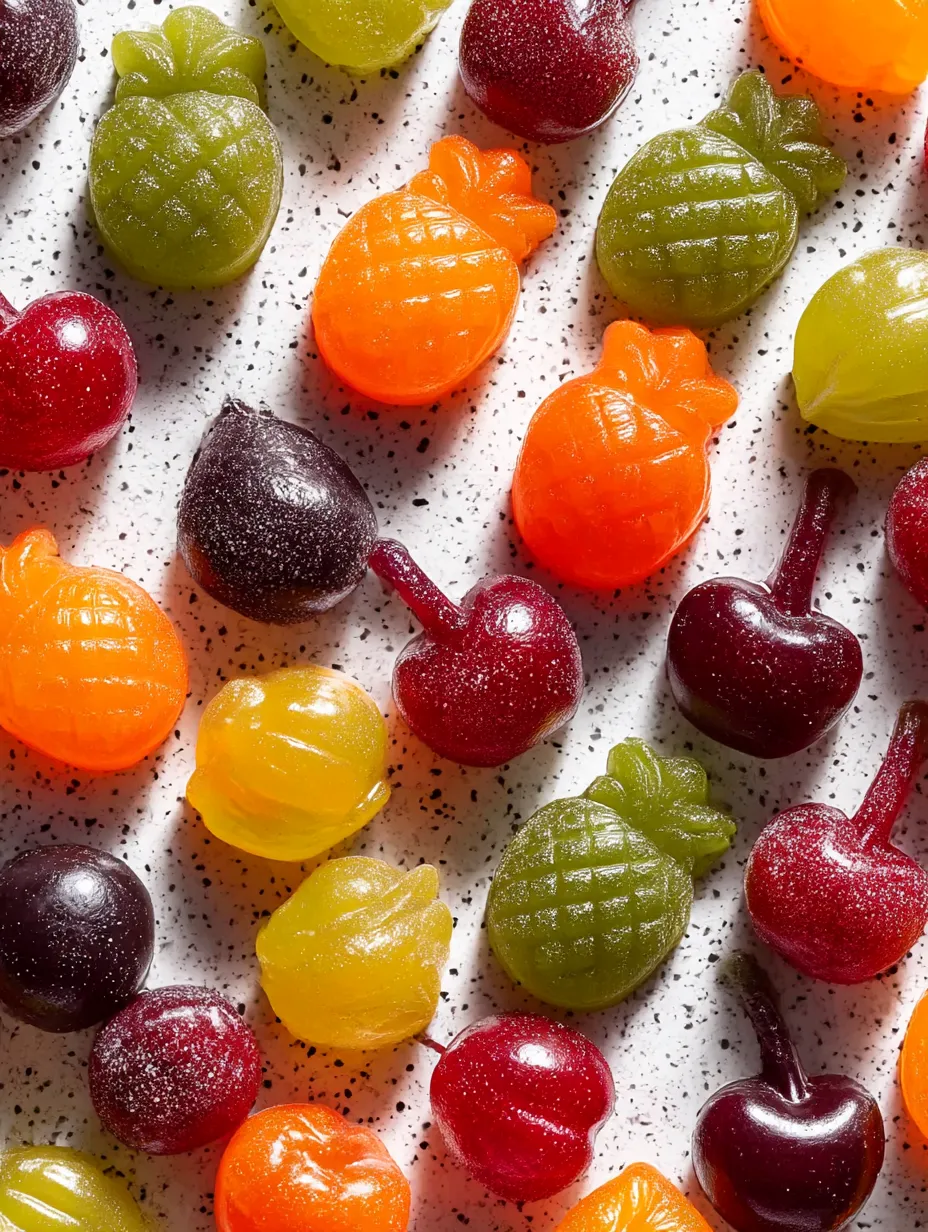
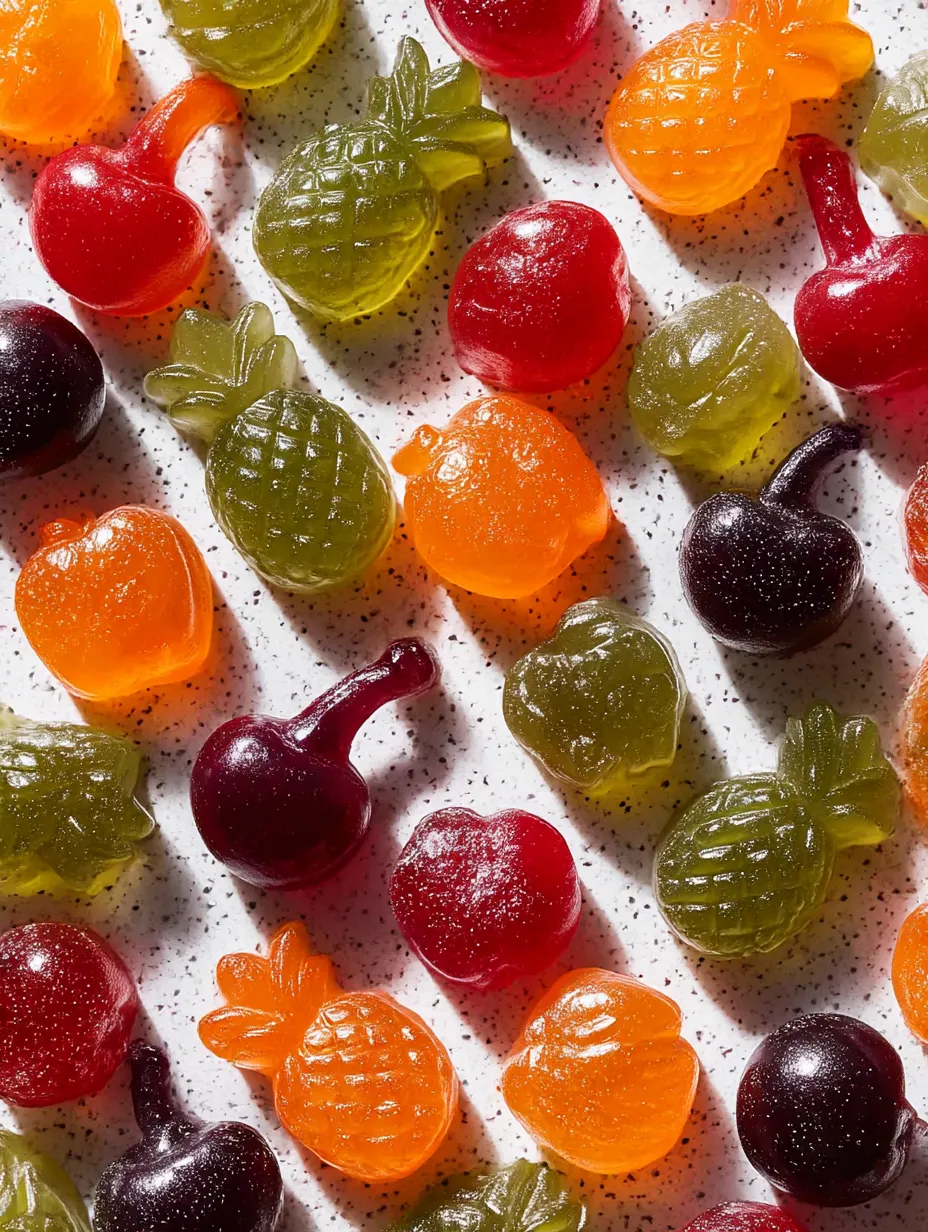
Making your own fruity bites at home feels pretty magical You get all those bold fruit tastes mixed with a handful of veggies baked into soft chewy treats The coolest thing is you’re totally in charge of every ingredient that goes in I keep coming back to this snack because it’s such an easy way to sneak in extra nutrients Honestly these taste a whole lot better than anything you’d grab at the store
The first batch happened before a family road adventure Now every time we plan snacks these chewy bites are always the first gone Everyone keeps asking me to whip up extra
Tasty Ingredients
- Grass fed gelatin: this is what turns your purée into those chewy, bouncy bites spring for good stuff to get the best chew
- Chopped vegetables: carrots, beets, spinach, or zucchini are great peel first for smoothness use fresh and blemish-free produce for better flavor
- Raw honey: boosts the sweetness naturally Local honey is best if you can get it plus it packs some trace nutrients
- Chopped fruit: grab in season options like grapes, blueberries, peaches, or strawberries make sure they’re juicy and sweet
- Pure vanilla extract: this ties the tastes together and adds a cozy vibe real vanilla is worth it
- Pure apple juice: stick with organic and unsweetened so the fruits can really shine
- Heads up avoid pineapple or kiwi since they make it hard for the gelatin to gel
Simple Step-by-Step Directions
- Pop Out and Store:
- When they’re firm push the fruit snacks out of their molds Using a baking pan just lift the sheet and chop into pieces Keep everything fresh by stashing them in a tight-lid container
- Let It Chill:
- Slide your filled molds or pan in the fridge Give them at least two hours to fully firm up Patience pays off because this keeps them easy to peel or slice
- Fill Your Molds or Dish:
- Move quick and fill up the silicone molds with a dropper Or pour all the mix into the lined pan and use a spatula to smooth If you’re using molds keep the pot on the still-warm, turned-off burner so it won’t set too fast
- Heat to Combine:
- Put the pot on medium and keep stirring Don’t let it bubble After a few minutes it should look shiny and blend easily Press a bit between your fingers to check that no grainy bits are left Keep warming a bit more if it’s not quite there
- Whisk in Gelatin:
- Pour into a little pot Pour the gelatin on top Stir it well so the gelatin mixes in smooth and clean
- Blend Sweet Stuff with Flavor:
- Add the vanilla and honey and blend again now Taste to see if it’s sweet enough and add honey if you want
- Blend Fruit and Veggies:
- Dump fruit, veggies, and a splash of apple juice into your blender Pop on the lid and go slow at first then speed it up Make it as smooth as possible Add a little more juice if it’s too thick as you go
- Prep Pans and Candy Molds:
- Stick your silicone molds on a baking sheet to keep them steady Or line a baking pan with wax paper and lightly oil the paper so you don’t have any sticking issues comes time to pop them out
 Pin it
Strawberries always win for me—nothing beats that naturally bright flavor every single time My top moment in the kitchen was watching my little one pop her first snack out of the mold and name them her magic candies
Smart Storage
Tuck them into an airtight box and store in the fridge They’ll keep for about two weeks Want them to last longer Freeze them for up to two months but know they get softer when you thaw them Throw in an ice pack if you’re packing lunch it’ll help keep things firm
Swaps and Extras
Switch up your fruit base as long as it’s not kiwi or pineapple Try cherries mango or blackberries for a twist For veggies kale spinach or sweet potato all work great Or use all fruit if you want Skip the gelatin for agar powder if you need vegan the texture will just be a little different
Ways to Enjoy
Perfect to toss into a snack case before a road trip lunchbox or hike You can create cute little shapes or stack different purees for rainbow bites They even look fun on a party platter so everyone gets a healthy treat Kids get extra excited helping out and nibbling these
 Pin it
Background and Traditions
People have been making fruity snacks like this for ages—think old school fruit leathers or preserves Folks would blend up summer fruit and dry it on trays Now we keep that juicy taste but bring in a soft bouncy chew and those creative shapes so snacking feels special and fun
Frequently Asked Questions
- → Can I use any fruit and vegetable combination?
Just about any fruits and veggies work, but avoid fresh kiwi and pineapple—they’ll keep them from setting up. Mixing up different ones can make awesome colors.
- → What kind of juice should I use?
Try pure apple or grape juice without any added sugar. Apple is a top choice since it has a mellow flavor and light color. Feel free to try other juices if you want something different.
- → How do I know when the gelatin is dissolved?
Let a dab cool a bit and rub it between your fingers. It should feel silky, not gritty—if it’s still rough, heat it a little longer.
- → How should I store fruit and vegetable snacks?
Store your snacks in a sealed container in the fridge for a couple of weeks, or pop them in the freezer for up to two months.
- → Can these snacks be made vegetarian?
You can swap gelatin for a veggie-based powder. Check the package for the directions, since some need more time to set up or work a bit differently.