
 Pin it
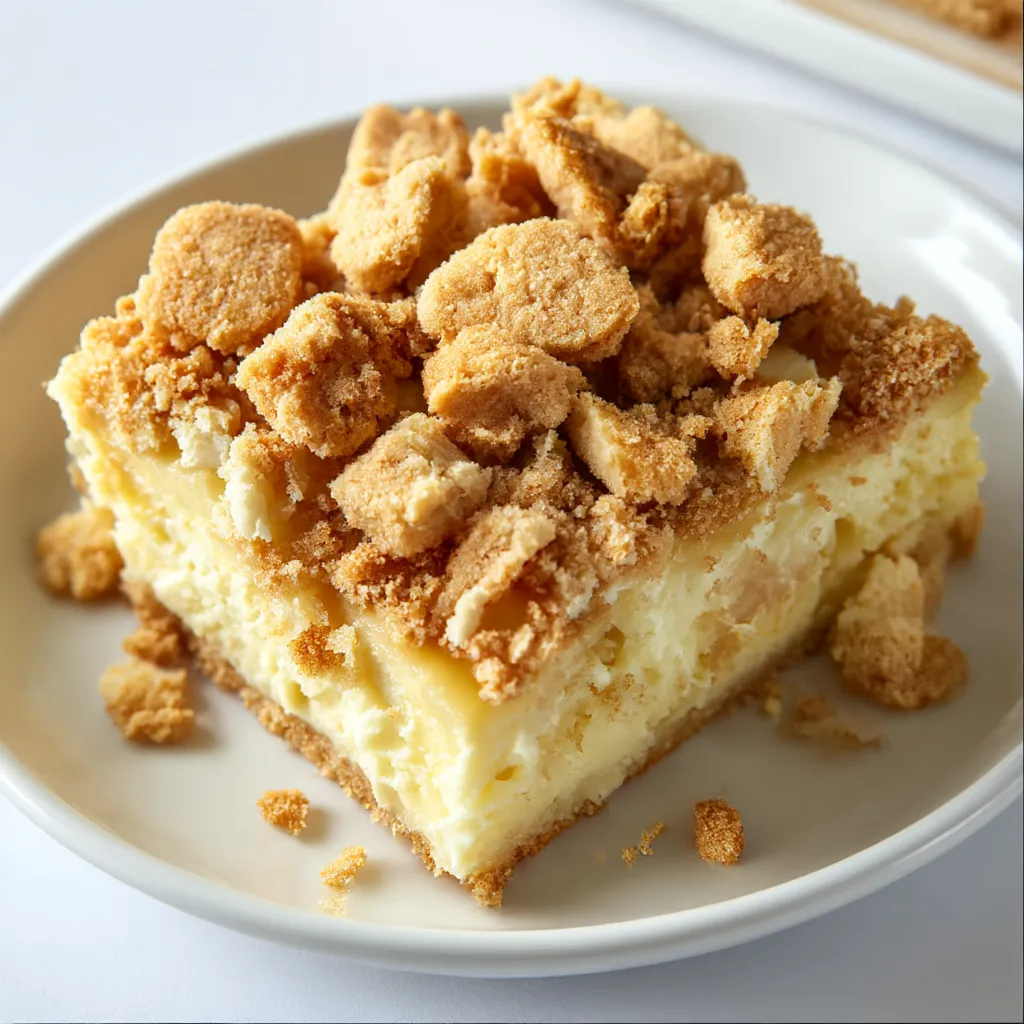
Soft and dreamy, these Banana Pudding Brownies mash up the sweetness of banana pudding with chewy cake bars. You’ll whip them up fast and start thinking of cookouts or family fun right away. Each bite is packed with fresh banana bits and crunchy vanilla wafers tucked inside.
Irresistible Ingredients
- Vanilla wafer cookies: Crunchy and a little soft after baking, these are important for that classic flavor Grab wafers you’d snack on alone
- Medium bananas: Slice them up for bursts of banana in every bite Aim for bananas with a few brown spots for that extra sweetness
- Yellow cake mix: This is your foundation Use one you know tastes awesome and check the expiration date
- Milk: Makes the pudding creamy and helps everything bind together Whole milk works best if you like things rich
- Instant banana pudding: The main flavor booster here Goes right into the mix for a punch of banana goodness Use a box that looks fresh
Step-by-Step Magic
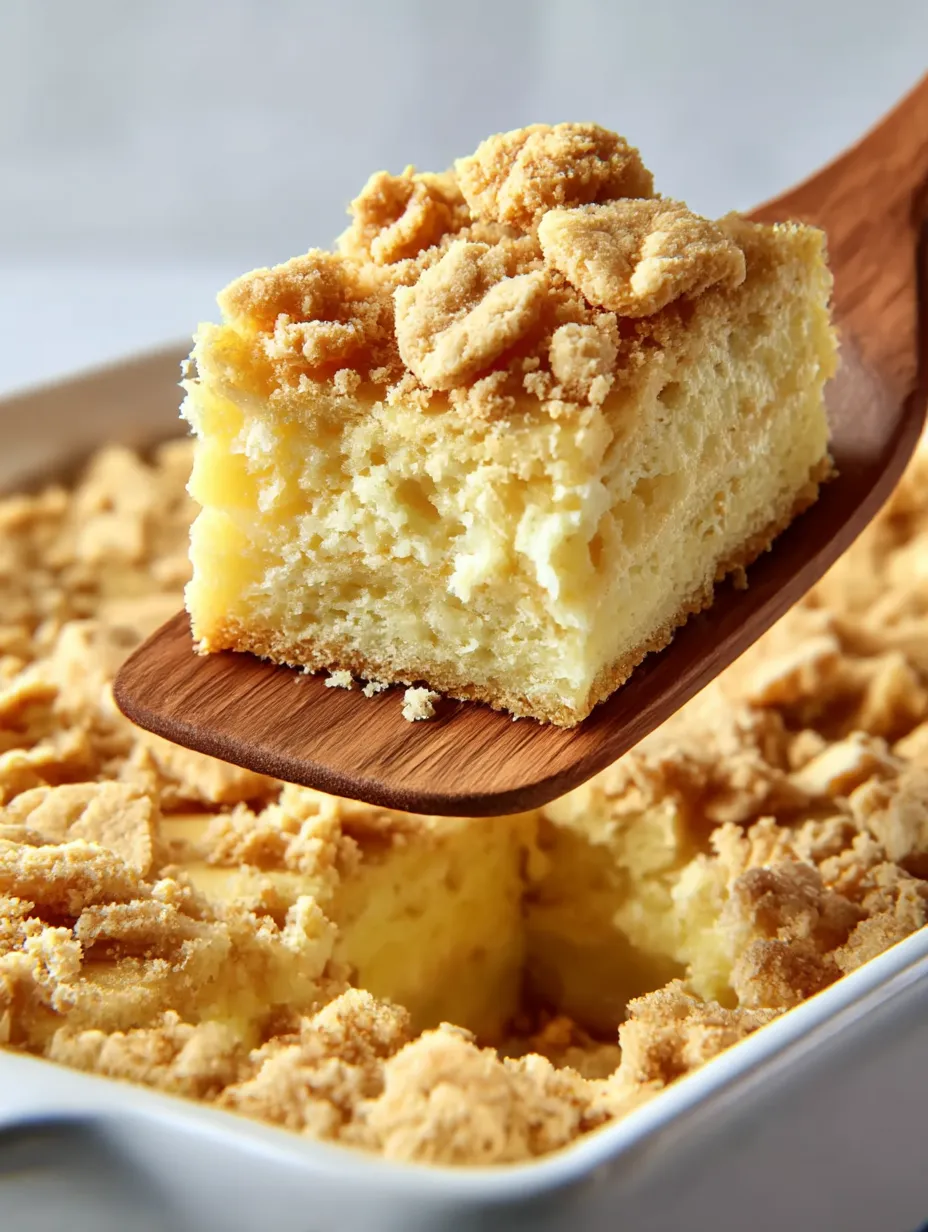
- Letting It Cool:
- Wait until the bars have cooled down all the way before you grab a knife. This will help your squares stay neat and not fall apart.
- Baking Time:
- Slide the pan onto the middle rack of a three fifty oven and bake for thirty to thirty five minutes. You’re looking for the edges to turn golden and the middle to be fully set before taking it out.
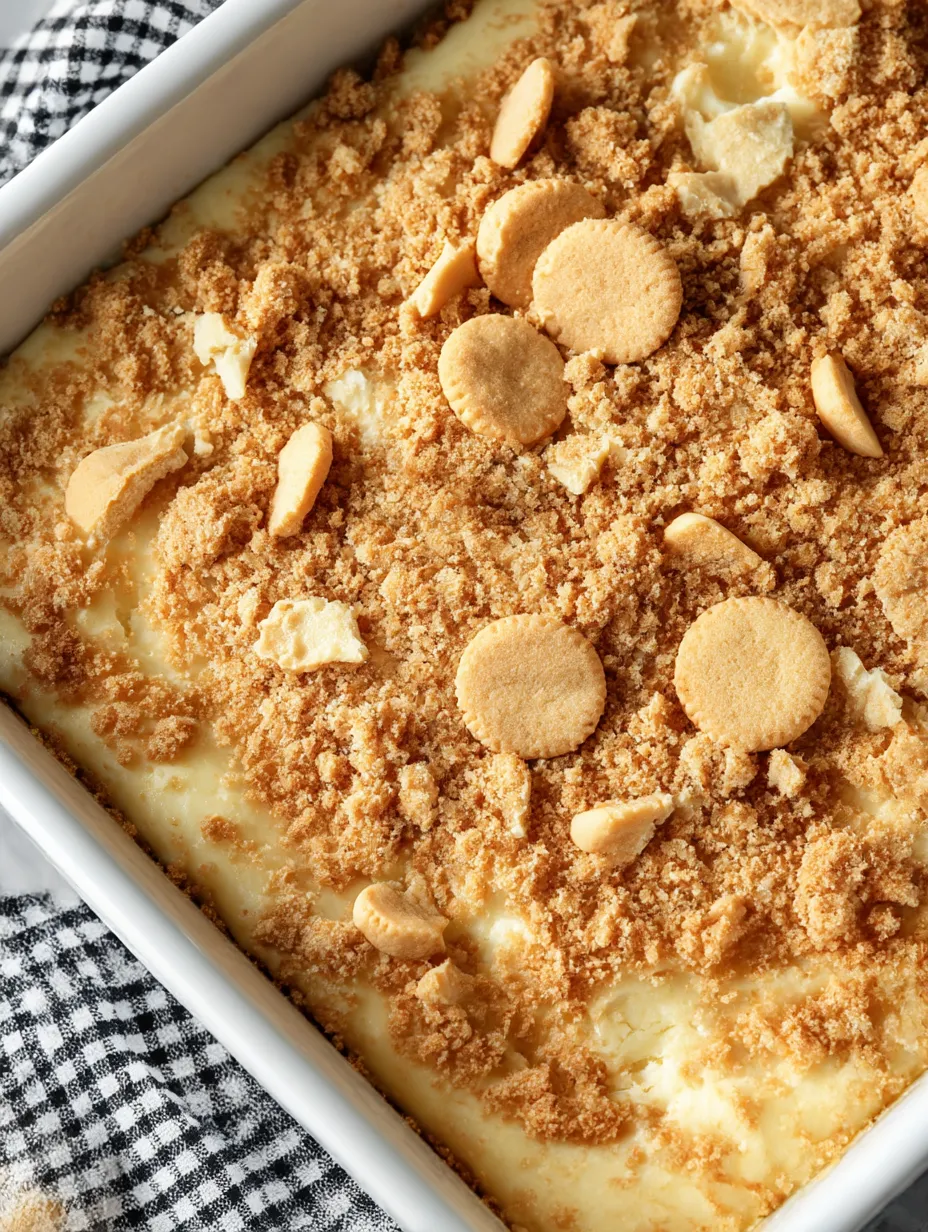
- Topping with Wafers:
- Dump your batter in the greased dish. Spread it around, then toss your roughly chopped wafer cookies on top. Press a few down so you get a little crunch in every bite.
- Mixing Bananas:
- Fold the banana slices carefully into your batter so they don’t get squished and you get creamy banana bits in every square.
- Making the Batter:
- Pour the yellow cake mix into your pudding mixture. Stir together until everything’s combined nicely and you don’t see dry cake mix hiding in there.
- Mixing Pudding:
- Grab a big bowl. Pour in your milk and pudding mix. Whisk it up until smooth and everything’s dissolved together with no lumps left.
- Prepping the Pan:
- Coat a 9x13 pan with a good shot of nonstick spray. That way, the bars will pop right out and not stick.
 Pin it
Freshness Hints
Keep leftover bars in a sealed container on your counter for up to two days. Want them to last longer? Pop them in the fridge and they’ll stay good for about five days. Stack them with parchment or wax paper if you pile them up to stop sticky messes. If you like cold treats, nibble straight from the fridge—they taste a little like frozen pudding.
Swap Options
If you’re out of banana pudding mix, use vanilla or cheesecake pudding for a new spin. White cake mix stands in for yellow if that’s what you’ve got. No wafers handy? Shortbread or graham crackers will do the trick for that needed crunch.
Fun Ways to Serve
Bring these treats to backyard hangs, birthdays, or any day you want to surprise people. For an easy-to-share platter, cut into small squares and stack ’em up. Feeling fancy? Add whipped cream and a couple of fresh banana rounds right on top before you dig in.
 Pin it
History and Traditions
Banana pudding is a classic comfort in Southern homes—families pass it down and everyone has memories tied to it. This bar twist keeps the sweet tradition alive in a grab-and-go way. My grandma always set out banana pudding after Sunday lunch, and now these bars keep our tradition fresh but just as tasty.
Frequently Asked Questions
- → Can I use homemade pudding instead of instant?
For sure. Just make your pudding thick like instant pudding. You might need to tweak the sugar level too.
- → What’s the texture of these brownies?
You’ll get cake-like, soft bars. The bananas and pudding keep things moist, while the cookies get crispy on top.
- → Can I swap out vanilla wafers for another cookie?
Go for it! Graham crackers or shortbread fit right in and add their own spin.
- → How should I store leftovers?
Keep them sealed at room temp for a couple days, or put them in the fridge if you want them to last longer.
- → Are overripe bananas necessary?
You want bananas that are just ripe, not super soft or mushy. Extra ripe ones can make the bars too wet.