
 Pin it
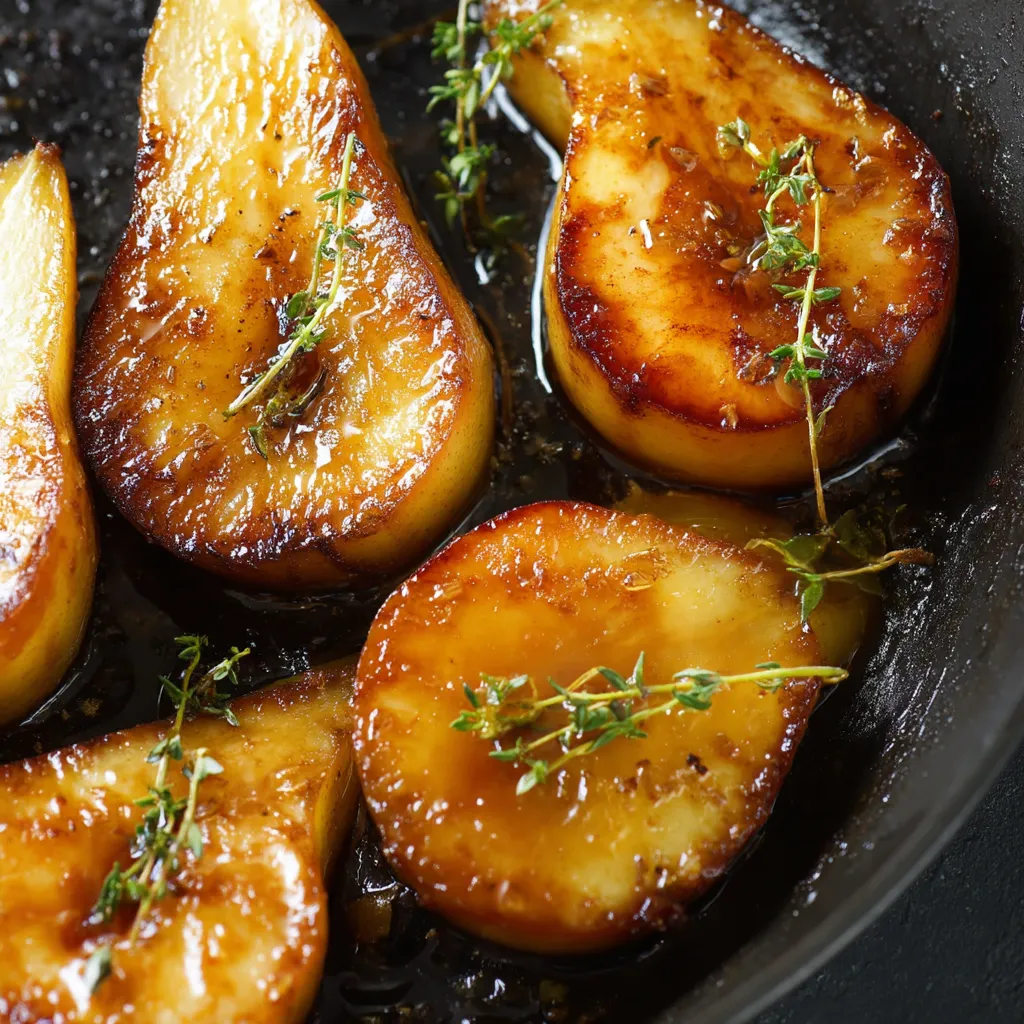
Pop these pears in the oven and you'll pull out something that's juicy, tangy, and super sweet. People always get excited when I make these at home—the whole thing is way easier than it looks, but still feels a bit fancy.
The first night I made this was a chilly fall evening. Now it’s my go-to anytime pears pop up at the market. It’s the perfect blend of feel-good and just a little indulgent.
Hearty Ingredients
- Big firm pears: You want them almost ripe but not squishy. Skip any super ripe ones—they’ll get mushy fast in the oven.
- Butter (unsalted): Makes everything extra rich and helps turn those pears golden. If you can, grab some top-shelf stuff.
- Honey that flows: It adds floral sweetness and a shiny finish. Just check that you actually like the way it tastes before using.
- Balsamic vinegar: Look for a thick, aged one—it’s got that tang that pairs with sweet pears perfectly.
Simple Directions
- Time for the honey:
- Take your dish out of the oven and pour the runny honey over everything. Let it all sit for a bit so the sauce mingles together.
- Finishing up:
- Spoon some of the sauce from the pan over each piece. If you love honey, add a little extra. They're best eaten warm.
- Flip and add vinegar:
- Turn the pears over, then spoon some balsamic over the now-exposed sides. Pop it all back in for a handful of minutes.
- Melt that butter:
- Put a sturdy skillet (cast iron works) on the stove set to medium-low. Drop in the butter—wait ’til it foams.
- Oven roasting:
- Slide the whole pan into a 400°F (or 200°C) oven. Leave them alone for about twenty minutes—their color deepens and they soften up nicely.
- Cut and core pears:
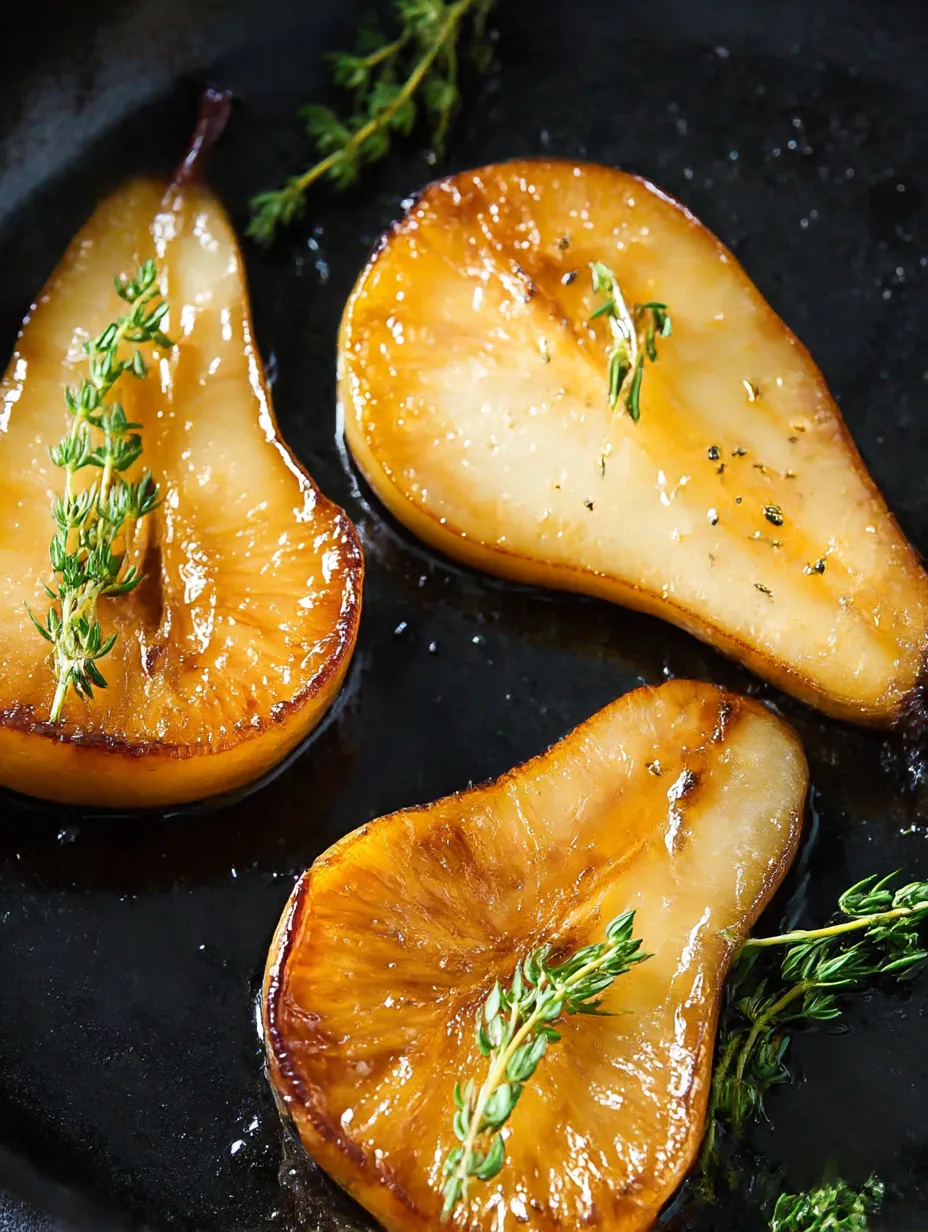
- Slice pears in half. Scoop out the core with a little spoon, but leave the skin—it keeps them together as they bake.
- Pear sauté:
- Lay the pears, cut side down, in your melted butter. Let them cook for a couple minutes to start the caramelization party.
 Pin it
Good to Know
- They’re meat-free and gluten-free, so almost everyone’s in
- Tastes great for brunch, dessert, or even next to something savory
- It’s a smart way to make use of pears that aren’t quite ready for eating raw
I honestly love how roasting balsamic changes it up—it turns so rich and thick. My mom was totally surprised the first bite—she never expected such a simple mix could feel this special.
Storage Hacks
Stash any leftovers in the fridge, sealed tightly, for up to three days. When you want more, warm them gently on the stove or zap in the microwave. They’ll soften a bit more but that rich flavor sticks around.
Swap Ideas
No pears? Sliced apples work—they just need to roast a little longer. Out of honey? Use maple syrup for a different vibe. Vegan butter can stand in for regular if you want dairy-free.
How to Serve
Dish up with a scoop of vanilla ice cream, a swirl of Greek yogurt, or a bit of whipped cream. For a savory kick, crumble on some blue cheese and toasted walnuts. These also make oatmeal or pancakes way more interesting.
 Pin it
Hungarian Origins
Baking fruit like this goes way back on the Hungarian side of my family. My grandma’s table was all about fruit desserts instead of heavy cakes. I did add the balsamic and honey twist, which gives it a cool update I’m really into.
Frequently Asked Questions
- → What kind of pears work best?
Grab big pears that are a little hard still—they keep their shape and get that caramel-y texture. Skip ones that are super ripe or squishy.
- → Can I substitute the balsamic vinegar?
You can try sherry vinegar, or squeeze in some lemon if you don't have balsamic.
- → Do I need to peel the pears?
Nope, just leave the skins on. They hold the fruit together and make for a nice bite.
- → Is it necessary to use a cast iron skillet?
If you don't have cast iron, that's fine. As long as your pan goes in the oven and is heavy, you're set. Enameled or stainless steel do the trick too.
- → How can I serve the pears?
They're super tasty warm with some honey or that buttery pan sauce. Add vanilla ice cream or whipped cream if you want to kick it up.