
 Pin it
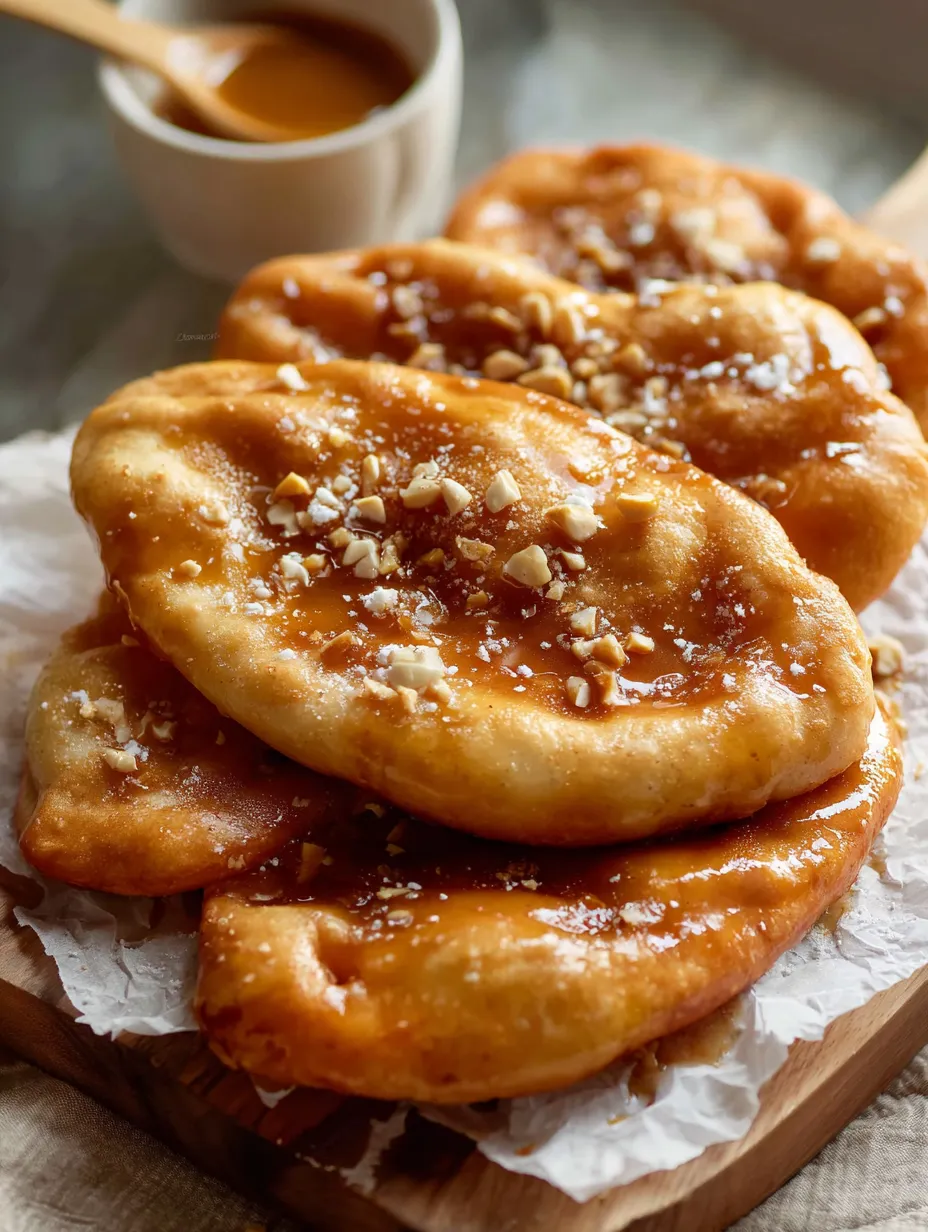
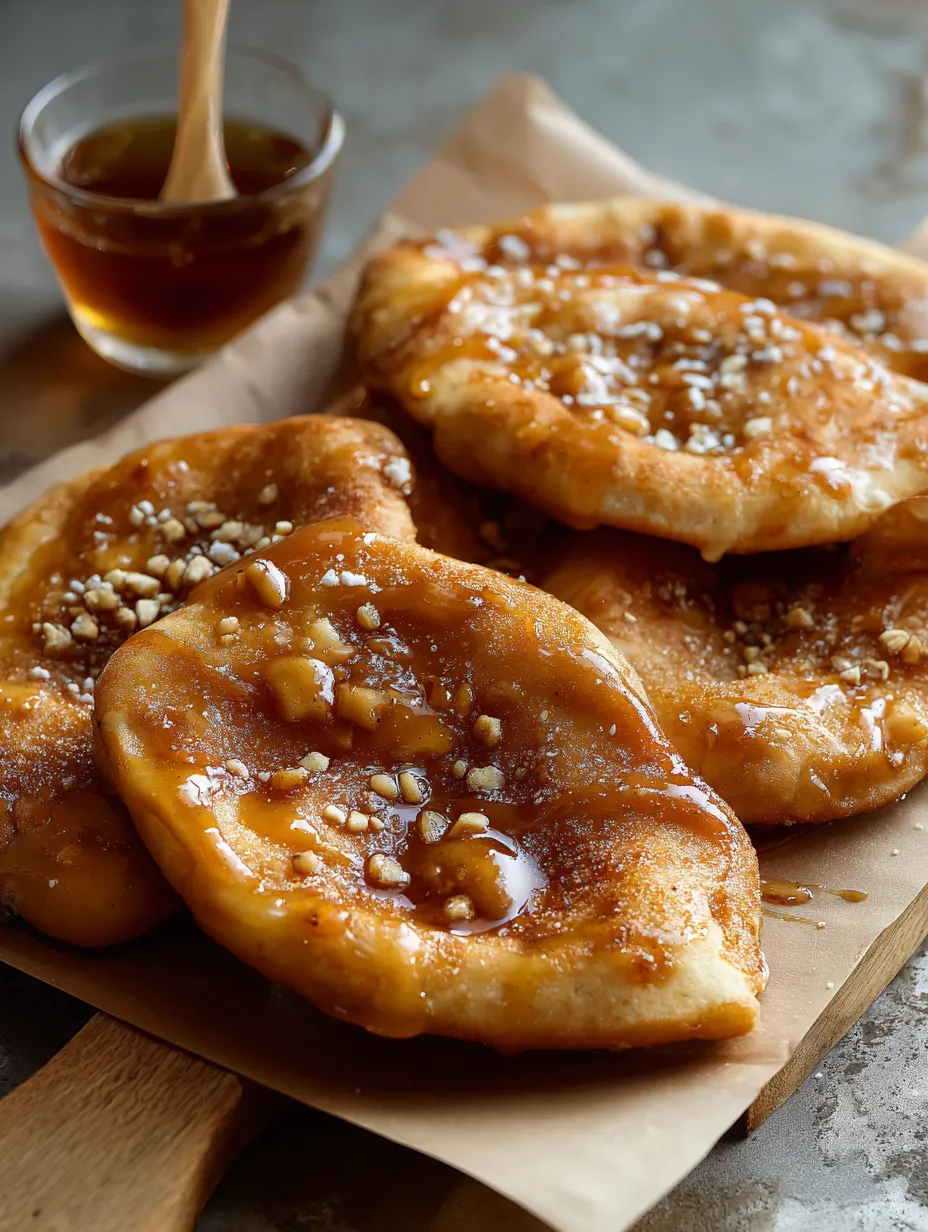
Nothing beats sinking your teeth into Maple Beaver Tails. The first time I tried them was during a freezing cold trip in Canada—fresh dough, crisp around the edges, pillowy soft in the middle, then showered in sweet maple glaze. If you want to taste a bit of this Canadian street food without leaving your house, you can whip these up in your own kitchen.
My sweetest memory is having these for the first time in chilly Ottawa—instantly hooked. Now, every time I make them at home, it takes me right back to those icy, happy moments.
Mouthwatering Ingredients
- All purpose flour: This gives the dough its structure. Unbleached is best if you can grab it
- Unsalted butter: Bring out the flavor—make sure to use it both for your dough and your glaze
- Powdered sugar: Goes into the glaze to make it sweet and smooth. Give it a sift so no lumps sneak in
- Instant yeast: Helps the dough puff up and get light. Pick a good brand
- Maple syrup: The glaze can't shine without real maple syrup. Grade A amber is classic
- Vegetable oil: You'll need this to fry. Use something neutral and fresh
- Salt: Fine sea salt is nice. This balances all the sweet flavors
- Vanilla extract: A little pure vanilla really lifts the maple glaze
- Lukewarm water and whole milk: Together, they help get that perfect dough feel—warm to the touch is what you're after
- White sugar: Pure cane works great, feeds the yeast and sweetens things up
Simple Step-by-Step
- Glaze and serve:
- While your beaver tails are still warm, slather over plenty of glaze. Add powdered sugar on top if you want. Best eaten hot and fresh while your fingers are still sticky
- Fry the beaver tails:
- Get your skillet ready with about an inch of oil, heat it up to three hundred fifty. Put in a couple dough ovals at once. Let them fry until bubbles appear and they’re golden underneath, flip and do the other side. Set on a rack once they're done
- Shape dough:
- Punch down your dough, split into six or seven pieces, and roll into balls. Coat your hands with just a bit of oil so nothing sticks, then press each ball into a long, thin oval. Thin is best since they puff up a lot in the oil
- Finish maple glaze:
- Pour vanilla, syrup, and powdered sugar into the browned butter. Whisk it up till there’s no lumps left. The glaze should be super glossy and smooth
- Brown the butter for glaze:
- Melt butter over medium and let it sizzle until it smells nutty and looks deep gold—don’t let it burn! Dump it into a bowl right away. That’s your secret to deep flavor in the glaze
- First rise:
- Slick some oil inside a big bowl and put in your dough. Cover with plastic and a towel. Leave it somewhere cozy about an hour. It’ll get big and fluffy—this makes your beaver tails super light
- Mix and knead the dough:
- Add flour, sugar, and salt to your yeast mixture. Start mixing till it gets messy, pour in melted butter, then knead for a bit—one minute is plenty. You want a soft, bouncy dough that cleans the sides of your bowl
- Activate the yeast:
- Mix the warm milk and water in a big bowl, sprinkle yeast over it, then give it a whisk. Let it chill five minutes until you see foam. That means it's good to go
 Pin it
Just opening a bottle of real maple syrup makes me smile—reminds me of waking up at grandma's, pouring it over something warm. When it hits browned butter for this glaze, your whole kitchen smells unreal.
Keeping It Fresh
If you end up with leftovers, wrap beaver tails in parchment and toss them in an airtight container at room temp for a day. Need to keep them longer? Fridge is okay, but honestly they’re best on day one. For a quick warm-up, use the oven for a few minutes instead of a microwave. That way they keep most of their crunch. If you’ve got extra glaze, stash it in the fridge up to five days—just warm before using again.
Swaps and Alternatives
If you don't have instant yeast, sub active dry yeast and let it sit in warm liquid a few extra minutes. Not into much sweetness? Dial back the powdered sugar and it’ll still work. For dairy free, almond milk can swap for regular milk, and use coconut oil in place of butter in everything.
How to Serve
Eat Maple Beaver Tails plain or start adding toppings—cinnamon sugar, chocolate chips, even a swipe of Nutella right after glazing is awesome. Sprinkle on some toasted pecans, or drop on a scoop of vanilla ice cream for an over-the-top treat.
 Pin it
Canadian Tradition
Beaver Tails are all over Canada—think winter fests, skating parties, and busy city fairs. Seeing friends lined up at the red BeaverTails stand on a cold day just feels so Canadian. Making them at home is like bringing that cozy, festive Canadian vibe right where you are.
Frequently Asked Questions
- → What helps the dough get airy but crisp?
Mildly warm milk, instant yeast, and only a little bit of kneading will make your dough stretchy and pillowy so it fries up super fluffy with a crispy shell.
- → What’s the best way to brown butter?
Put the butter in a pan, heat gently, and let it bubble until it turns golden and smells toasty. Stir now and then and stay close so it doesn’t go too far.
- → Can I prep ahead of time?
Sure! Make your dough and chill it in the fridge after the first rise. Hold off on frying and glazing until right before eating so everything’s fresh and tasty.
- → Which oil should I use for frying?
Go for something with a neutral taste like canola or vegetable oil and get it up to around 350°F for frying. That way you’ll get golden dough without messing up the glaze’s sweetness.
- → How do I flatten out the dough?
Split the dough up, then roll each chunk into a ball. Flatten them into oval shapes using greased hands or a rolling pin. This keeps things soft and tender.
- → Is maple syrup a must for the glaze?
Maple syrup gives it that unique taste, but if you’re out, swap with honey or even a sweet vanilla icing for a different spin.