
 Pin it
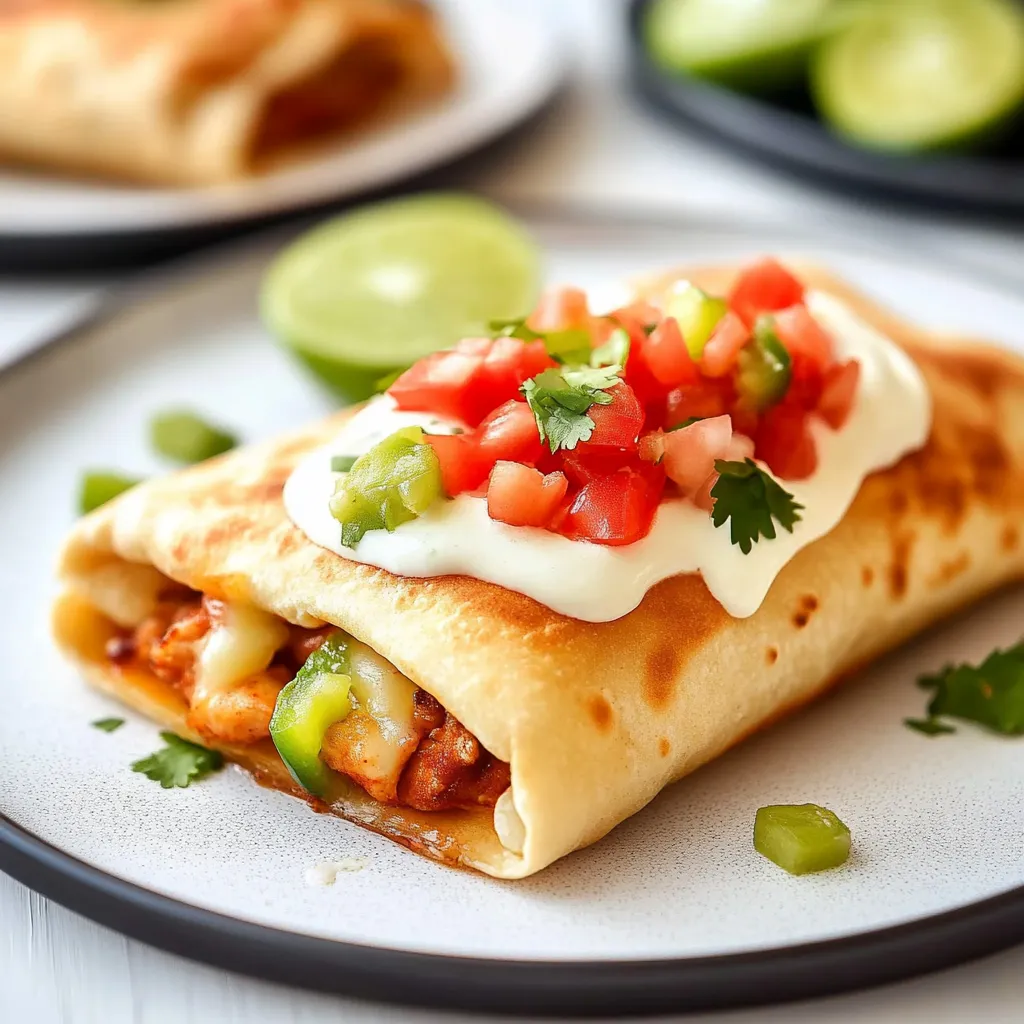
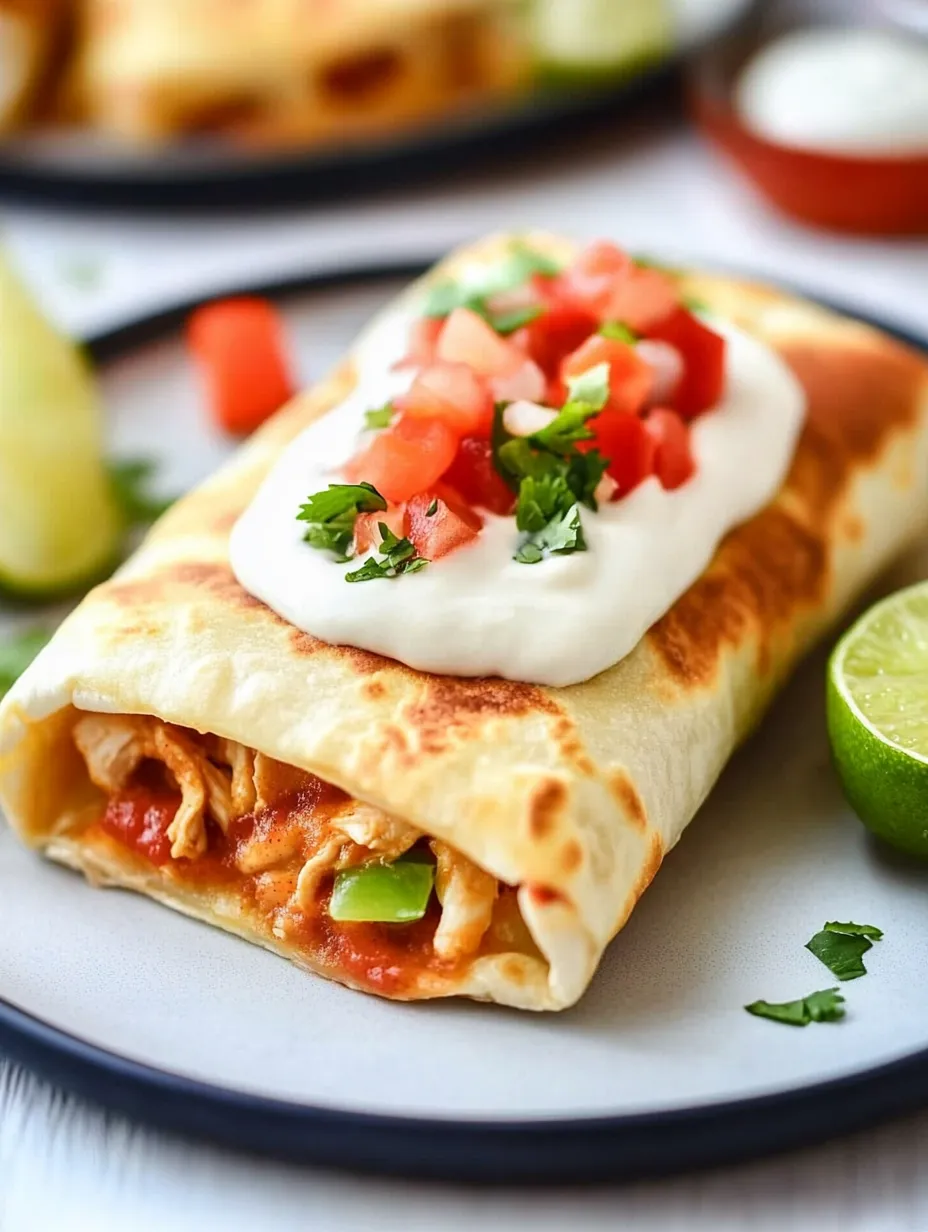
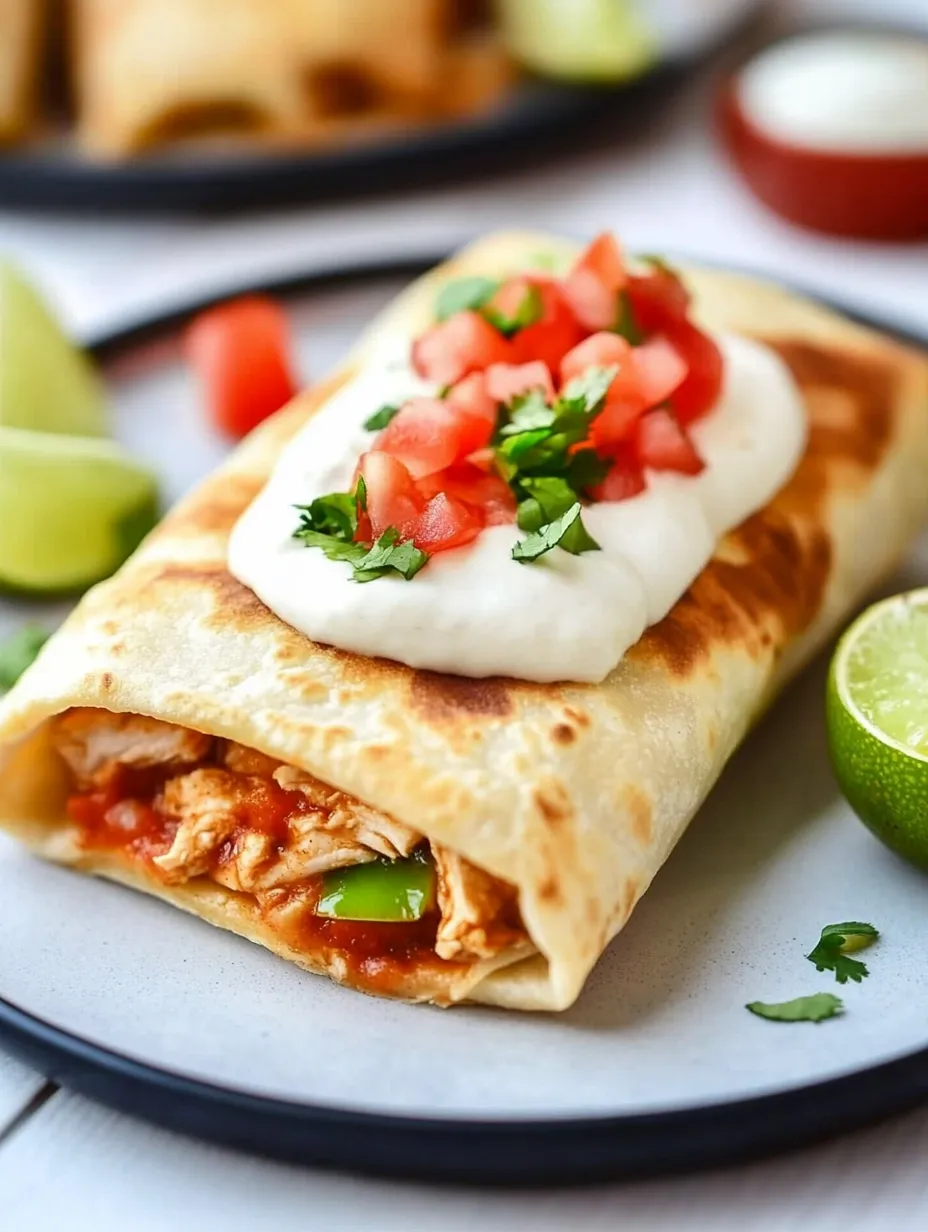
Crispy flour tortillas wrapped around tender shredded chicken, melty cheese, and mild green chilies create an irresistible combination that satisfies intense comfort food cravings. These chicken chimichangas deliver authentic Mexican-inspired flavors while offering preparation flexibility between traditional deep-frying or lighter baking methods. The contrast between the crisp exterior and juicy, flavorful filling creates a textural masterpiece that appeals to both children and adults alike.
I first attempted chimichangas after a memorable restaurant experience where my entire family raved about this crispy Mexican specialty. My homemade version quickly became a monthly request, with each family member personalizing their toppings while enjoying the same delicious base. Even our pickiest eater devours these without complaint—the ultimate testament to their universal appeal.
Flavor Components
- Shredded Chicken: Provides tender, protein-rich base that absorbs seasonings beautifully. Rotisserie chicken offers convenience while maintaining moisture and flavor.
- Green Chilies: Deliver mild heat and authentic Southwestern character. Choose canned diced chilies for consistent flavor without excessive spiciness.
- Monterey Jack Cheese: Creates creamy, melty richness throughout. Freshly shredded melts more smoothly than pre-packaged varieties.
- Flour Tortillas: Form the crispy exterior wrapper essential to authentic texture. Burrito-sized (10-inch) tortillas provide ideal thickness and durability.
- Aromatic Spices: Develop complex flavor profiles with minimal effort. The combination of chili powder, cumin, and oregano creates authentic Mexican depth.
- Fresh Onion and Garlic: Build foundational flavor that permeates the filling. Sautéing until translucent releases maximum sweetness before adding other ingredients.
- Quality Oil: Ensures crisp, golden exterior without greasiness. Vegetable or canola oil maintains neutral flavor while achieving ideal cooking temperature.
- Fresh Toppings: Brighten and balance the rich components. Crisp lettuce, cool sour cream, and vibrant salsa create perfect textural and temperature contrasts.
Simple Technique
- Filling Preparation:
- Begin by heating a tablespoon of oil in a large skillet over medium heat until shimmering. Add finely diced onion and cook for 3-4 minutes until translucent and softened but not browned. Add minced garlic and cook for 30 seconds until fragrant, stirring constantly to prevent burning. Sprinkle in chili powder, oregano, and cumin, stirring quickly to toast the spices without scorching them.
- Flavor Development:
- Add shredded chicken to the aromatic mixture, stirring to coat each piece with the seasoned oil. Season with salt and freshly ground black pepper, then fold in diced green chilies with their mild heat and distinctive flavor. Cook the mixture for 3-4 minutes, allowing the flavors to meld while ensuring the chicken remains moist and tender. Remove from heat and let cool slightly before assembly to prevent the tortillas from becoming soggy.
- Assembly Method:
- Lay a flour tortilla flat on your work surface and warm briefly to increase flexibility. Place approximately 1/3 cup of the chicken mixture slightly below the center of the tortilla, creating a horizontal line rather than a mound. Sprinkle generously with shredded Monterey Jack cheese. Fold the bottom edge up over the filling, then fold in both sides before rolling upward to create a secure package. Place seam-side down and repeat with remaining tortillas and filling.
- Cooking Options:
- For traditional fried chimichangas, heat oil to 350°F in a heavy-bottomed pot or deep skillet. Carefully place chimichangas seam-side down in hot oil and fry for 2-3 minutes per side until golden brown and crispy. For a healthier baked version, preheat oven to 375°F, brush chimichangas lightly with oil, and bake for 20-25 minutes until crisp and golden, turning halfway through cooking time.
 Pin it
My mother-in-law shared her secret for extra-flavorful chimichangas—adding a tablespoon of the salsa directly into the chicken mixture before rolling. This simple addition introduces moisture and brightness throughout the filling instead of just on top. My family particularly enjoys creating personalized topping combinations, turning dinner into an interactive experience where everyone customizes their meal.
Tasty Toppings
Fresh guacamole provides creamy richness with vibrant color and nutritional benefits from healthy fats. Pico de gallo offers bright, acidic contrast through the combination of diced tomatoes, onions, jalapeños, and lime juice. Shredded lettuce creates refreshing crunch and visual appeal when generously mounded atop the crispy chimichanga. Mexican crema or sour cream delivers cooling tanginess that balances the savory components while softening any spice heat. Sliced black olives introduce briny complexity and distinctive flavor that complements the chicken filling beautifully.
Creative Twists
Breakfast variation incorporates scrambled eggs, crumbled bacon, and potatoes for a morning-inspired adaptation. Vegetarian option replaces chicken with seasoned black beans, corn, and sautéed peppers for plant-based protein. Seafood alternative features tender shrimp or mild white fish with lime-infused seasoning for coastal Mexican flair. Barbacoa style uses slow-cooked shredded beef with chipotle peppers for smoky, rich depth. Green sauce substitution replaces traditional red salsa with tomatillo-based verde sauce for tangier, brighter flavor profile.
Storage Methods
Refrigeration works beautifully for assembled but uncooked chimichangas—wrap individually in plastic for up to 24 hours before cooking. Freezing extends convenience significantly—freeze assembled chimichangas on a baking sheet until solid, then transfer to freezer bags for up to three months. Reheating achieves best results in a 350°F oven for 15-20 minutes until heated through and crispy rather than microwave which compromises texture. Leftover filling repurposes wonderfully as nacho topping, burritos, or taco salad for creative meal planning. Make-ahead strategy works perfectly for entertaining—prepare everything in advance, then cook just before serving for fresh-made quality.
 Pin it
These chicken chimichangas represent the perfect balance between authentic technique and practical home cooking. The combination of crispy exterior and flavorful filling creates a satisfying meal that feels special without requiring advanced culinary skills. I've served these at countless gatherings where guests consistently request the recipe, confirming their universal appeal across different ages and taste preferences.
Frequently Asked Questions
- → Can I use a different type of cheese?
- Yes, substitute Monterey Jack with another melty cheese if preferred.
- → Can I make these ahead of time?
- Yes, prepare the filling ahead of time and assemble before cooking.
- → Can I freeze the chimichangas?
- Yes, freeze assembled chimichangas before cooking for up to 3 months.
- → How do I ensure they are crispy?
- Fry or bake until golden brown and crispy.
- → Can I use different toppings?
- Yes, customize with your favorite toppings like salsa, sour cream, or guacamole.