
 Pin it
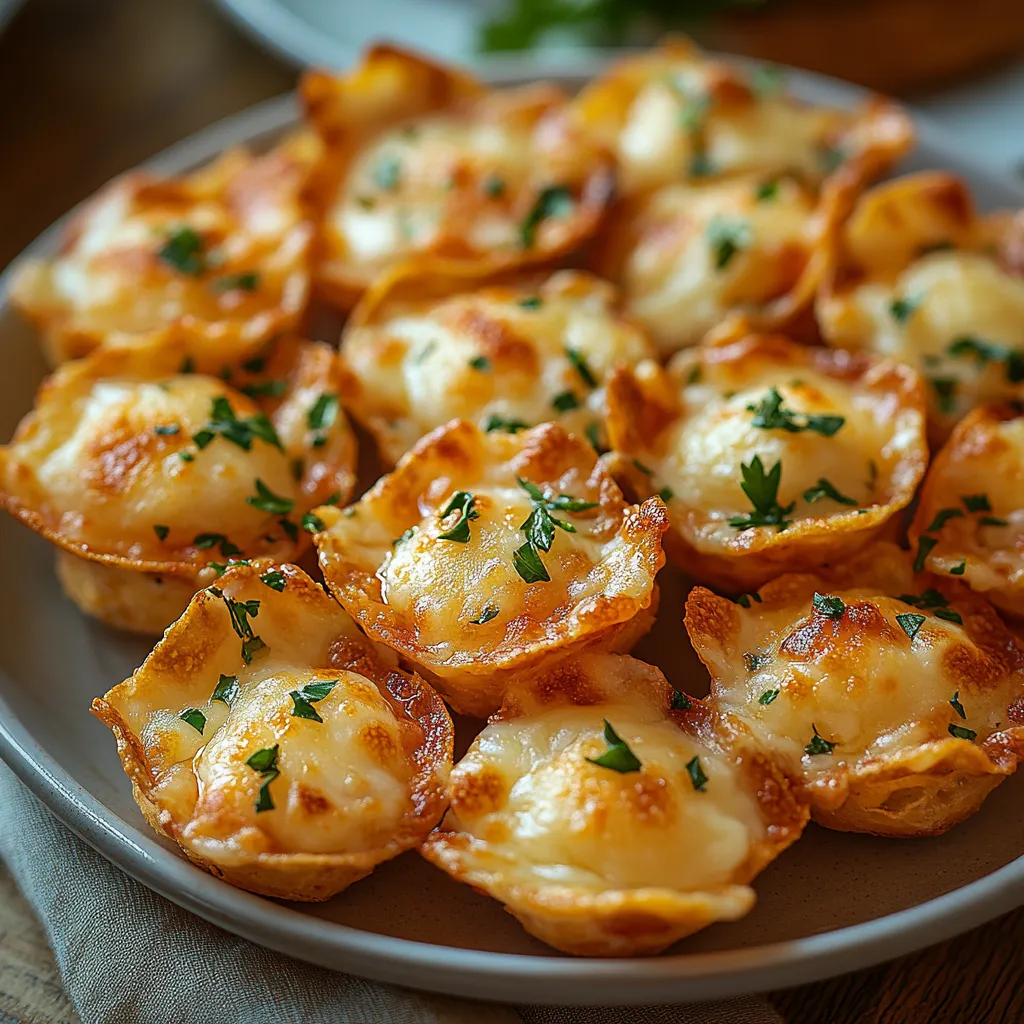
Midwest hospitality comes alive in these mouthwatering mini bites. Featuring creamy cheese tucked into crunchy tortilla cups and baked till golden, these tasty snacks vanish quickly at everything from backyard cookouts to fancy holiday parties. They're the kind of finger food folks can't stop grabbing.
I stumbled across these little treats at my buddy's cookout in Cedar Rapids. The plate hadn't even settled on the table when people started reaching for more. There's something special about that mix of crispy shell and smooth, cheesy middle that makes them impossible to resist. These days, they're what I'm known for bringing to neighborhood get-togethers and family parties.
Key Components
- Tortilla scoops: Work as little bowls to hold all the yummy filling
- Cream cheese: Makes everything smooth and gives the filling its lush texture
- Mozzarella cheese: Gets all stretchy and gooey when you take a bite
- Sweet corn: Brings a touch of sweetness and that classic Midwest flavor
- Green chiles: Add a gentle kick and extra taste without being too spicy
- Egg: Keeps everything stuck together when it's cooking
- Parmesan cheese: Turns the tops beautifully brown in the oven
Making Process
- Get Ready:
- Turn your oven on to 425°F and either grease your baking sheets or put down some parchment paper. Set out the tortilla scoops in one layer, making sure they're standing up properly to hold the filling. Keep them close but don't let them overlap each other.
- Mix It Up:
- In a big bowl, stir together soft cream cheese, shredded mozzarella, one beaten egg, drained corn kernels, chopped green chiles, garlic powder, salt, and pepper. Mix everything until it's all combined well. You want it creamy but thick enough to stay put when baked.
- Load Them Up:
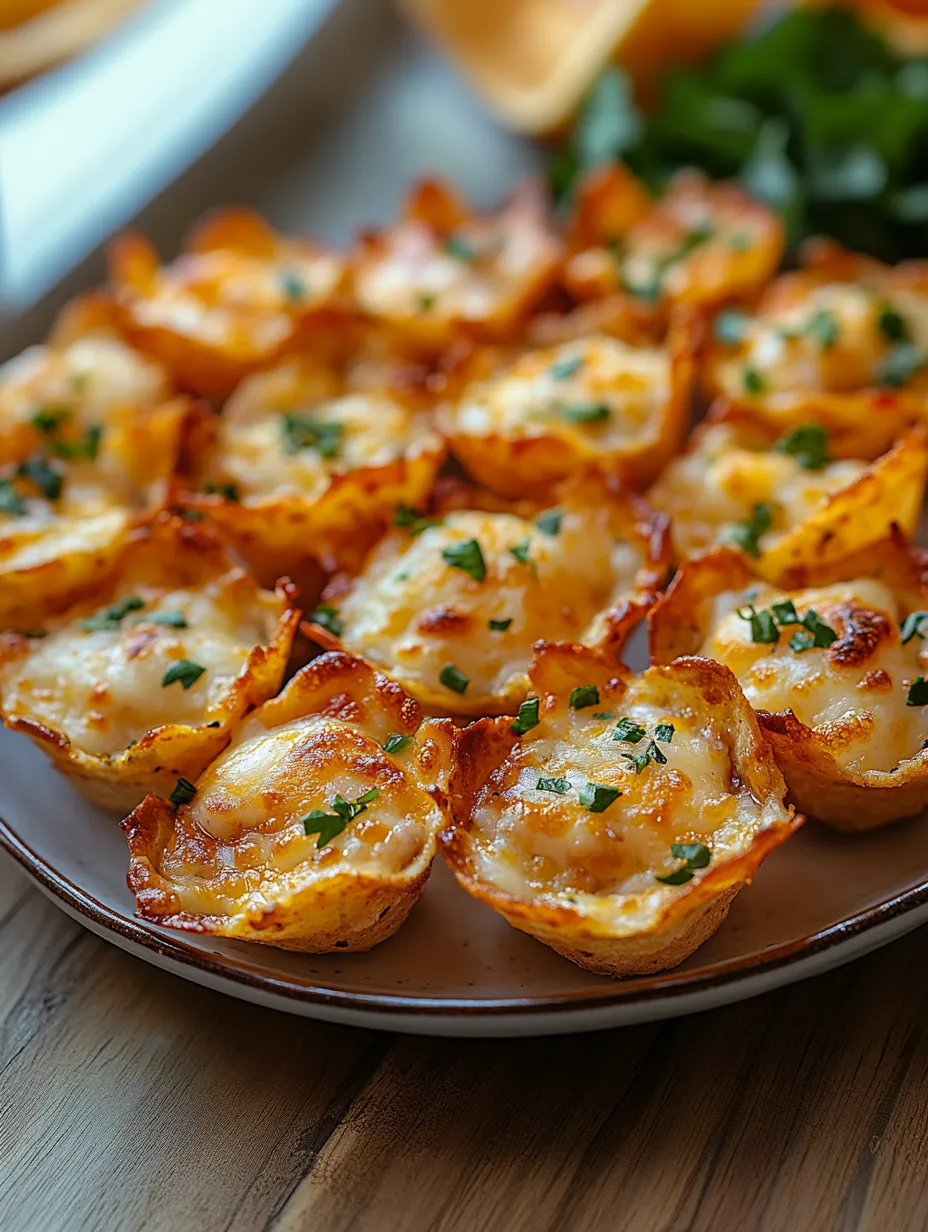
- Take a small spoon and drop about a tablespoon of the cheese mix into each tortilla scoop. Don't be shy – fill them up good since the mixture won't spill over when cooking. After filling, sprinkle a bit of grated parmesan on each one to help them turn golden brown.
- Cook Until Done:
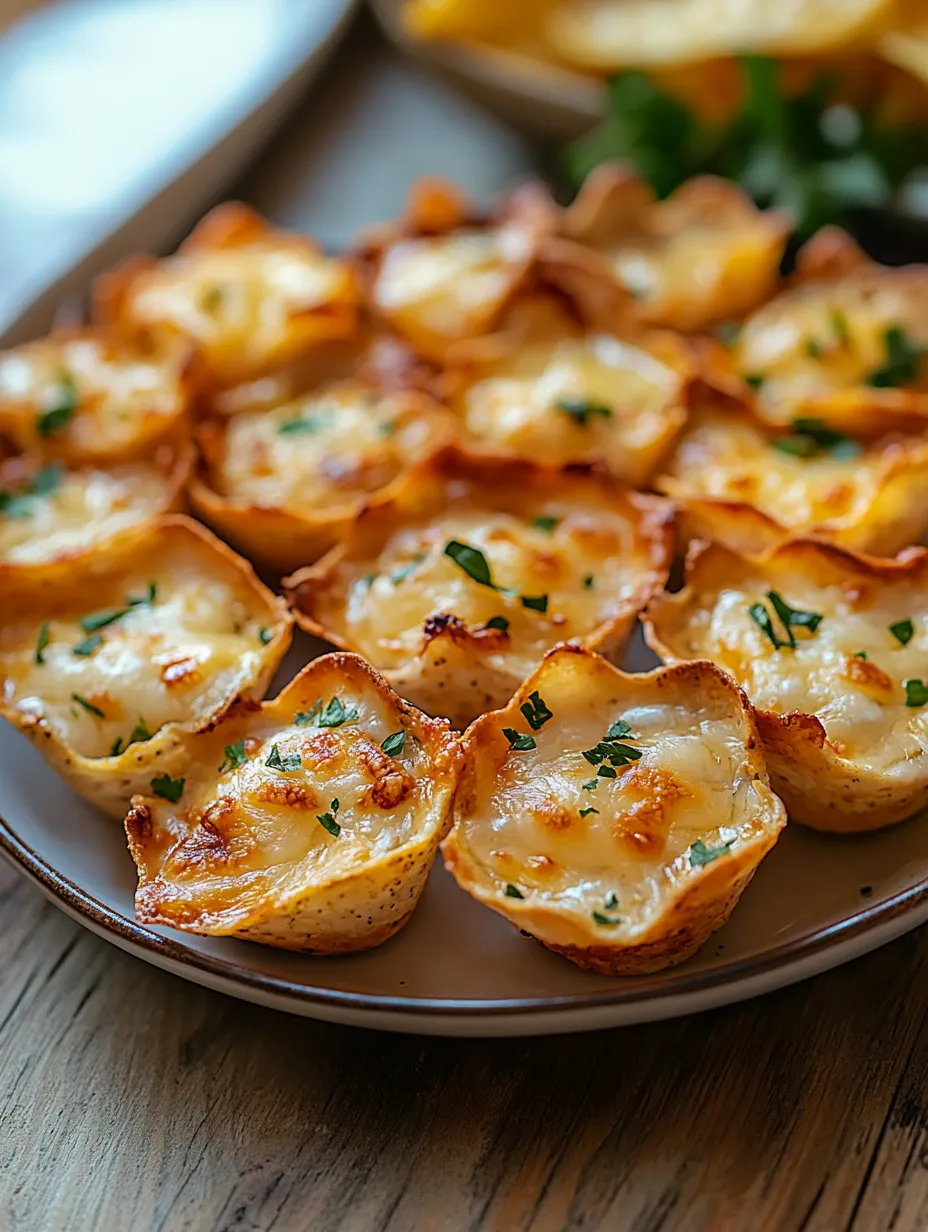
- Stick the filled chips in your hot oven and let them bake for 13-15 minutes. You'll know they're ready when the tops look golden and you see tiny bubbles around the edges. The perfect bite should have a crisp tortilla bottom that stays crunchy while supporting the melty, creamy topping.
My aunt Jenny always told me the trick to amazing party bites is loading up the filling but not rushing the baking time. When I pulled them out too soon, they weren't nearly as tasty as when I waited for that lovely golden top to form. Those extra couple minutes in the oven turns them from just okay to absolutely memorable.
Ways to Serve
- Put them on a big plate with some fresh cilantro or parsley scattered on top to make them look fancy.
- Set out small dishes of salsa, sour cream, or guacamole for people to add if they want.
- For a complete snack spread, serve alongside some fresh veggie sticks and light ranch dip to balance out the richness.
 Pin it
Keeping Them Fresh
- Store any extras in a sealed container in the fridge for up to three days. The chips might get a bit soft but they'll still taste great.
- Warm them up in a 350°F oven for 5-7 minutes to bring back some of the crunch.
- These snacks freeze really well - lay them out on a baking sheet until frozen solid, then pop them in a freezer bag for up to a month.
Tasty Twists
- For meat fans, throw in some cooked, crumbled bacon or tiny pieces of ham to make the filling extra savory.
- If you like heat, mix in some chopped jalapeños or a splash of hot sauce before filling.
- Try adding black beans and a sprinkle of taco seasoning to the cheese mixture for a southwest flavor.
 Pin it
I've made these Iowa Party Bites for everything from casual football Sundays to fancy Christmas parties, and they always get compliments. They're so easy and versatile, making them perfect when you want to share some Midwest charm with your guests. That mix of creamy, cheesy goodness with a satisfying crunch creates the perfect little snack that everyone reaches for again and again.
Frequently Asked Questions
- → Can these bites be prepped early?
- The chips might lose crunch if prepared ahead, but you can mix the filling and refrigerate it up to a day early. Just spoon it into chips and bake right before serving.
- → What’s a swap for the green chiles?
- You can use finely diced jalapeños, sweet peppers, or your favorite thick salsa (drain it first). Adjust to your heat level preference.
- → Can I add some meat?
- Sure! Toss in cooked bacon crumble, diced ham, or seasoned ground beef—about 1/2 cup—into the mix for a heartier option.
- → How do I save extra bites?
- Pop them in an airtight container in the fridge for up to two days. To warm, use a 350°F oven for 5–7 minutes. Chips may soften a bit but still taste great.
- → Any sauce pairings for these?
- They’re flavorful solo, but salsa, sour cream, guacamole, or zesty ranch dipping sauce make fun extras if you want more layers of taste.