
 Pin it
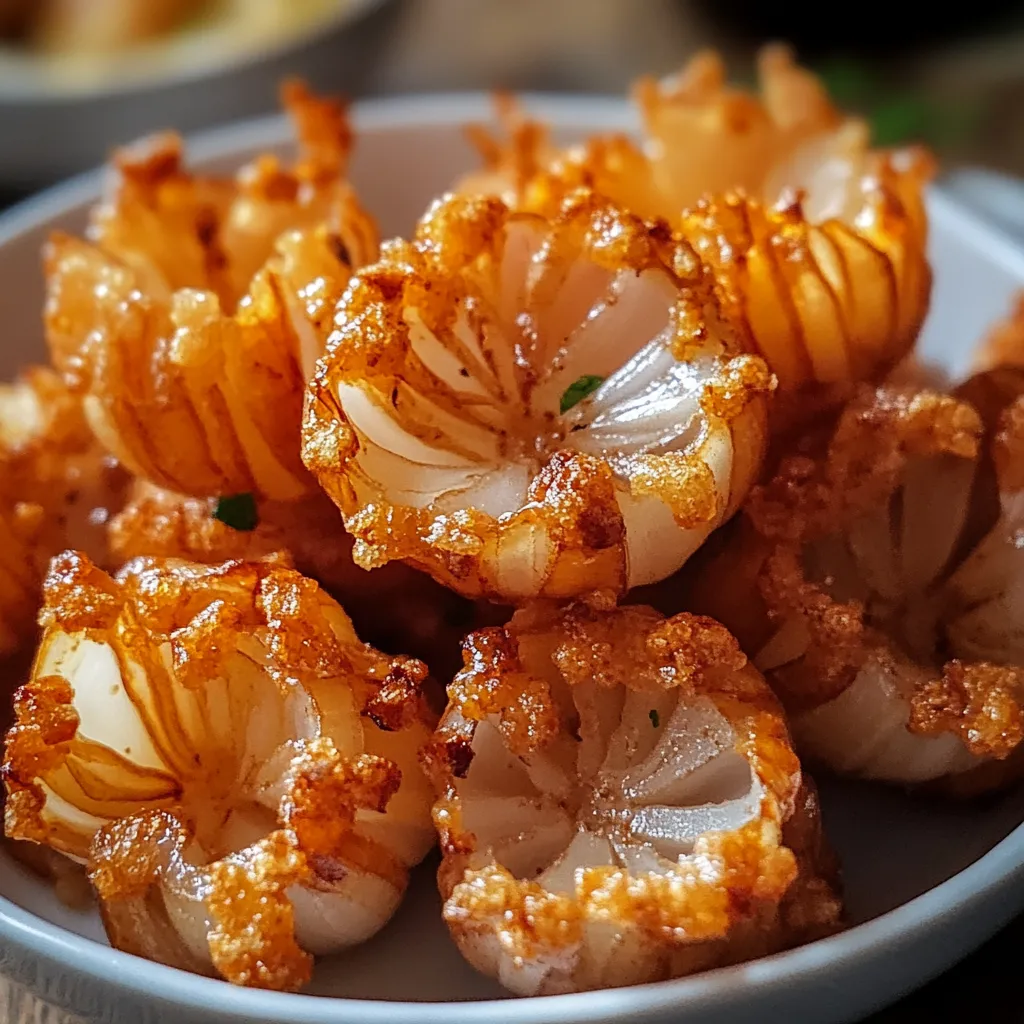
Pop-able onion nibbles bring all the crunchy, flavorful delight of the traditional steakhouse starter in perfect bite-sized portions. These crispy amber treats showcase soft sweet onion segments wrapped in a flavorful, crunchy shell, making an addictive starter that vanishes rapidly at any get-together. Matched with a tangy dipping sauce, they deliver the ideal mix of crunch and flavor with every bite.
The first time I whipped up these tiny onion chunks for a game day party, I wasn't sure they'd be as good as their bigger cousins. They didn't just vanish quicker than everything else—folks kept coming back to the empty dish hoping to find more! That mix of crunchy coating with sweet, tender onion inside makes a snack so good that everyone asks for them whenever I throw a party now.
Key Components
- Sweet onions: Their milder taste and softness work best in this dish
- Buttermilk: Softens the onion while making sure the coating sticks well
- Panko breadcrumbs: Gives a better crunch than regular breadcrumbs
- Paprika: Brings nice color and light smoky notes to the outside
- Cayenne pepper: Adds a touch of warmth that works well with the onion sweetness
- Vegetable oil: Keeps heating steady for getting that perfect golden outside
Cooking Steps
- Get The Onions Ready:
- Start by removing the skin from two big sweet onions and slicing them into small wedges, taking care to keep the layers together. Aim for about 1-inch pieces you can eat in one or two bites. Drop these wedges in a bowl of buttermilk, making sure they're completely covered, and let them sit for 10 minutes. This soak helps the coating stick and takes away some of the raw onion sharpness.
- Mix Up The Coating:
- While your onions are soaking, set up your coating area. In a flat dish, mix regular flour with paprika, garlic powder, onion powder, cayenne pepper, and salt, stirring well so the spices spread out evenly. Put panko breadcrumbs in another dish. This three-part coating—from buttermilk to spiced flour to panko—makes the perfect crispy shell.
- Cover The Onions:
- Working with a few pieces at a time, pull onion chunks from the buttermilk, let extra liquid drip off, then roll in the spiced flour until fully covered. Dip the floured onions back in the buttermilk briefly, then coat with panko breadcrumbs, pressing lightly so the crumbs stick to all parts. Put the coated onion bits on a tray while you finish doing the rest.
- Fry Until Crispy:
- Heat up vegetable oil in a deep pan to 350°F, checking with a thermometer to keep the heat steady. Working with small groups to avoid crowding, carefully put coated onion pieces into the hot oil. Cook for 2-3 minutes until golden and crunchy, turning now and then for even cooking. Take them out with a slotted spoon, drain on paper towels, and sprinkle with a bit of salt while they're still hot.
My grandma always told me the trick to perfect fried food was watching the oil temp carefully. The first time I hurried and tossed in too many onion chunks at once, the oil got too cool and I ended up with greasy, soft appetizers. Now I keep a close eye on the temperature and fry just a few at a time, getting that super crispy outside that makes these bites so hard to resist.
Tasty Sauce
Mix mayo, ketchup, Worcestershire sauce, horseradish, smoked paprika, and garlic powder in a small bowl. Add salt and pepper to suit your taste, mixing until smooth. This zippy sauce works perfectly with the crunchy onions thanks to its creamy texture and tangy kick. Make the sauce while your onions are soaking so the flavors can blend before you serve it.
How To Serve
- Set out the crunchy onion bites on a plate with little bowls of dipping sauce for a wow-worthy starter.
- Put out toothpicks so guests can grab them easily at parties.
- For a full game day spread, serve them alongside hot wings, cheese sticks, and potato skins with several dips to choose from.
 Pin it
Keeping Fresh
- These onion chunks taste best right after frying when they're super crispy.
- If you need to prep ahead, you can coat the onions up to the panko step and keep them in the fridge for a few hours before frying.
- If you've already fried them, you can warm them up in a 375°F oven for 5-7 minutes, though they won't be quite as crunchy as fresh ones.
Lighter Options
- For a less heavy version, try cooking the coated onion pieces in a hot 425°F oven for 15-20 minutes until golden and crisp. Spray with cooking oil first for better browning.
- If you've got an air fryer, cook them at 375°F for 10-12 minutes, shaking halfway through to crisp evenly. These ways use way less oil but still give you good crunch.
 Pin it
I've made these tiny blooming onions so many times now, and they always wow both casual snackers and food lovers alike. What started as just trying something new has turned into my go-to appetizer, with everyone asking for them at everything from lazy TV nights to big holiday parties. That perfect mix of crunchy outside and soft, tasty onion inside makes an irresistible snack that shows sometimes the most impressive foods can also be the most down-to-earth.
Frequently Asked Questions
- → Can these be baked instead of fried?
- Absolutely! Bake at 425°F (220°C) for 15-20 minutes, flipping halfway through. Coat with oil spray for color. They’ll be slightly less crispy but still tasty.
- → What onions work best?
- Go for sweet ones like Vidalia or Walla Walla. They’re naturally mild. Regular yellow onions work too but taste a little sharper.
- → Can I prepare these early?
- Sure, coat the onion pieces and refrigerate them before frying for a few hours. The dip can be prepped a day ahead. Fresh frying right before eating is best!
- → What replaces buttermilk?
- Mix 1 tablespoon of lemon juice or vinegar with 1 cup of milk and let it sit for 5-10 minutes. For non-dairy options, add the acid to plant-based milk.
- → How do I keep them warm when frying in batches?
- Set them on a rack over a baking sheet in a 200°F (95°C) oven. It keeps them warm and dry while you fry the rest.